Free Crochet Plant Hanger Pattern for Beginners
A simple net-style pouch and hanging cords, built from the same flat circle base as our coasters.
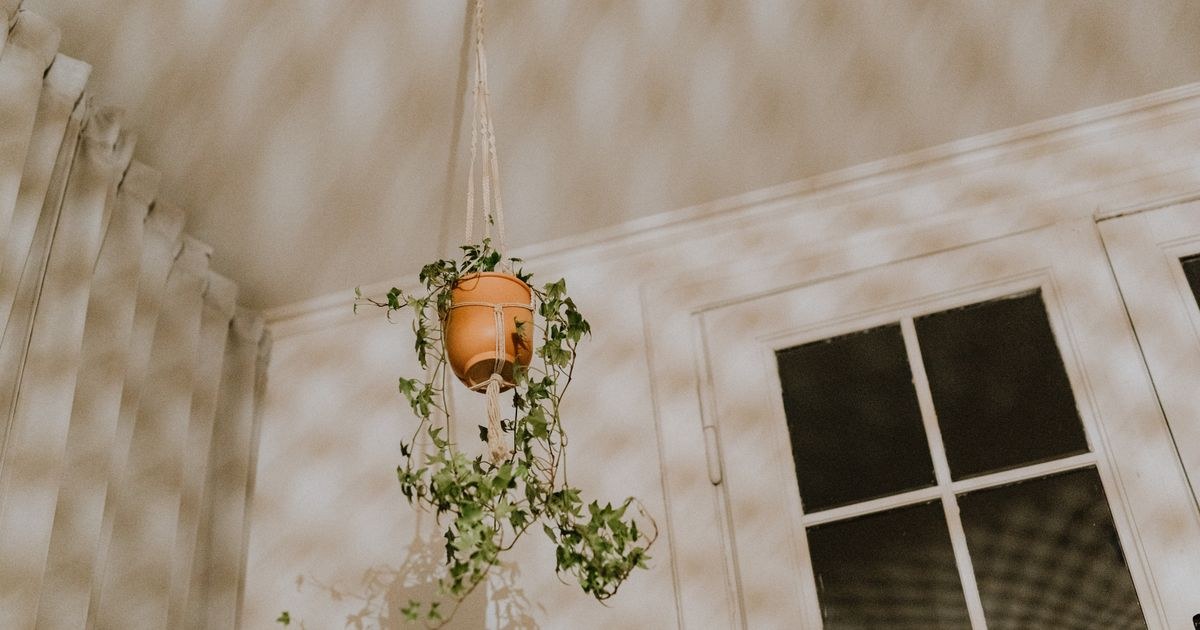
I made my first crochet plant hanger on a whim after a friend gave me a cutting in a pot with no home, and it hung in my kitchen window for years, stretching just enough to cradle the pot perfectly. The mistake I see most often in my classes is people choosing soft, stretchy yarn for a project that's going to hold weight — a pretty acrylic hanger looks lovely for a week, then sags until the pot is nearly on the floor. Cotton, worked at a firm tension, is what keeps a plant hanger doing its job. It's also one of the most satisfying beginner projects, because this crochet plant hanger pattern turns a flat circle into a useful, three-dimensional thing right before your eyes.
Weight changes everything about how you approach this project. A hanger carrying a pot of wet soil is a different animal from a scarf, so every choice — yarn, tension, how you attach the cords — gets decided by gravity, not looks. Once you accept that, the project stops feeling fussy and starts feeling like a little bit of engineering, and honestly, that's half the fun.
Materials
- 2 skeins worsted-weight cotton yarn (about 150–200 yards)
- 5.0mm (US size H) crochet hook
- Scissors
- Yarn needle, for weaving in ends
- A sturdy ceiling hook, for hanging the finished piece
Abbreviations (US terms)
| Abbr. | Means |
|---|---|
| ch | Chain |
| sc | Single crochet |
| st(s) | Stitch(es) |
| inc | 2 sc in same stitch (increase) |
| rnd(s) | Round(s) |
See our abbreviations glossary for the full list including UK terms.
Gauge
14 sc and 16 rows measures about 4in / 10cm square with a 5.0mm hook and worsted cotton. A firmer tension than usual helps this piece hold weight without stretching once a pot is loaded.
Notes
- Written in US terms, worked in a continuous spiral for the base — same technique as our coasters pattern.
- Cotton yarn is strongly recommended for strength; acrylic can stretch under the weight of a loaded pot over time.
- Test the hanging cords with the empty pot before adding soil and the plant, to check the join points hold securely.
Pattern
Make a magic ring, 6 sc into ring. (6 sts)
Inc in every st around. (12 sts)
[sc 1, inc] around. (18 sts)
[sc 2, inc] around. (24 sts)
Sc in every st around, no increases, for 8 rounds to form the sides of the pouch. (24 sts each round)
Cut 3 lengths of yarn, each about 60in / 150cm long. Fold each in half and attach one at three evenly spaced points around the top edge of the pouch (roughly every 8 stitches), pulling the folded loop through a stitch and threading the ends through to secure.
Braid or twist each pair of cord ends together for several inches, then gather all three cords at the top and tie a secure overhand knot to form the hanging loop. Weave in any remaining ends.
A tutorial on crocheting a hanging plant holder, useful for seeing how the cords and pot cradle are constructed.
Choosing yarn that holds weight
This is one project where the yarn really has a job to do. Cotton and linen are the standouts because they barely stretch under load, while acrylic relaxes and creeps until a full pot is sagging toward the floor. If you only have a thinner cotton on hand, hold two strands together throughout — doubled yarn is dramatically stronger and still easy to work. I also avoid anything with a slick or fuzzy finish, since the cords need to grip when they're knotted, not slide. For a quick refresher on how yarn thickness maps to strength and drape, our yarn weight guide is worth a skim before you buy.
Sizing the pouch for bigger pots
The base grows the same way a flat circle always does — six increases a round. To hold a larger pot, add an extra increase round or two to the base before starting the straight sides, then work enough side rounds to reach the pot's rim. The trick is to stop the pouch a little shorter than the pot's full height so the plant's foliage sits above the yarn instead of being buried in it. For a pot that's wider than it is tall, add stitches to the base and keep the sides short; for a deep pot, add side rounds rather than a wider base. Our guide to crocheting in the round shows how the increase maths scales cleanly.
Hanging & maintaining it safely
A plant hanger is only as safe as the hook it hangs from. Use a ceiling hook rated for the full combined weight of pot, soil, plant, and water — a freshly watered pot is heavier than you think, so round up. Space the three cords evenly around the rim so the pot hangs level rather than tipping, and check the cords now and then for wear, especially where they pass through the top loop. If the hanger lives in direct sun, keep an eye out for fading or brittleness, since UV weakens some fibres over time. A quick inspection whenever you water is all the maintenance it really needs.
Cotton worsted-weight yarn, 3-pack
Sturdy cotton in an amount that covers this project with room for the hanging cords.
View on Amazon →Common mistakes & fixes
Frequently asked questions
What size pot fits this crochet plant hanger?
This pattern's net pouch comfortably holds a pot 5 to 6 inches (13-15cm) in diameter. For a larger pot, add more rounds to the base circle before starting the sides.
What yarn is sturdy enough to hold a plant pot?
Cotton yarn, held double or worked at a tight gauge, is recommended over single-strand acrylic, since it needs to bear the weight of a pot and soil without stretching out over time.
How do I hang a crochet plant hanger safely?
Use a sturdy ceiling hook rated for the combined weight of the pot, soil, and plant, and check the hanging cords periodically for wear, especially if the plant is heavy or the hanger sees direct sunlight, which can weaken some fibres over time.
Can I hang a heavy plant from a crochet plant hanger?
Only if it's worked in strong cotton at a tight gauge and hung from a hook rated for the full weight of pot, soil, and water. For anything unusually heavy, consider holding the yarn double for extra strength and checking the cords regularly for wear.
How do I keep my crochet plant hanger from stretching out of shape?
Use cotton rather than acrylic, work at a firmer tension than normal, and avoid hanging it in direct sunlight for long periods, which can weaken some fibres. Re-blocking won't restore lost strength, so the best fix is preventing the stretch from the start.
How long should the hanging cords be?
Cut each cord about 60in / 150cm so there's plenty for folding, braiding, and the top knot. You can always trim excess, but a cord that's too short means redoing the whole hanger.
Can I use a crochet plant hanger outdoors?
Yes, if it's made in cotton and hung from a sturdy, weather-safe hook. Expect more sun and wind wear outdoors, so check the cords more often and bring it in during harsh weather to extend its life.
CrochetGuides is a participant in the Amazon Services LLC Associates Program. As an Amazon Associate we earn from qualifying purchases, at no extra cost to you.