Free Mini Amigurumi Ball Pattern for Beginners
A small taste of amigurumi shaping — increases, decreases, and stuffing — without committing to a full toy.
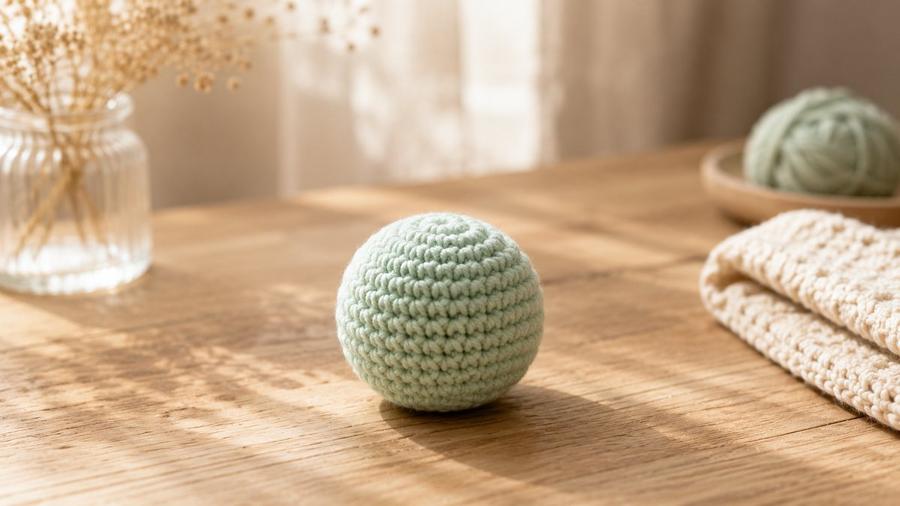
In my amigurumi workshops, I always start people on a plain ball, because it's the smallest shape that teaches the one thing a stuffed toy can't hide: your increases and decreases. I've watched a student work a perfect head and a perfect body, only to have the two halves fight each other at the seam because the shaping was uneven. A tiny ball lets you fail fast and cheaply — if it comes out lopsided, you've lost twenty minutes of yarn, not an entire afternoon. I made six of these before I attempted my first animal, and I still use them to test new yarn and hook pairings before committing to a bigger project.
Materials
- Small amount of worsted-weight yarn (under 20 yards)
- 3.5mm hook (smaller than standard, for tight amigurumi stitches)
- A pinch of polyester fiberfill stuffing
- Stitch marker, to track the start of each round
- Scissors
- Yarn needle, for closing and weaving in ends
Abbreviations (US terms)
| Abbr. | Means |
|---|---|
| sc | Single crochet |
| st(s) | Stitch(es) |
| inc | 2 sc in same stitch (increase) |
| dec | Sc 2 sts together (decrease) |
| rnd(s) | Round(s) |
See our abbreviations glossary for the full list including UK terms.
Gauge
Gauge isn't critical for this small project — the goal is a tight, even fabric that hides the stuffing rather than an exact measurement. If you can see stuffing through your stitches, try a smaller hook.
Notes
- Written in US terms and worked in a continuous spiral, same technique covered in our amigurumi for beginners guide.
- Use a smaller hook than you'd normally pair with this yarn weight — tight stitches are what keep the stuffing from showing through.
- Stuff gradually while closing the final rounds, not all at once at the end — it keeps the shape rounder.
Pattern
Make a magic ring, 6 sc into ring, place marker. (6 sts)
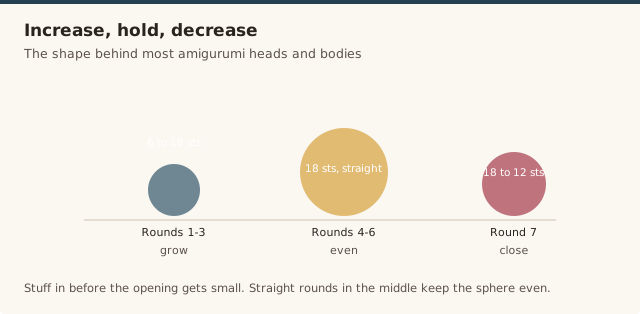
Inc in every st around. (12 sts)
[sc 1, inc] around. (18 sts)
Sc in every st around, no increases or decreases. (18 sts each round)
[sc 1, dec] around. (12 sts)
Begin adding a small amount of stuffing now, before the opening gets too small.
Dec in every st around. (6 sts)
Add a bit more stuffing if needed to fill the shape evenly.
Fasten off, leaving a long tail. Thread the tail through the front loop of each remaining stitch, pull tight to close the opening, and weave in the end through the centre of the ball.
Beyond the basic ball
This same increase-then-decrease shape is the foundation of most amigurumi heads and bodies, just worked over more rounds. To scale it up, add another straight round or two after Round 3 before starting the decreases, keeping the increase and decrease halves roughly symmetrical so the sphere stays even rather than lopsided on one side. Round 1 begins with a magic ring, so if that first step still feels fiddly, that tutorial will help you start cleanly.
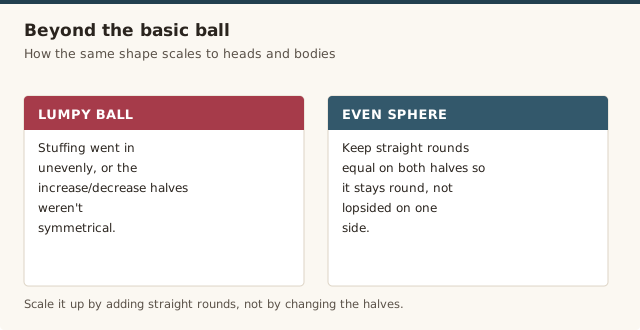
For an oval or egg shape instead of a perfect sphere, add one or more straight rounds (no increases or decreases) right after Round 3 — the more you add, the longer and more egg-like the finished shape becomes. And if you want to use this ball as a head for a bigger toy, leave the closing tail long rather than weaving it straight in; you'll use that same tail to sew the head onto a separately made body.
Common mistakes & fixes
Fix: your stitches are too loose for this yarn. Drop to a smaller hook next time — our amigurumi starter kit guide covers the right hook range for this technique.
Fix: this usually means stuffing went in unevenly or in one or two big clumps. Add small pinches gradually while closing the final rounds, checking the shape with your fingers between additions rather than stuffing all at once at the end.
Fix: this comes from the closing tail not being pulled through every remaining stitch's front loop. Go back over the closure once, thread the tail through the front loops of any stitches that look loose, and pull tight again before weaving the end away.
Our pick
Fairfield Poly-Fil Premium Fiber Fill, 32oz
Far more than one small ball needs, but stays fresh for every amigurumi project you make afterward without clumping over time.
View on Amazon →A demonstration of shaping a sphere in the round, useful for seeing the increase and decrease pattern that creates the curve.
Frequently asked questions
How much stuffing does a mini amigurumi ball need?
A ball this size uses roughly a golf-ball-sized amount of polyester fiberfill, added gradually as you close the final rounds so the shape stays round rather than lumpy.
Can I make this amigurumi ball bigger?
Yes, add one more increase round after round 3 and one more decrease round before closing to scale it up, keeping the stitch counts symmetrical between the increase and decrease halves.
Why does my amigurumi ball look lumpy instead of round?
Lumpy shaping usually means the stuffing was added unevenly or in clumps rather than small pieces spread throughout. Stuff gradually as you close the final rounds, checking the shape with your fingers as you go.
Can I turn this ball into an oval or egg shape instead?
Yes. Add an extra straight round (no increases or decreases) right after round 3, before starting the decrease rounds, which stretches the middle into an oval rather than a perfect sphere. Add more straight rounds for a longer, more egg-like shape.
Can I use this ball as a head for a bigger amigurumi toy?
Yes, this exact shaping is how most amigurumi heads are built, just scaled up with more rounds. Leave the closing tail long enough to sew the head onto a separately crocheted body rather than weaving it in immediately.
How do I keep my amigurumi ball round instead of lopsided?
Keep your increases and decreases symmetrical — work the same number of increase rounds as decrease rounds, and count your stitches at the end of each round. Stuffing gradually in small pinches as you close, rather than in one lump at the end, also keeps the sphere even.
What hook size should I use for amigurumi?
Use a hook one to two sizes smaller than the yarn label recommends, usually 2.5mm to 3.5mm for worsted-weight yarn. The tighter fabric is what stops the stuffing from showing through between stitches.
CrochetGuides is a participant in the Amazon Services LLC Associates Program. As an Amazon Associate we earn from qualifying purchases, at no extra cost to you.