What makes amigurumi different from other crochet, the tools you actually need, and how to avoid the mistakes that trip up most first attempts.
Updated 2026 · 10 min read
The first amigurumi project I teach in every class is a small ball, and each time, at least one student's version comes out with little white tufts poking through the stitches, like the toy lost a fight with a pillow. The culprit is never the student — it's the hook. Amigurumi wants a hook a size or two smaller than the yarn label suggests, and nobody tells you that up front. It's the single most useful thing I can teach someone before their first stuffed toy.
Amigurumi — the Japanese craft of crocheting small stuffed toys and characters — looks intimidating because finished pieces are so detailed. In practice, it's built from the same two stitches most beginners already know: chain and single crochet. What makes it feel different is the technique, not the skill level, and this guide walks through exactly that.
Quick answer: amigurumi is worked in a continuous spiral (not joined rounds), with a hook one to two sizes smaller than usual, using single crochet almost exclusively. That combination is what creates the tight, dense fabric that holds stuffing without gaps.
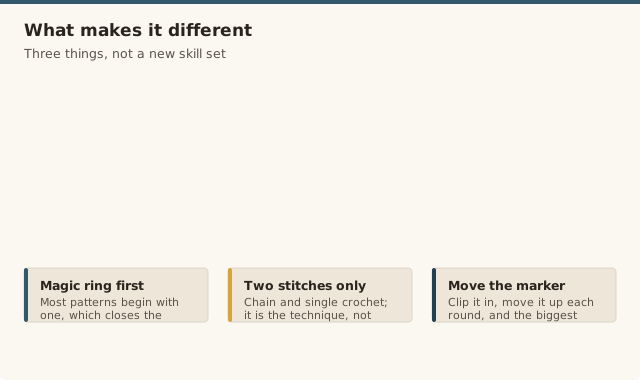
If you've worked through our guide to reading a pattern, most amigurumi instructions will already look familiar — abbreviations and stitch counts work the same way. Three things are different:
Continuous rounds, not joined. Instead of joining each round with a slip stitch, you work in a spiral, using a stitch marker to track where each round starts. Most patterns begin with a magic ring, which closes the centre hole completely.
A smaller hook than the yarn label suggests. This tightens your stitches so stuffing doesn't peek through — see the hook size question in our FAQ below for exact sizing.
Shaping through increases and decreases. Rounds don't stay a constant stitch count the way a flat square does; they grow and shrink to form heads, bodies, and limbs.
Because a spiral has no obvious start or end, a stitch marker in the first stitch of every round is non-negotiable. Without it, you'll have no idea where a round ends, and a missed increase three rounds back becomes almost impossible to locate. Clip the marker in, move it up each round, and you've removed the single biggest source of amigurumi frustration before you even start.
What you actually need to start
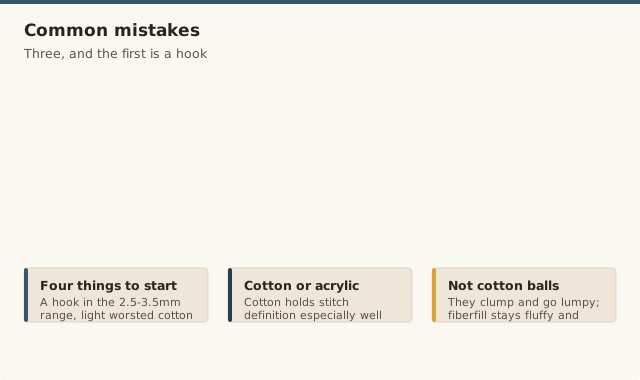
Amigurumi patterns can list a long supply chart, but your first project only needs four things:
A smaller hook than you'd normally use with your yarn — see our hook buying guide if you don't have one yet in the 2.5–3.5mm range.
Worsted-weight cotton or acrylic yarn in a light colour, so you can see your stitches while you're still learning the spiral technique. Cotton holds stitch definition especially well for amigurumi; our best yarn for amigurumi guide compares the options.
Stuffing — polyester fiberfill, not cotton balls or fabric scraps, which clump and go lumpy.
Safety eyes, for anything that needs a face and might be handled by a child.
Our picks
Stuffing
Fairfield Poly-Fil Premium Fiber Fill, 32oz
A trusted, widely available brand that stays fluffy and doesn't clump or go lumpy over time — the difference between a toy that holds its shape and one that sags after a few weeks.
A mixed-size set means you're not stuck ordering a specific size mid-project — useful since most beginners end up making more than one amigurumi once they get the hang of it.
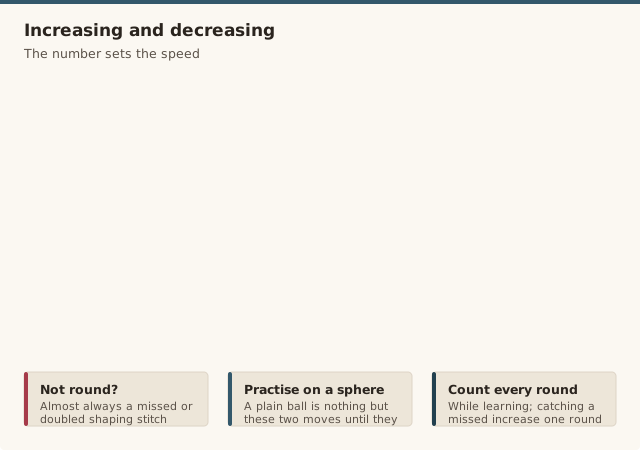
This is the part that actually shapes a flat spiral into a round head or a tapered limb. An increase (inc) means working two stitches into the same stitch, which adds a stitch to the round and makes it flare outward — that's how a body widens from the base. A decrease (dec) means working two stitches together as one, which removes a stitch and pulls the round inward — that's how a head or limb tapers closed.
Patterns space these out deliberately: something like [sc 4, inc] x6 means you repeat "4 single crochet, then 1 increase" six times around the round. The number in front of the increase or decrease tells you how far apart to space them — more sc between each one, and the shaping gets gentler; fewer, and it happens faster. If a round isn't coming out round, it's almost always because an increase or decrease got missed or doubled somewhere in that repeat.
If you've never worked increases and decreases on their own, a plain sphere is the perfect practice piece, and our free amigurumi ball pattern is exactly that — nothing but the two shaping moves repeated until they're second nature.
Stuffing & closing tips
Stuff as you go on anything long and narrow, like an arm or leg, rather than waiting until the whole piece is crocheted — it's much harder to push stuffing down a finished tube than to add small pinches while there's still an open end to work through. Use enough stuffing to feel firm through the fabric, but stop before the stitches start to stretch and gap; overstuffing is what causes the exact see-through problem a tighter hook is meant to prevent.
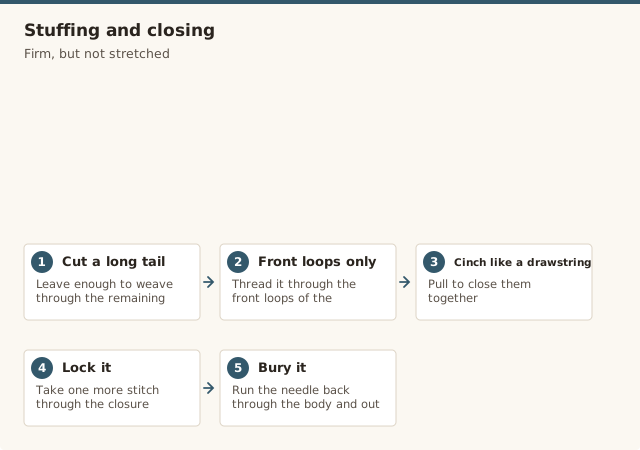
To close the last few stitches, cut the yarn leaving a long tail, thread it onto a yarn needle, and weave it through the front loops of the remaining stitches around the opening. Pull the tail to cinch them closed like a drawstring, take one more stitch through the closure to lock it, then run the needle back through the body and out the far side before trimming — that buries the tail invisibly instead of leaving a knot on the surface.
Common mistakes & fixes
Mistake: stuffing is visible through the fabric. Fix: loose stitches are the single biggest reason a first amigurumi looks messy rather than cute. If you can see white through the surface, drop to a smaller hook before starting your next project — it's a far easier fix than trying to crochet tighter by hand.
Mistake: increases or decreases leave a visible bump or hole. Fix: this usually means a round was miscounted, not that your technique is wrong. Count stitches at the end of every round while you're still learning — catching a missed increase one round late is a quick fix; catching it five rounds later means unravelling.
Mistake: the finished toy looks lopsided or the head sits crooked. Fix: this is almost always uneven stuffing rather than a crochet problem. Pinch and reshape the stuffing through the fabric before closing the final seam, and check the piece from more than one angle — a toy can look fine from the front and lean noticeably from the side.
An overview of core amigurumi techniques, useful for seeing the shaping and stuffing process in motion.
Frequently asked questions
What is amigurumi in simple terms?
Amigurumi is the Japanese craft of crocheting small stuffed toys, usually worked in the round with single crochet to create a tight, dense fabric that holds stuffing without gaps.
What hook size is best for amigurumi?
Most amigurumi patterns use a hook one or two sizes smaller than the yarn label recommends, typically 2.5mm to 3.5mm for standard worsted-weight yarn. The smaller hook keeps stitches tight enough to hide stuffing.
Do I need safety eyes for amigurumi, or can I use buttons?
Safety eyes are strongly recommended for anything a child might handle, since they lock in place and resist pulling out. Buttons or embroidered eyes are fine for toys made purely for display or adult collectors.
Where exactly should I place the safety eyes?
Insert the posts before stuffing, while you can still see through the fabric to check symmetry from the inside. Count stitches out from the center on both sides so the eyes land at the same row and the same distance apart, then step back and look at the head straight-on before locking the washers in place.
How do I close up the last few stitches neatly?
Once you're down to 5-6 stitches, cut the yarn leaving a long tail, thread it onto a yarn needle, and weave it through the front loops of the remaining stitches. Pull tight to cinch the hole closed, then run the needle through the closure once more and bury the tail deep inside the toy before trimming.
What yarn is best for amigurumi?
Worsted-weight cotton or a smooth acrylic are the easiest to start with, because they hold stitch definition and don't fuzz up. Cotton gives the crispest look but has less stretch; acrylic is softer and cheaper. Steer clear of fluffy, fuzzy, or novelty yarns for your first toy, since they hide your stitches and make mistakes much harder to spot.
Why is my amigurumi curling or not holding its round shape?
Curling at the very start usually means you worked too many increases into the first few rounds, which makes the fabric buckle. Not holding its round shape later on is more often a stuffing issue — understuffing leaves the piece limp and creased. Check your stitch count against the pattern for the first, and add stuffing in small pinches for the second.
Nora has been teaching crochet for 12 years, from absolute beginners to people coming back to the craft after decades away. She started CrochetGuides to write the clear, honest instructions she wishes she'd had when she was learning — the ones that actually work the first time.
CrochetGuides is a participant in the Amazon Services LLC Associates Program. As an Amazon Associate we earn from qualifying purchases, at no extra cost to you.
Get the free printable PDF
Enter your email and we'll send the ad-free, printable PDF straight to your inbox — plus new patterns a few times a month.
No spam, unsubscribe anytime.
You're in! 🎉
Your download should start automatically. If it doesn't, use the button below.