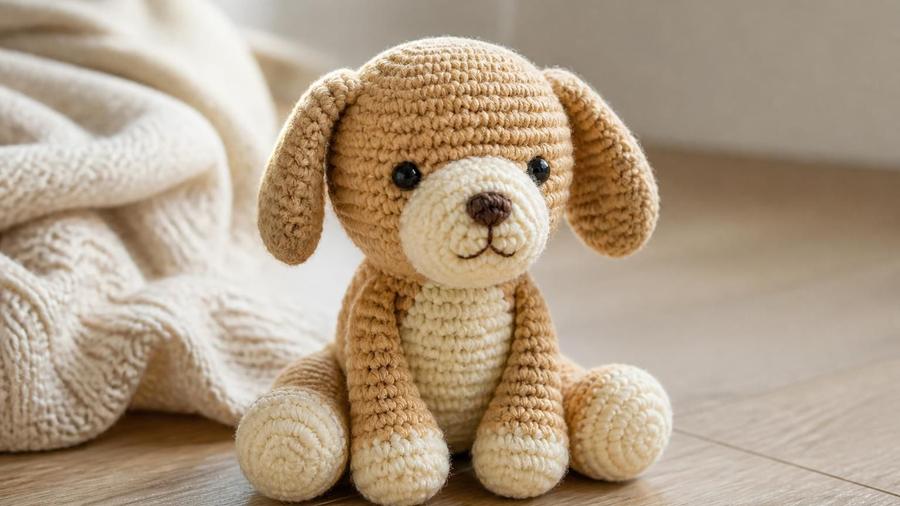
Most amigurumi dogs I'd seen before designing this one solved the "muzzle" problem by not really solving it: a flat embroidered nose stitched directly onto a round head, no actual snout shape underneath. It reads as fine at a glance, but next to a real puppy's face, something's always missing. The fix is almost embarrassingly simple once you try it: work the muzzle as its own small piece, stuff it firmly, and sew it onto the head as a separate, slightly domed shape rather than trying to fake dimension with embroidery alone.
The ears took a bit more experimenting. My first pass had them sewn on dead straight and perfectly symmetrical, and the puppy looked stiff, almost alert, rather than relaxed. Real floppy-eared dogs don't have identical, mirror-image ears; one droops slightly differently than the other, and both angle forward rather than hanging straight down from the sides of the head. Once I angled them and let a small asymmetry stay, the whole toy suddenly looked like it was actually resting rather than posing.
This pattern covers a seated 7in puppy with those two details built in from the start, the separately-worked muzzle and the angled ear placement, along with the more usual amigurumi construction: a teardrop body, four legs, a stub tail, and the same continuous-round shaping used throughout our amigurumi cat pattern, if you'd like to make a matching pair.
Not critical, but aim for a snug fabric on your 3.5mm hook with worsted yarn so stuffing doesn't show through the stitches.
Notes
Worked in continuous rounds throughout (no joining, no turning) unless a piece is specifically noted as flat.
Use a stitch marker to track round starts.
Make 4 identical legs and 2 ears before assembly; measure legs against each other before sewing.
Pattern
Head, rounds 1–6
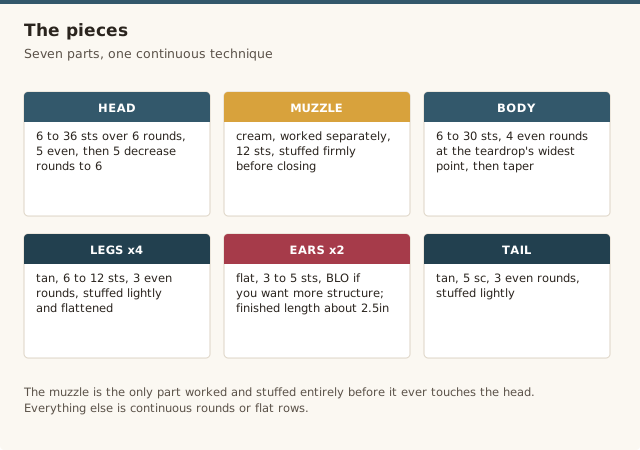
Magic ring, 6 sc. [Inc] around (12). [Sc 1, inc] around (18). [Sc 2, inc] around (24). [Sc 3, inc] around (30). [Sc 4, inc] around (36).
Head, rounds 7–12 (straight, then decrease)
Sc even for 5 rounds. (36 sts) [Sc 4, dec] around (30). [Sc 3, dec] around (24). [Sc 2, dec] around (18). [Sc 1, dec] around (12). [Dec] around (6). Stuff firmly, close by weaving the tail through the last 6 sts and pulling tight, rather than fastening off loosely, since a loose closure leaves a visible increase hole.
Muzzle (worked separately)
In cream, magic ring, 6 sc. [Inc] around (12). Sc even for 2 rounds. (12 sts) Stuff firmly before closing (a firm muzzle holds its domed shape once sewn on; a soft one flattens against the head). Close and leave a tail for sewing.
Body, rounds 1–9
Magic ring, 6 sc. [Inc] around (12). [Sc 1, inc] around (18). [Sc 2, inc] around (24). [Sc 3, inc] around (30). Sc even for 4 rounds. (30 sts) This is the teardrop's widest point.
Body, rounds 10–12 (taper and close)
[Sc 3, dec] around (24). [Sc 2, dec] around (18). Stuff firmly, then [dec] around (9) and close.
Legs (make 4)
In tan, magic ring, 6 sc. Inc around (12). Sc even for 3 rounds. Stuff lightly, flatten, and sew closed. Measure each new leg against the first one before moving on; adjust stuffing amount rather than the round count if one comes out visibly shorter.
Ears (make 2, worked flat)
In tan, ch 4. Sc in 2nd ch from hook and each ch across (3 sts). Row 2: ch 1, turn, inc in first and last st (5 sts). Rows 3-6: ch 1, turn, sc across evenly, working in back loops only (BLO) if you'd like extra structure. Fasten off, leaving a long tail. The finished ear should measure about 2.5in / 6cm, long enough to droop rather than stick out.
Tail
In tan, magic ring, 5 sc. Sc even for 3 rounds. Stuff lightly, fasten off leaving a tail for sewing.
Assembly
Sew the muzzle to the lower-center of the head. Attach safety eyes just above the muzzle (or embroider for under-3s). Embroider a small dark triangle nose at the tip of the muzzle and a curved mouth line beneath it. Sew the head to the body. Sew all 4 legs to the underside of the body. Sew the tail to the back. Sew the ears to the sides of the head, angled forward and slightly downward rather than straight out, letting one sit a touch differently than the other for a natural, unposed look.
Getting the ears and muzzle right
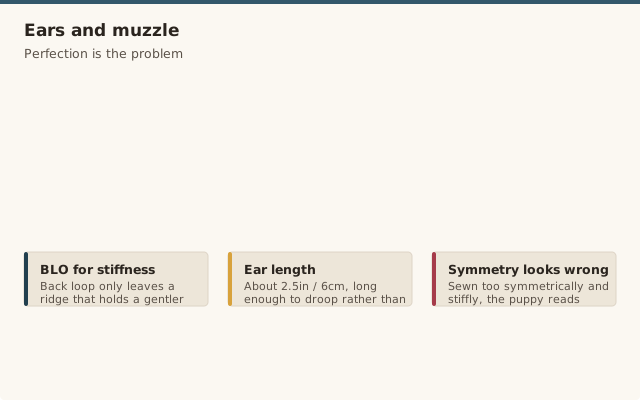
Both details that make this puppy read as a puppy, rather than a generic round animal, come down to the same underlying idea: real anatomy isn't perfectly symmetrical or flat, and a little deliberate imperfection reads as more lifelike than mechanical precision. The muzzle needs actual volume, not just a color patch or embroidered outline, which is why it's worked and stuffed as its own small piece before ever touching the head. The ears need asymmetry and forward angle, not mirror-image placement, which is why the assembly instructions specifically call for angling them forward and letting one differ slightly from the other.
If you'd rather your ears have a bit more structure and less pure floppiness, working them in back loop only (BLO) instead of through both loops leaves the unworked front loops as a subtle ridge along each row, stiffening the fabric just enough to hold a gentler droop instead of hanging completely limp. Our front loop vs. back loop guide covers this technique in more depth if you want to use it elsewhere too.
A bigger, lap-dog-size version
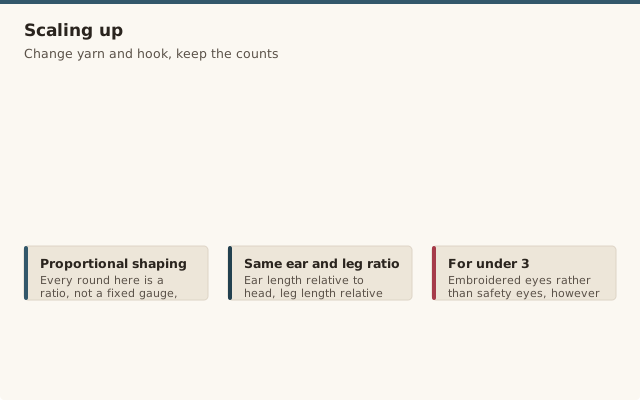
Because every shaping round here is proportional rather than tied to a fixed gauge, scaling the whole puppy up is as simple as switching to a chunkier yarn and larger hook and following the exact same stitch counts. A chunky yarn with a 5-5.5mm hook produces a puppy around 10-11in tall, roughly lap-dog scale, with identical proportions to the smaller version, same ear length relative to head size, same leg length relative to body.
Safety eyes vs. embroidered eyes
For a child under 3, skip plastic safety eyes entirely, even the locking-washer style, since any small hard part is a choking risk if it ever works loose. Embroider two small dark circles in the eye position instead, using satin stitch worked directly into the head yarn. For an older child, a collector, or a gift where a child under 3 won't have unsupervised access, safety eyes are quicker to attach and give a glossier, more finished look.
Mistakes that make the puppy look off
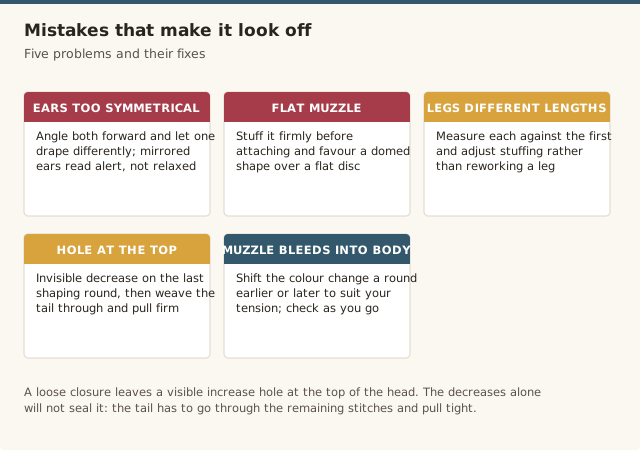
Mistake: ears sewn on too symmetrically and stiffly, giving the puppy an alert rather than relaxed expression.
Fix: angle both ears slightly forward rather than straight down, and let one drape a touch differently than the other; real floppy ears are never perfectly mirrored.
Mistake: the muzzle looks flat or pasted-on rather than three-dimensional.
Fix: stuff the muzzle piece firmly before attaching it, and favour a slightly domed shape over a flat disc when sewing it to the head.
Mistake: the legs come out different lengths, making the finished puppy lean to one side.
Fix: measure each new leg against the first one before sewing any of them on, and adjust stuffing amount to compensate for small differences rather than restarting a leg from scratch.
Mistake: a visible hole remains at the top of the head after the final decrease round.
Fix: use invisible decrease on the last shaping round, then weave the fastening tail through all remaining stitches and pull firmly closed, rather than trusting the decreases alone to seal it.
Mistake: the cream muzzle colour bleeds visually into the tan body at the seam.
Fix: shift the colour change one round earlier or later than written, depending on your personal tension, and check the transition as you go rather than trusting the round count blindly.
Our pick
Yarn
Red Heart Super Saver Yarn
An affordable, widely available worsted-weight acrylic in a huge range of tan and cream shades, soft enough for a toy and easy to keep clean.
A worsted-weight yarn with a 3.5mm hook gives a tight enough fabric to hide stuffing and hold the shaping. Acrylic works fine here since it's soft and widely available in the tan and cream shades this pattern uses, though a cotton-blend gives slightly crisper stitch definition on the muzzle.
How do I make the ears less floppy if I'd prefer more structure?
Work the ears in back loops only (BLO) instead of through both loops. The unworked front loops create a subtle ridge that stiffens the fabric slightly, giving the ears a bit more body while still keeping them soft enough to droop naturally rather than sticking straight out.
Can I size this up into a bigger, lap-dog-size version?
Yes, switch to a chunky yarn and a 5-5.5mm hook and follow the exact same round-by-round counts. This scales the whole puppy up to roughly 10-11in while keeping every proportion, ear length, muzzle size, leg length, exactly the same as the smaller version.
Should I use safety eyes or embroidered eyes for a young child?
For a child under 3, embroider the eyes with dark thread instead of using plastic safety eyes, since even locking-washer safety eyes are a small hard part that's a choking risk if it ever came loose. For an older child or a decorative piece, safety eyes are faster and give a slightly glossier finished look.
What's the best part of this pattern for a beginner to start with?
The legs and tail are the most forgiving pieces, since they're small, simple, and any minor stitch-count wobble is easy to stuff out. Save the head and ears, which need the most precision, for after you've built confidence with the simpler pieces.
How do I keep white or cream yarn clean while I work on it?
Wash your hands before crocheting sessions and keep the project in a clean bag or box between sittings rather than loose in a bag with other yarn or tools. If the yarn does pick up a faint mark, a gentle spot-clean with a damp cloth on the finished piece usually lifts it before it sets in.
Does single crochet or half double crochet suit fur texture better?
Single crochet is the standard choice for amigurumi, including this pattern, because its tight, dense fabric holds shape and hides stuffing far better than half double crochet's taller, more open stitch. Half double crochet can work for a deliberately shaggier, looser-textured animal, but it's not what this pattern is written for.
What occasions is this puppy a good gift for?
It works well for a new baby gift, a first-pet keepsake, a birthday for a young dog lover, or a sympathy gift after a family pet has passed, since a soft, handmade puppy reads as thoughtful without leaning on any specific occasion's usual gift tropes.
Nora has been teaching crochet for 12 years, from absolute beginners to people coming back to the craft after decades away. She started CrochetGuides to write the clear, honest instructions she wishes she'd had when she was learning — the ones that actually work the first time.
CrochetGuides is a participant in the Amazon Services LLC Associates Program. As an Amazon Associate we earn from qualifying purchases, at no extra cost to you.