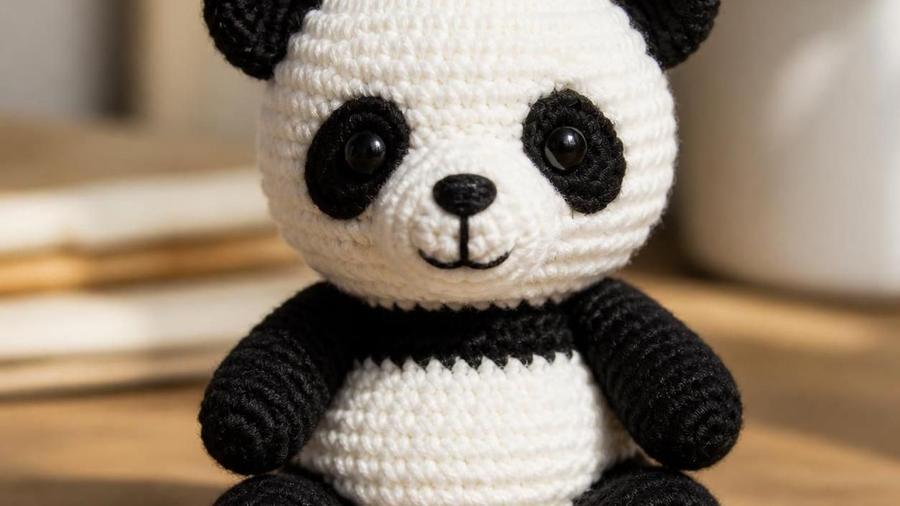
A sitting amigurumi panda with crisp almond-shaped eye patches, a black shoulder band, and matching ears and limbs against a bright white body.
Updated 2026 · US terms · About 6-7in tall sitting
My first attempt at an amigurumi panda came out looking unmistakably like a raccoon. I'd color-changed a plain black band straight across both eyes as I worked the head in the round, which seemed like the obvious way to get black eye markings onto a panda's face. It technically produced black patches around the eyes. It just didn't produce panda eye patches, because a real panda's markings are two separate almond or teardrop shapes, not one continuous band, and that distinction turns out to matter more than almost anything else in whether the finished toy reads as a panda at all.
This pattern solves that specific problem by working the eye patches as two small flat pieces, shaped individually and sewn onto the head afterward, rather than trying to color-change their curved outline directly into the rounds. It also covers the black shoulder band across the chest, the ear proportions that keep the head reading as panda rather than generic bear, and the color contrast that makes the whole thing look crisp instead of muddy.
Pandas are a genuinely satisfying amigurumi subject once the markings are right, since the finished shape itself is a simple rounded body and head, most of the personality comes from just those two colors meeting in the right places. That also means there's very little room for the markings to be approximate: get the eye patches, the band, and the ear placement right and the whole toy reads instantly; get any one of them a little off and it quietly stops looking like a panda even though every individual round was worked correctly.
Worked in continuous rounds throughout; place a marker at the start of each round.
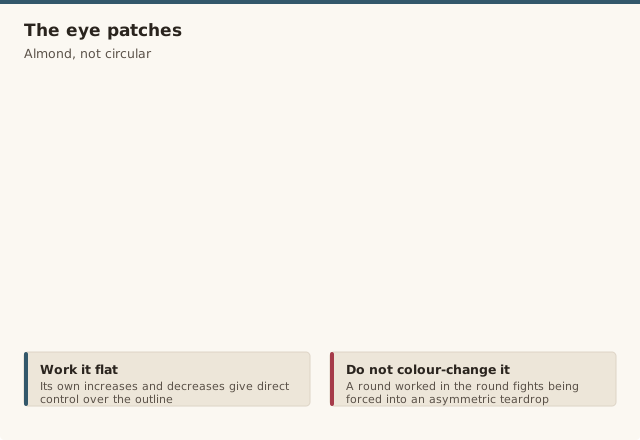
The eye patches are worked as two separate small flat pieces, then sewn onto the finished head, they are not color-changed directly into the head's rounds.
Weave in every color-change tail as soon as that section is finished, rather than leaving several loose until the end.
Pattern
Head (white)
Magic ring, 6 sc into ring (6). Rnd 2: inc in every st (12). Rnd 3: *sc, inc* around (18). Rnd 4: *sc 2, inc* around (24). Rnd 5: *sc 3, inc* around (30). Work even at 30 for 6 rounds. Decrease: *sc 3, dec* around (24), *sc 2, dec* around (18), stuff firmly, *sc, dec* around (12), dec around (6). Fasten off, cinch closed.
Eye patches (make 2, flat, black)
Ch 3. Row 1: 3 sc into 2nd ch from hook, turn (3). Row 2: inc, sc, inc (5). Row 3: inc, sc 3, inc (7). Row 4: sc even (7). Row 5: sc 2, dec, sc 3 (6), tapering one side to form the teardrop's narrow point. Fasten off leaving a long tail for sewing. The result should be a rounded almond shape, wider at one end and tapered at the other, not a plain circle.
Ears (make 2, black)
Magic ring, 6 sc (6). Rnd 2: inc in every st (12). Work 1 round even. Fasten off leaving a tail, flatten and attach to the top of the head, spaced closer together and set slightly forward compared to a typical bear muzzle placement.
Body with shoulder band
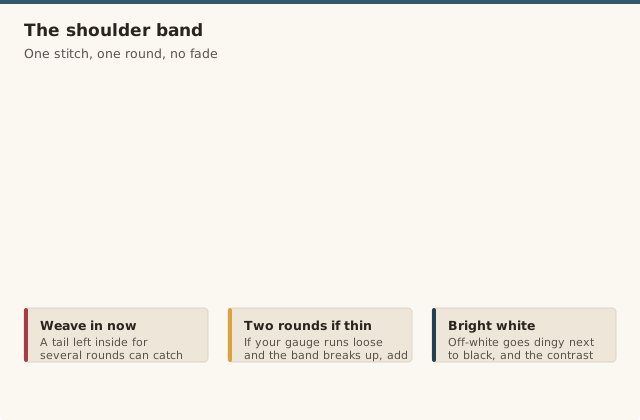
Magic ring, 6 sc (6). Inc every st (12). *sc, inc* around (18). *sc 2, inc* around (24). *sc 3, inc* around (30). Work 2 rounds even. At the next round, color-change cleanly to black for one full round (the shoulder band), then switch back to white and continue the body decreases as usual: *sc 3, dec* (24), *sc 2, dec* (18), stuff, *sc, dec* (12), dec (6). Fasten off, sew head to body.
Arms and legs (make 4, black)
Magic ring, 5 sc (5). Work even for 5-6 rounds. Stuff lightly, flatten opening, sc across to close. Attach two to the upper body as arms and two to the lower body as legs, checking that the pair on each side match in length before sewing them on permanently.
Assembly and face
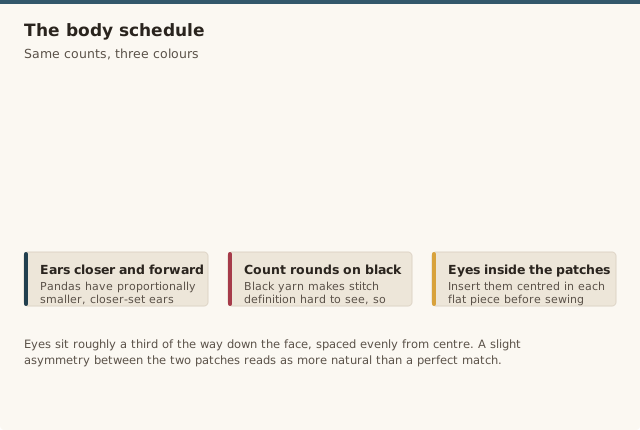
Insert safety eyes centered within each flat eye-patch piece before sewing the patches to the head, positioning them so the eyes sit roughly a third of the way down the face and evenly spaced from center. Sew both patches on, then embroider a small black nose beneath and between them and a short mouth line below that. Weave in all remaining ends.
Getting the eye-patch shape right
The single detail that separates a convincing panda from a black-and-white bear is the eye-patch shape, and it's worth treating as its own small project rather than an afterthought squeezed into the head rounds. Working each patch flat, as its own tiny piece with its own increases and decreases, gives you direct control over the outline in a way that color-changing a shape into continuous rounds simply doesn't. A round worked in the round wants to stay roughly circular or oval on its own; forcing it into an asymmetric teardrop by adjusting stitch counts mid-round produces something that looks geometric and pieced-together rather than organic.
Pin each finished patch to the head before committing to any stitches, and step back to look at the placement from a distance rather than up close. The two patches should sit at a similar height and angle to each other, angled slightly outward from vertical the way a real panda's do, rather than perfectly mirrored straight lines. A slight asymmetry between the two, as long as it's subtle, actually reads as more natural than a mechanically perfect match.
If your first attempt at the flat patch comes out too rounded rather than tapered, add one more decrease row at the narrow end before fastening off. The point of the teardrop doesn't need to be sharp, just present, since even a gentle taper is enough to distinguish the shape from a plain circle once it's sewn onto the curved surface of the head.
Keeping the black-and-white boundary crisp
Beyond the eye patches, this pattern has one other color-change moment that matters just as much: the black shoulder band across the upper body. Work the color change on a single stitch, finishing the last white stitch before the round completely, then switching yarns cleanly rather than fading the transition across two or three stitches. A fade might seem like it would look softer, but on a small-scale amigurumi it just reads as a mistake, a smudged line rather than a deliberate marking.
Weave in the color-change tail immediately after finishing that round, not at the very end of the whole project. A tail left dangling on the inside of the work for several more rounds has a tendency to get caught in later stitches or to show through faintly on the outside, especially with a high-contrast color pairing like black against white where any stray fiber is much more visible than it would be on a single-color piece.
Check the shoulder band's width once it's worked: a single round reads clearly as a band on this scale, but if your gauge runs looser than expected and the band looks thin or broken, work a second black round directly above the first rather than trying to stretch one thin round to cover more visual area. Two clean rounds of solid color will always look better than one round that's inconsistent or gappy.
Getting the panda markings right
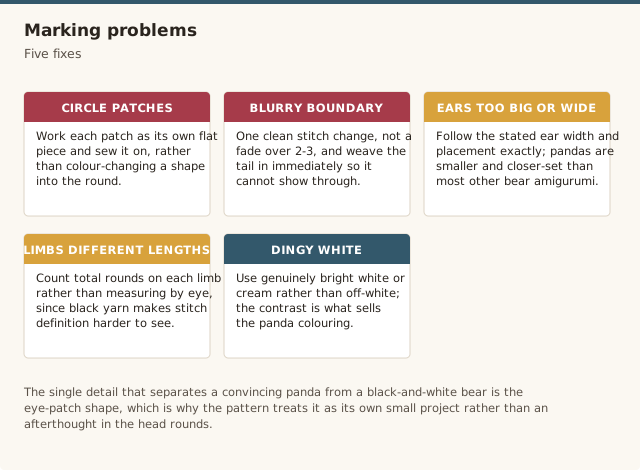
Mistake: the eye patches come out as plain black circles instead of the panda's distinctive almond shape.
Fix: work the eye patch as a separately crocheted small flat piece using the shape guide, then sew it on, rather than trying to color-change the shape directly into the round.
Mistake: the black-and-white color boundary looks blurry or jagged.
Fix: work the color change on a single stitch cleanly rather than fading it over 2-3 stitches, and weave in color-change tails immediately so they don't show through.
Mistake: the ears look too large or sit too far apart, making the head shape read as a different bear.
Fix: follow the specified ear width and placement exactly, pandas have proportionally smaller, closer-set ears than most other bear-style amigurumi.
Mistake: the black limbs don't match each other in length.
Fix: count total rounds on each limb rather than measuring by eye, since black yarn makes stitch definition harder to see while counting.
Mistake: the white body yarn looks dingy next to the black sections.
Fix: use a genuinely bright white or cream yarn rather than an off-white, since the contrast is what sells the panda coloring.
Our pick for crisp black and white
Yarn
Red Heart Super Saver, White & Black
A genuinely bright, true white paired with a solid true black, both from the same widely available yarn line, gives the clean high-contrast pairing this pattern depends on without needing to hunt for a special-order color match.
What makes this read as a panda instead of a generic bear?
Two specific markings do almost all the work: the almond-shaped black eye patches (not plain circles) and the black shoulder band across the upper chest. A plain black eye band without the teardrop shape reads as a raccoon rather than a panda, which is exactly why this pattern works the patches as separate flat pieces rather than trying to color-change the shape directly into the round.
How do I get the eye-patch shape right?
Work each patch as its own small flat piece using the shape guide in the pattern, then sew it onto the head over the safety eye position, rather than trying to color-change the almond shape directly into the round. Color-changing a curved, asymmetric shape into continuous rounds almost always comes out too geometric, while a separately worked flat piece can follow the exact curve you want.
What yarn colors give the best contrast?
A genuinely bright white or true cream for the body paired with a true black, not a dark charcoal or heathered grey, for the patches and limbs. The contrast between the two colors is what sells the panda coloring, and an off-white or a softened black both quietly undercut it even though either one might look fine in isolation.
Can the panda be made bigger or smaller?
Yes, switching to a bulkier yarn and a larger hook scales the whole pattern up proportionally with no changes to the round counts, and a lighter DK-weight yarn with a smaller hook scales it down. The eye-patch and shoulder-band shapes scale naturally along with the rest of the piece since they're worked as a proportion of the head and body rather than a fixed stitch count.
Safety eyes or embroidered eyes for young children?
Safety eyes give the cleanest, most finished look and are the standard choice here since the eye patches are already doing visual work around them. For a toy meant for a very young child, embroider the eyes directly onto the patch instead, since there's then no small hard piece that could work loose with handling.
How much yarn does the project take in each color?
Roughly 90-110 yards of white or cream for the body and head, and about 40-50 yards of black split between the ears, eye patches, shoulder band, and all four limbs. Exact usage varies with tension and how firmly you stuff the pieces, so it's worth having a little extra of each color on hand.
Nora has been teaching crochet for 12 years, from absolute beginners to people coming back to the craft after decades away. She started CrochetGuides to write the clear, honest instructions she wishes she'd had when she was learning — the ones that actually work the first time.
CrochetGuides is a participant in the Amazon Services LLC Associates Program. As an Amazon Associate we earn from qualifying purchases, at no extra cost to you.