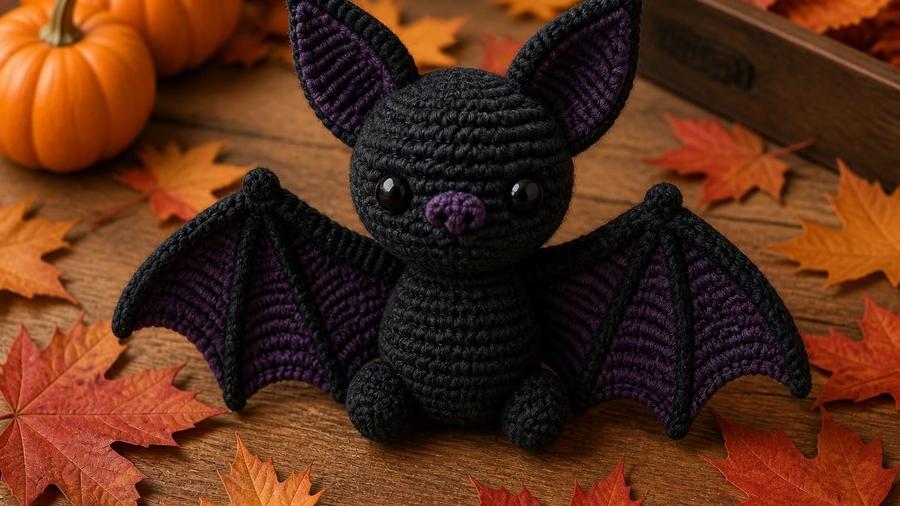
A small amigurumi bat with a rounded teardrop body, pointed ears, and wire-stiffened wings that actually spread outward.
Updated 2026 · US terms · About 4-5in tall, 7-8in wingtip to wingtip
My first attempt at an amigurumi bat had a perfectly nice teardrop body and reasonable little ears, and it still didn't look like a bat, because the wings just hung down against the sides like a cape rather than spreading out the way a bat's wings actually do. It turns out a soft crocheted wing, worked flat with nothing inside it, has no way to hold a spread position on its own, no matter how carefully it's shaped or sewn on. The fix wasn't a different crochet technique at all, it was a short length of pipe cleaner woven through the top edge before sewing.
This pattern covers the teardrop body and ear shaping in the round, the flat scalloped wing panels worked separately, and specifically the wire-stiffening step that's the actual difference between a bat that reads as a bat and one that reads as a slightly odd black blob.
Working the wings flat rather than in the round is a deliberate choice, not an arbitrary one. A wing worked in continuous rounds naturally wants to curl into a tube as amigurumi pieces do, which is exactly the wrong shape for something meant to lie open and flat against a wire support. Turned rows, worked back and forth with a chain-1 turn at the end of each row, keep the fabric flat by default, giving the wire something flat and cooperative to shape rather than fighting a piece that's already trying to curl closed.
Body worked in continuous rounds; wings worked flat in turned rows, not in the round.
Wings are worked separately and sewn on afterward at an outward angle, not crocheted directly to the body.
A wire insert in each wing is what holds the spread shape; it is not optional if you want the wings to stay up.
Pattern
Body, rounds 1-8
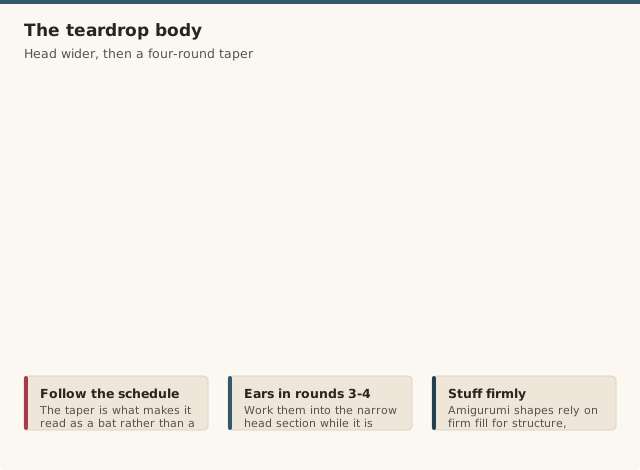
Magic ring, 6 sc into ring (6). Rnd 2: inc in every st (12). Rnd 3: *sc, inc* around (18). Rnd 4: *sc 2, inc* around (24). Work 2 rounds even at 24. Rnd 7: *sc 2, inc* around (30, this begins the wider "body" section below the narrower "head"). Work 1 round even at 30.
Ears
On the head section (rounds 3-4), work 2 short pointed ears: sc 3 into a single stitch, turn, sc2tog, turn, sc in remaining 1 st, fasten off leaving a short tail for sewing, or work directly into the head round if comfortable with in-round shaping. Repeat for second ear, spaced evenly apart at the top of the head.
Taper and close
Stuff firmly. Rnd 9: *sc 3, dec* around (24). Rnd 10: *sc 2, dec* around (18). Rnd 11: *sc, dec* around (12). Rnd 12: dec around (6). Fasten off, thread tail through remaining sts, cinch closed.
Wings (make 2, worked flat)
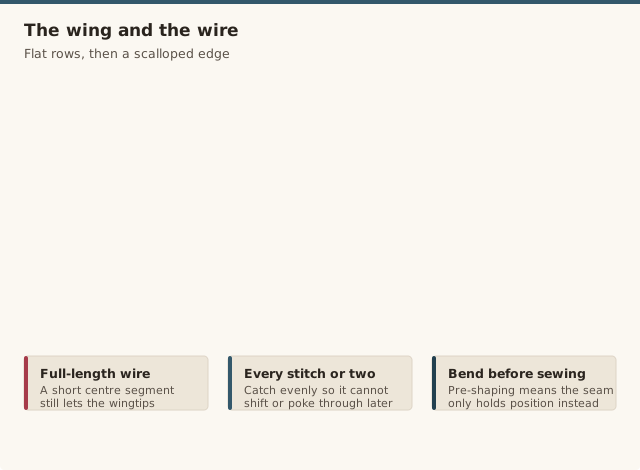
Chain 9. Row 1: sc in 2nd ch from hook and each ch across (8 sts), turn. Row 2: sc 8, turn. Row 3: sc2tog, sc 4, sc2tog (6), turn. Row 4: sc across, turn. Row 5: sc2tog, sc 2, sc2tog (4), turn. Row 6 (scalloped edge): *sc, 3 dc in next st* twice across the top edge for the scalloped look. Fasten off leaving a long tail for sewing.
Assembly
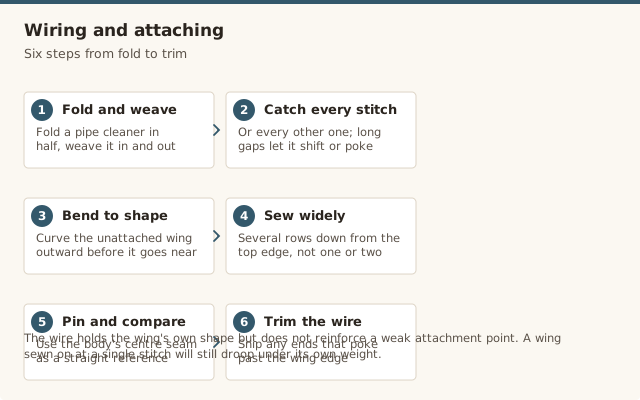
Fold a pipe cleaner in half and weave it through the stitches along the straight top edge of each wing. Pin both wings to the sides of the body at an outward angle, compare them for symmetry, then sew securely in place using the long tail. Attach safety eyes before fully closing the head if not already placed. Weave in any remaining ends and trim the wire ends if they poke past the wing's edge.
Getting the wings to spread properly
The wire is doing almost all of the structural work here, and it needs to run the full length of the wing's straight top edge, not just a short segment in the middle, or the wingtips will still droop even with the center held up. Weave it in and out of the stitches along that edge the way you'd weave in a yarn tail, catching every stitch or every other stitch rather than skipping long stretches, so the wire is anchored evenly and won't shift or poke through later.
Bend the wired wing into a gentle outward curve before sewing it to the body, rather than sewing it on flat and bending it afterward. It's much easier to adjust the curve on a wing that isn't yet attached, and pre-shaping it means the sewn seam only has to hold the wing in place, not fight against a flat wing trying to spring back.
The sewing itself matters more than it might seem for a piece that's already wire-supported. Sew through several rows down from the top edge, not just a single point of contact, so the wing's weight is distributed across a wider seam rather than pivoting on one thread. A wing attached at only one or two stitches will eventually droop under its own weight even with the wire in place, since the wire holds the wing's own shape but doesn't reinforce a weak attachment point.
Adjusting the size
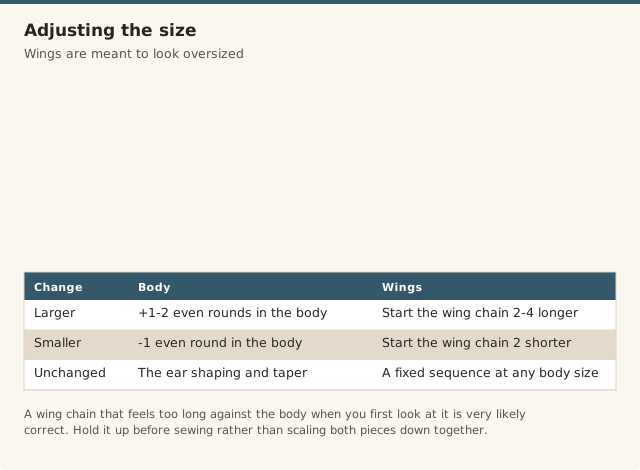
To make a larger bat, add 1-2 extra even rounds to the body section (between rounds 4 and 7) and lengthen the wing's starting chain by 2-4 stitches, adjusting the row-by-row decrease schedule proportionally. To make a smaller keychain-scale version, remove 1 even round from the body and shorten the wing's starting chain by 2 stitches. The ear and taper shaping doesn't need to change either way, since it's a fixed number of rounds regardless of the body's overall size.
Whichever size you land on, keep the wing-to-body proportion in mind rather than just scaling both pieces by the same percentage. A bat's wings are dramatically larger relative to its body than most amigurumi animals' limbs, so a wing chain that feels "too long" compared to the body when you first look at it is very likely the correct proportion, not a mistake. If in doubt, hold the unattached wing up against the finished body before sewing, real bats have a wingspan roughly one and a half to two times their body length, and this pattern's proportions are built around that same ratio.
If you're making several bats at once, for garland or as a group of party favors, it's worth working all the bodies first, then all the wings in one batch, rather than finishing each bat completely before starting the next. Keeping the gauge consistent within a batch of same-sized pieces worked back to back is noticeably easier than returning to the pattern days apart for each individual bat.
Color variations beyond plain black
Plain black with a light-grey or white belly patch is the classic choice and reads clearly as a bat from any distance, but a few variations are worth considering depending on how you'll use the finished piece. A deep purple or midnight-blue body instead of true black photographs slightly better under indoor lighting for anyone planning to share photos, since pure black can lose detail and look like a flat silhouette in a photo. A pale grey or cream body with black wing tips and ears flips the classic coloring and reads as a friendlier, less spooky "fruit bat" style version, which some crocheters prefer for a nursery or year-round decorative piece rather than a strictly seasonal one.
Wing and shape troubleshooting
Mistake: the wings droop down against the body instead of spreading out.
Fix: cut a short length of pipe cleaner or thin floral wire, fold it in half, and weave it through the last row of stitches along the top edge of each wing before sewing it on.
Mistake: the wings end up sewn on crooked or noticeably different sizes.
Fix: pin both wings in place and stand back to compare before sewing either one down, using the body's center seam as a straight reference line.
Mistake: the ears collapse or point the wrong direction.
Fix: work the ears with fewer stitches than the main body rounds so they're naturally smaller and stiffer, and lightly stuff just the tip of each ear.
Mistake: the body comes out shaped like a plain round ball instead of the tapered bat silhouette.
Fix: follow the increase/decrease round schedule exactly rather than substituting a generic sphere pattern, since the taper is what makes it read as a bat.
Mistake: the two wings come out different sizes because of tension drift between them.
Fix: use a row counter and count stitches per row for each wing rather than estimating by length, since wings are usually made on separate days.
Our pick to keep the wings up
Notions
Chenille Stem Pipe Cleaners, 12in
A pack of standard craft pipe cleaners is the exact right gauge for weaving through a wing's edge stitches without adding noticeable bulk, and one pack covers many bats' worth of wings.
How do I make the wings hold their spread-out shape?
Cut a short length of pipe cleaner or thin floral wire, fold it in half, and weave it through the last row of stitches along the top edge of each wing before sewing it on. The wire holds the spread shape permanently without stiffening the rest of the wing.
What does the finished size work out to?
About 4-5in tall with the wings spread to roughly 7-8in wingtip to wingtip, using worsted-weight yarn and a 3.5mm hook.
Can these be strung together as Halloween garland?
Yes, work a short chain loop at the top of each bat's head before fastening off, then thread ribbon or twine through each loop and space the bats evenly along the length.
What yarn weight keeps the wings from being floppy?
Worsted-weight yarn worked at a tight amigurumi gauge with a 3.5mm hook gives the wings enough natural body to hold their shape once the wire is added. A thinner or looser-gauge yarn will need the wire to do more of the work and may still sag at the tips.
Is this pattern secure enough for a kids' toy or should it stay decorative?
Because the wings contain wire, this pattern is best kept as a decorative piece rather than a toy for very young children who might chew or pull at the wings. For an older child's toy, the wire can be left out entirely, though the wings will then lie flatter against the body.
Can wire be added to make the wings poseable into different positions?
Yes, the same pipe-cleaner insert that holds the wings spread also lets you bend them into different positions afterward, angled upward for a mid-flight look or folded closer to the body for a resting pose.
Nora has been teaching crochet for 12 years, from absolute beginners to people coming back to the craft after decades away. She started CrochetGuides to write the clear, honest instructions she wishes she'd had when she was learning — the ones that actually work the first time.
CrochetGuides is a participant in the Amazon Services LLC Associates Program. As an Amazon Associate we earn from qualifying purchases, at no extra cost to you.