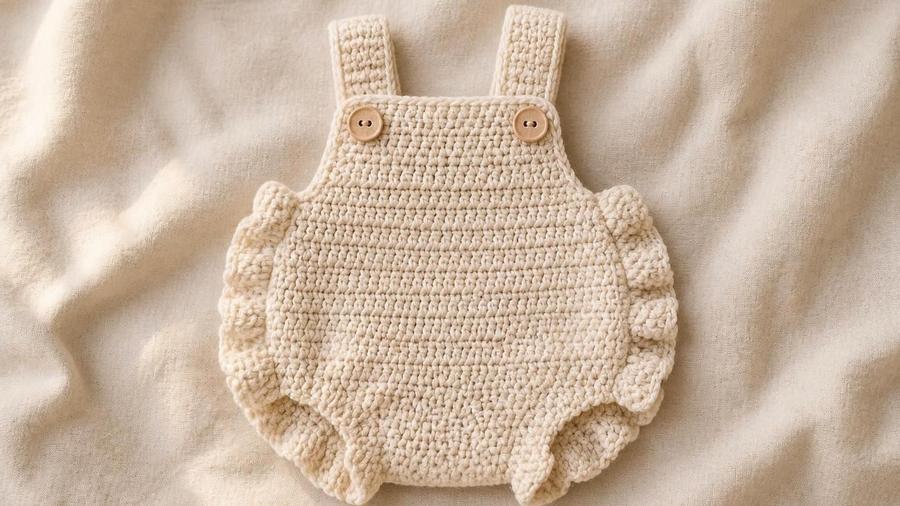
Shorts-length bloomers with a ruffled leg trim and button shoulder straps, the photo-ready cousin of our full-leg baby romper.
Updated 2026 · US terms · Sized for 3-6 months (0-12mo adjustments included)
This pattern started as a leftover-yarn experiment after I finished our baby romper pattern. I had the body-and-strap construction already worked out, and I got curious what would happen if I just stopped before the legs and added a ruffle instead. The answer turned out to be one of my favorite quick baby makes: a shorts-length cover that photographs beautifully and works up in a fraction of the time a full romper takes.
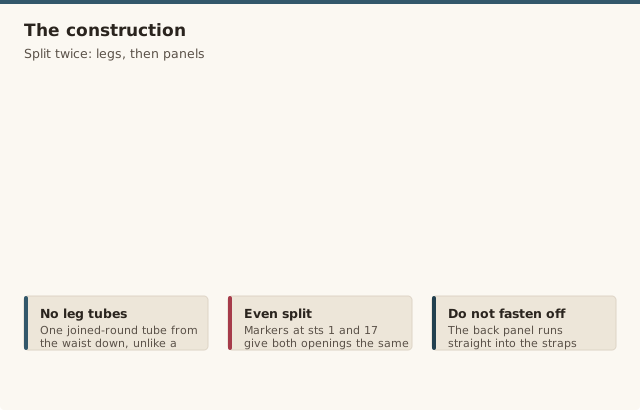
The body is a simple joined-round tube worked from the waist down, much shorter than the romper's since there are no leg tubes to build. Once it reaches shorts length, it splits into two leg openings, each finished with a ruffle round worked by placing several stitches into every single stitch around the opening instead of one stitch per stitch. That extra fullness has nowhere to go but outward, which is exactly what creates the frilled, ruffled edge. The top splits into a flat front and back panel with button shoulder straps, the same approach as the romper.
Below is the full pattern in US terms, with sizing for newborn through 12 months, a dedicated section on how the ruffle technique actually works, and notes on attaching the straps securely. If you'd like the full-leg version of this same construction, see our baby romper pattern, which this one is deliberately paired with.
A note on straps and buttons: the shoulder straps close with buttons, not ties or cords, and there is nothing that wraps around the neck anywhere in this pattern. Sew each button on very securely with strong thread or embroidery floss, going through the fabric and button several times and knotting off firmly, and check them regularly for looseness before every wear. Use soft, baby-safe, machine-washable yarn throughout.
Materials
About 300–380 yards of worsted-weight cotton or cotton-blend yarn
4.5mm or 5mm crochet hook
2 buttons, about 3/4in / 2cm
Yarn needle, scissors, sewing needle and thread for buttons
13 dc and 8 rows measures about 4in / 10cm square with a 5mm hook and worsted yarn.
Notes
Worked as one joined-round body tube from the waist down, no separate leg tubes, unlike our romper pattern.
The upper body splits to flat rows for the front and back panels, the same as the romper.
Sized for 3-6 months in the main pattern, with adjustments for 0-3, 6-9, and 9-12 months in the sizing section.
Pattern
Foundation
Chain 32, join with a slip stitch to form a ring, being careful not to twist the chain. Ch 2, dc in each chain around. (32 sts)
Body rounds 1–7
Ch 2, dc in each st around. Repeat for 7 rounds. (32 sts each round) This forms the shorts-length body, worked directly from the waist opening down toward the leg openings without any leg tubes.
Splitting for leg openings
Place a stitch marker at the first and 17th stitch of the last round, dividing the tube into two equal halves of 16 sts each; these markers become the two leg openings.
Ruffle round, first leg opening
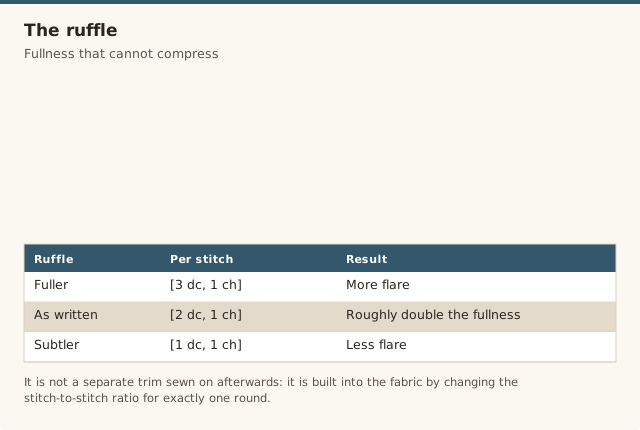
Join yarn at the first marked point. Work [2 dc, 1 ch] in each of the 16 sts around the leg opening, joining with a slip stitch at the end. This places roughly double the fullness into the same circumference, which flares outward into a ruffle rather than lying flat. Fasten off.
Ruffle round, second leg opening
Repeat the ruffle round at the second marked point, working into the remaining 16 sts. Fasten off.
Splitting to front and back panels
Rejoin yarn to the body at the waist round (the last full round before the ruffle split). Ch 2, dc in the next 16 sts, turn, leaving the remaining 16 sts unworked for now. This begins the front panel.
Front panel, rows 1–3
Ch 2, dc in each st across. Turn. Repeat for 3 rows total. (16 sts each row) Fasten off.
Back panel
Rejoin yarn to the first of the remaining 16 unworked sts. Ch 2, dc in each st across. Turn. Repeat for 3 rows total, matching the front panel exactly. Do not fasten off; continue directly into the straps.
Straps (make 2 from the back panel)
At the back panel's last row, place a stitch marker 3 sts in from each side, marking where each strap will start. Join yarn at one marked point, ch 2, dc across 4 sts. Turn. Ch 2, dc across 4 sts. Repeat for 6 rows total, or until the strap reaches over the shoulder to the front panel with a small overlap. Fasten off, leaving a tail for sewing. Repeat for the second strap at the other marked point.
Finishing
Work 1 round of sc around the waist opening for a clean, defined edge. Sew a button to the front panel under each strap's end point, positioned so the strap lies flat when buttoned. Weave in all ends.
How the ruffle technique works
The ruffle isn't a separate trim sewn on afterward; it's built directly into the fabric by changing the stitch-to-stitch ratio for just one round. Every other round in this pattern works one stitch into one stitch, keeping the fabric flat. The ruffle round instead works multiple stitches, in this case two double crochets plus a small chain, into each single stitch around the leg opening. That extra fullness has to go somewhere, and since it can't compress back into the same circumference as the round below it, it flares outward and drapes downward into a ruffle. The same principle shows up in a lot of crochet trims and edgings; once you understand it here, you'll recognize it elsewhere.
If you'd like a fuller, more dramatic ruffle, work 3 dc instead of 2 into each stitch; for a subtler ruffle, work [1 dc, 1 ch] instead. Either adjustment changes how much extra fullness goes into the round without touching anything else in the pattern.
Attaching the straps securely
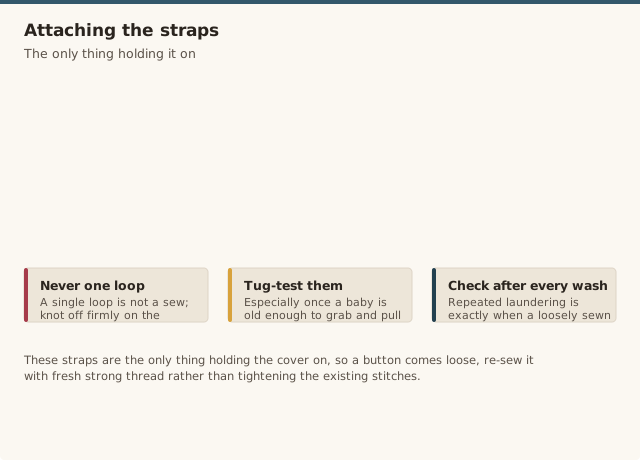
The straps are the only thing holding this diaper cover on the shoulders, so button attachment matters here for both fit and safety. Sew through the button's holes and the strap fabric at least 6-8 times with strong sewing thread or embroidery floss, then knot off firmly on the wrong side rather than trusting a single loop. Check each button periodically by giving it a firm tug, especially once a baby is old enough to grab and pull at their own clothing.
Sizing for 0-12 months
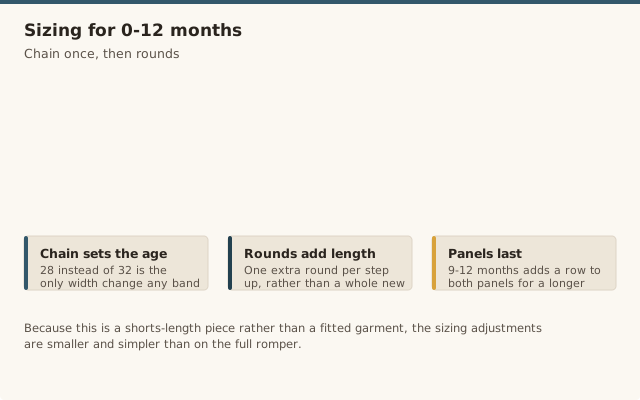
The main pattern above is written for roughly 3-6 months. Because this is a shorts-length piece rather than a fitted garment, sizing adjustments here are smaller and simpler than on the full romper.
For 0-3 months, reduce the foundation chain to 28 and work only 5 body rounds before splitting for the ruffle.
For 6-9 months, add 1 body round (8 rounds total) and keep the foundation chain the same.
For 9-12 months, add 2 body rounds (9 rounds total) and add 1 extra row to both the front and back panels for a slightly longer torso, matching the same adjustment used at this stage in our romper pattern.
Choosing yarn and hook size
A worsted-weight cotton or cotton-blend yarn with a 4.5mm or 5mm hook works well here, the same combination used in our romper pattern, giving enough drape for comfort against skin with enough structure for the ruffle to hold its shape rather than collapsing flat. Our yarn weight guide covers fiber choices in more depth if you're substituting.
Care & washing
Machine wash on a gentle cycle and lay flat to dry, gently reshaping the ruffle by hand while still damp so it dries with its flare intact rather than pressed flat. Check the button attachments after each wash, since repeated laundering is exactly when a loosely sewn button tends to work itself free.
Common mistakes & fixes
Mistake: the ruffle lies flat instead of flaring outward.
Fix: double-check you worked 2 dc (plus the chain) into each stitch around, not just an occasional increase here and there; the ruffle only forms when the extra fullness is added consistently to every single stitch.
Mistake: the two leg openings end up different sizes.
Fix: confirm your stitch markers were placed at exactly the 1st and 17th stitches before splitting, giving both openings the same 16-stitch starting count for the ruffle round.
Mistake: the front and back panels come out different lengths.
Fix: count rows carefully on both panels and lay them side by side to compare before moving on to the straps, the same check used on our romper pattern.
Mistake: a strap twists when buttoned instead of lying flat.
Fix: check that the strap wasn't accidentally worked with a half-twist during the turning chain rows, and lay it flat against the back panel before attaching the button to confirm it isn't twisted.
Mistake: a button comes loose after a few washes.
Fix: re-sew it with fresh, strong thread rather than tightening the existing stitches, and check all buttons on the garment at the same time since a worn thread on one is often a sign the others need attention too.
Our pick
Yarn
Lion Brand 24/7 Cotton Yarn
A durable, machine-washable worsted-weight cotton with good stitch definition, comfortable against skin and structured enough to hold the ruffle's shape.
How is this different from your baby romper pattern?
This diaper cover shares its body-and-strap construction with our baby romper pattern, but it stops at a shorts length instead of continuing into full legs, and it adds a ruffled trim worked directly into each leg opening. Visually and in finished shape they're quite different: the romper is a full outfit with legs, while this is a bloomers-style cover meant to go over a diaper, with no leg tubes at all.
How is the ruffle made?
The ruffle is worked as an extra round directly into each leg opening after the body is finished, working multiple stitches into every single stitch around instead of one-to-one. That extra fullness has nowhere to go but outward and downward, which is what creates the ruffled, frilled edge.
How securely do the shoulder strap buttons need to be attached?
Very securely. Sew each button on with strong thread or embroidery floss, going through the fabric and button multiple times and knotting off firmly, then check them regularly for looseness before every wear, the same as with any button-fastened baby item.
What age range does this pattern fit?
The main pattern is written for 3-6 months. The sizing section gives adjustments for 0-3, 6-9, and 9-12 months, mainly through the body's round count and the ruffle's starting circumference.
What yarn and hook size should I use?
A worsted-weight cotton or cotton-blend yarn with a 4.5mm or 5mm hook works well, the same as our baby romper pattern, giving enough drape for comfort with enough structure for the ruffle to hold its shape.
Is there anything around the neck on this pattern?
No. This diaper cover closes at the shoulders with short button straps, the same as our romper pattern, and nothing wraps around the neck anywhere in the design.
Nora has been teaching crochet for 12 years, from absolute beginners to people coming back to the craft after decades away. She started CrochetGuides to write the clear, honest instructions she wishes she'd had when she was learning — the ones that actually work the first time.
CrochetGuides is a participant in the Amazon Services LLC Associates Program. As an Amazon Associate we earn from qualifying purchases, at no extra cost to you.