Free Crochet Twisted Headband Pattern for Beginners
A single strip of half double crochet, twisted once and sewn closed — no shaping, no counting increases.
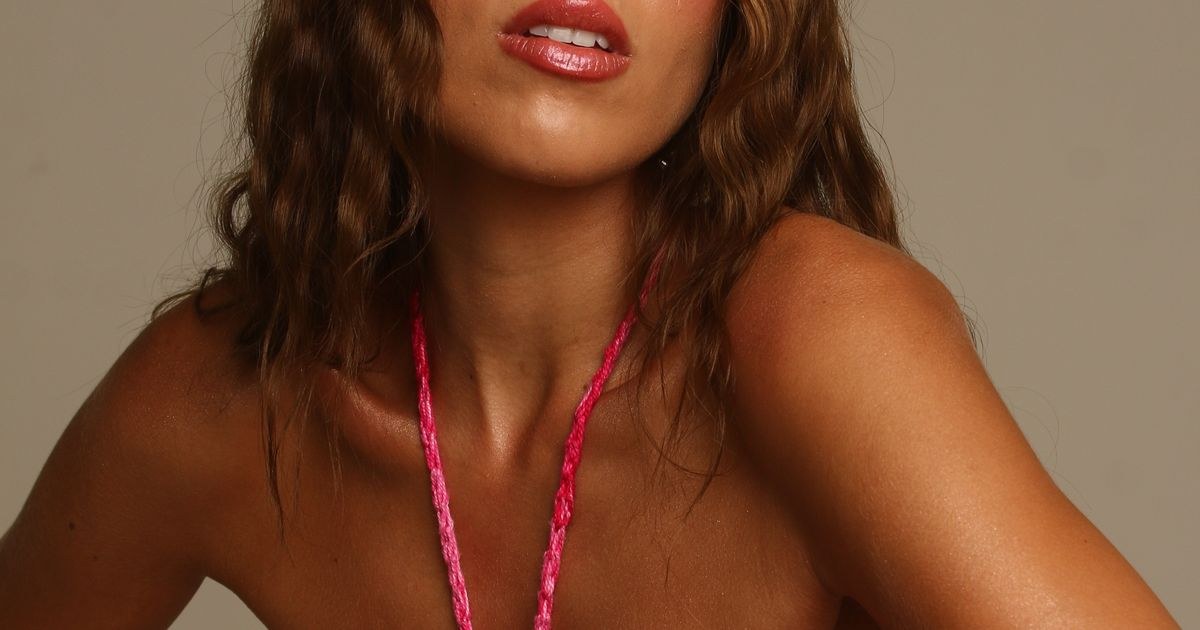
This twisted headband is the project I handed to my sister the first time she told me she wanted to learn to crochet but didn't want to commit to anything big. One straight strip, one half-twist, one seam — done in an evening and genuinely wearable the next morning. She's made six more in different colours since, which tells you most of what you need to know about how addictive a fast, satisfying project can be. In my classes it's the pattern I recommend when someone needs a quick win, because there's so little that can go wrong: the starting chain sets the size, a few rows of half double crochet set the width, and the twist is the only step that takes any real attention.
This headband is a single rectangular strip worked in half double crochet — the same flat-row technique from our scarf pattern — joined into a loop with one twist for shape. It's one of the fastest wearable projects on the site, and resizes for a child just by adjusting the starting chain.
Materials
- 1 skein worsted-weight yarn (about 60–90 yards)
- 5.0mm (US size H) crochet hook
- Scissors
- Yarn needle, for the twist seam and weaving in ends
Abbreviations (US terms)
| Abbr. | Means |
|---|---|
| ch | Chain |
| hdc | Half double crochet |
| st(s) | Stitch(es) |
See our abbreviations glossary for the full list including UK terms.

Gauge
Exact gauge isn't critical — the finished circumference depends entirely on your starting chain length, which you measure against the wearer's head before starting.
Notes
- Written in US terms, worked flat in rows — same base technique as our scarf pattern.
- Measure the wearer's head circumference before starting and chain to match; this is the only adjustment needed to resize for an adult or a child.
- The video below shows the twisting and seaming step, which is easier to follow visually than in text alone.
Pattern
Chain to match the wearer's head circumference plus 1in / 2.5cm for seam allowance, plus 2 for turning. For an average adult, this is roughly ch 24; for a child, roughly ch 20. Adjust to your own measurement.
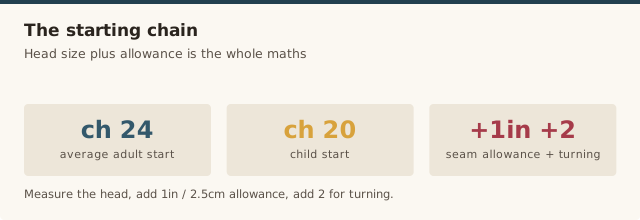
Hdc in the 3rd chain from hook, and in each chain across. Turn. (matches your starting chain minus 2)
Ch 2 (counts as first hdc), hdc in each stitch across. Turn. Repeat until the strip measures about 3–3.5in / 7.5–9cm wide (5 rows total for most yarn weights).
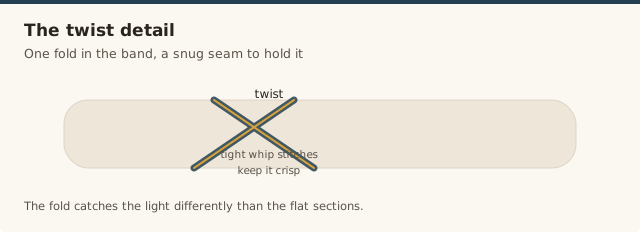
Fasten off, leaving a long tail. Lay the strip flat, give one end a single half-twist, then bring the two short ends together with the twist in the middle. Whip stitch the short ends together securely with the tail and a yarn needle.
A beginner tutorial on crocheting a headband, useful for seeing the band width and seam closure.
Sizing for the family
Because this pattern has no shaping, the chain length is the only number that changes between sizes. As a rough guide: a toddler typically needs about ch 18-19, a school-age child around ch 20-21, a teen or smaller adult around ch 22-23, and a larger adult head around ch 24-26. These are starting points — measuring the actual wearer's head and chaining to match, with 1in / 2.5cm added for the seam allowance, always beats a size chart.
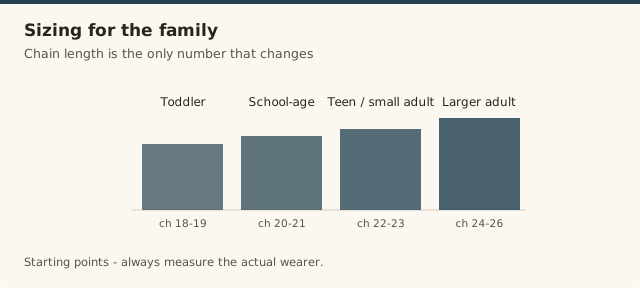
Since one skein makes an adult headband with plenty of yarn left over, it's easy to make a matching set for the whole family from a single dye lot — just re-measure and adjust the starting chain for each person before working the same rows and twist-seam finish.
A tape measure is more reliable than guessing from a size chart, but if one isn't handy, a length of yarn wrapped snugly around the head and then measured against a ruler works just as well. Measure across the forehead just above the ears, where the band will actually sit, rather than the widest point of the head, since that's a slightly different (and usually larger) measurement that would leave the finished band loose.
Styling & color ideas
A solid color in worsted-weight cotton or acrylic gives the twist detail room to stand out, since the fold catches the light differently than the flat sections on either side. A tweed or heathered yarn does something similar while adding a bit more texture interest without competing with the twist itself.
For width, the 3-3.5in as written reads as a decorative, everyday accessory; going up to 4in or more shifts it toward a functional ear warmer for cold-weather wear. Either width works equally well in a bold solid for a statement piece or a soft neutral for something that pairs with everything in a wardrobe.
This pattern also makes a quick, thoughtful handmade gift precisely because the sizing is so easy to get right without the recipient present — a rough head-size guess is usually close enough, and any small fit difference is easy to explain away as an intentionally relaxed style. Making two or three in coordinating colors as a small gift set costs little in extra time once the first one is finished, since the pattern and twist technique are already fresh in your hands.
Common mistakes & fixes
Fix: work the whip stitches close together and pull them snug — a tight seam at the twist point is what keeps the shape looking crisp long-term.
Fix: measure before starting and add the seam allowance — since there's no shaping to hide a sizing error, the chain length is the one number that has to be right.
Fix: use exactly one half-twist before bringing the short ends together — more than that changes how the band lies against the head.
Fix: always chain 2 and treat it as the first stitch of the row the same way every time — consistency here matters more on a plain strip since there's no stitch pattern to disguise a wobble.
Our pick
Cotton worsted-weight yarn, 3-pack
One skein makes an adult headband with plenty left over for a matching child's size from the same dye lot.
View on Amazon →Frequently asked questions
How much yarn do I need for a crochet headband?
A single adult headband uses roughly 60 to 90 yards of worsted-weight yarn, comfortably within a single skein with plenty left over.
How do I resize this headband for a child?
Chain to fit the child's head measurement instead of the adult length given in the pattern, keeping the row count the same. A shorter starting chain is the only change needed.
Why does my headband come out too loose or too tight?
The starting chain length determines the finished circumference directly, since this pattern has no shaping. Measure the wearer's head before starting and adjust the chain length up or down rather than changing hook size.
Can this headband double as an ear warmer in cold weather?
Yes — working an extra row or two of width (up to about 4in / 10cm) covers more of the ears for outdoor wear, while the original 3-3.5in width suits a lighter, more decorative style.
How do I keep the twist from coming undone over time?
A tight, closely spaced whip stitch seam at the twist point is what holds it in place long-term; a loosely seamed twist can gradually shift or flatten out with repeated wear and washing.
Can I make a wider or narrower version of this headband?
Yes — work more or fewer rows before fastening off to change the width; anywhere from 2 rows (a slim style) to 6-7 rows (a wide, cozy style) works with this same construction.
What stitch is best for a crochet headband?
Half double crochet is a great balance — it's quick, stretchy enough to sit comfortably, and creates a soft fabric that doesn't feel stiff against the ears. Single crochet works too but makes a firmer, less stretchy band.
How do I stop a crochet headband from slipping off?
Chain to a length slightly snugger than the wearer's exact head measurement, since the fabric relaxes a little with wear. A ribbed band worked through the back loop only also grips hair and skin more than a smooth stitch.
CrochetGuides is a participant in the Amazon Services LLC Associates Program. As an Amazon Associate we earn from qualifying purchases, at no extra cost to you.