How to Weave in Ends in Crochet So They Never Come Loose
A lumpy, half-hearted weave-in is the reason a finished piece looks unfinished. Here's the method that actually holds.
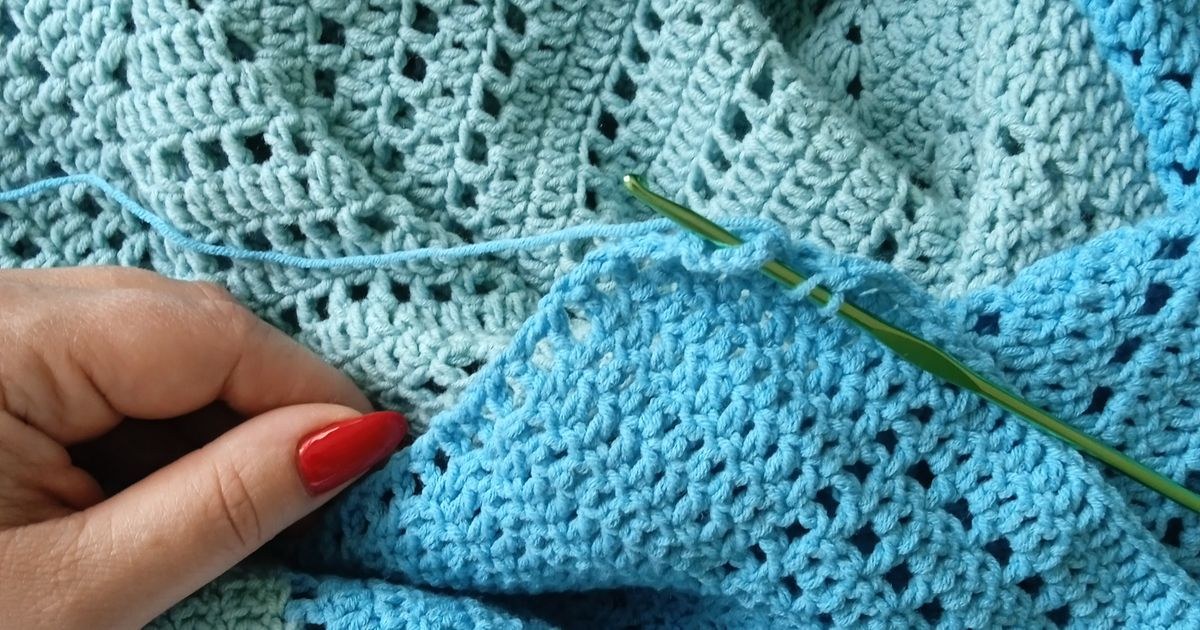
I once watched a student spend forty minutes on a granny square blanket's last round of color changes, then hand the finished piece over with every single tail simply knotted and left dangling on the back. She'd done beautiful, even stitchwork for weeks, and the only thing anyone noticed when they picked it up was the forest of loose ends. Weaving in ends is the least glamorous part of any crochet project, which is exactly why it gets rushed, and exactly why rushing it is the single fastest way to undercut work you've otherwise done carefully.
The good news is that weaving in ends properly takes barely longer than doing it badly, once you know the one detail that actually matters: changing direction partway through. A tail woven in a straight line, no matter how many stitches it passes through, can still be worked loose by wear, washing, or a curious toddler. A tail woven in two different directions locks itself in place through friction alone, and that's the entire secret behind an end that disappears for good.
This guide covers the step-by-step method I teach in every beginner class, how to adapt it for amigurumi, garments, and slippery yarns that resist holding a weave at all, and the mistakes that make people distrust weaving in enough to reach for a knot instead.
The step-by-step method that actually holds
This works on almost any crochet fabric and is the method to default to unless a special case below applies.
- Thread the tail onto a blunt yarn needle.
- On the wrong side of the fabric, weave the needle through the back loops of four or five stitches in one direction, following a roughly horizontal or diagonal line rather than a single row, so the weave doesn't create a visible ridge.
- Pull the yarn through, then reverse direction and weave back through a different set of loops, at a slight angle to your first pass, for another three or four stitches.
- Give the fabric a gentle stretch to settle the woven yarn into place, then trim the tail close to the fabric, leaving about a quarter inch (roughly 5mm) rather than cutting flush.
The reversed direction is doing the real work here. Because the second pass crosses the first at an angle, the tail can't simply slide back out the way it went in — it's physically caught against itself. Skipping this step and weaving in one long straight line is the single most common reason people find loose ends resurfacing after a wash.
How much tail to leave
Leave at least 6 inches (15cm) when you fasten off. It's tempting to trim close right away, especially if you're eager to finish a project, but a short tail is difficult to thread onto a needle and leaves little room to weave in two directions. If you end up with extra length after weaving, trimming it afterward takes seconds; running out of tail mid-weave means unpicking and starting over with a fresh strand.
For color-change projects with many joins, like a granny square blanket worked in multiple colors, it's worth trimming your working yarn to a consistent 6–8 inch tail every time you change color, so you're never guessing whether you've left enough to work with later.
Weaving in as you go, or leaving it all for the end
For a project with just one or two ends — a scarf, a simple hat — it doesn't matter much whether you weave in immediately or wait until the piece is finished. For anything with many color changes, weaving in as you complete each section is worth the extra few minutes per join.
The reasoning is practical: a granny square blanket with a dozen squares in five colors can easily produce eighty or more ends by the time it's assembled. Facing all of them at once, on a large, unwieldy finished blanket, is exactly the scenario that leads to rushed, single-direction weaving or, worse, tails just knotted and left. Weaving each square's ends in while it's still small and easy to handle keeps the job manageable and means you're checking each join is secure while it's still simple to fix if it isn't.
Weaving in ends on amigurumi
Amigurumi has one advantage and one added constraint: the dense single crochet fabric holds a weave very securely, but you need to weave in before stuffing while you can still access the inside of the piece. Weave the tail through several stitches on the inside surface, following the same reverse-direction method above, then trim it close to the fabric so no length is left to poke through once the piece is stuffed and under tension. If a tail is attached at a color-change point that will be covered by stuffing or another piece (like an ear or limb about to be sewn on), that's the ideal spot to fasten off, since any minor bulk from the weave is hidden entirely. Our amigurumi for beginners guide covers the full finishing sequence from stuffing to closing the last round.
Weaving in on garments and finished edges
On garments, ends near a visible edge (a neckline, cuff, or hem) deserve extra care, since a poorly woven end here shows and can also irritate skin on close-fitting pieces like a beanie or a baby item. Weave these along the inside of a seam or along the back of a border round wherever possible, rather than through the open field of the main fabric, so any slight thickness from the weave sits along an existing seam line instead of creating a visible bump on its own.
For seamed garments, it's often easiest to weave the cast-on and fasten-off tails into the seam allowance itself as you sew pieces together, combining two finishing steps into one and avoiding a separate pass just for the ends.
Slippery and slick yarns
Some fibers, particularly slick acrylics, bamboo blends, and certain cottons, are more prone to a woven end working itself loose over time, even with the direction-change method. For these yarns, weave in three directions instead of two, and consider a small, unobtrusive knot at the very start of the weave, tied close to the fabric before you begin threading the tail through stitches, as extra insurance against a yarn that's naturally slick enough to resist friction alone.
Testing a weave before you trim
Before cutting the tail short, give the surrounding fabric a firm stretch in both directions, the way it will actually be handled once finished — folded into a blanket, pulled on as a sleeve, or squeezed as a stuffed toy. If the woven tail shifts noticeably or starts to peek back out under that stretch, it needs another pass in a third direction before you trim, rather than after. This thirty-second check costs nothing while the tail is still long enough to fix easily, and it catches the handful of weaves that don't hold before they become a problem you discover weeks later, mid-wash.
It's worth doing this test on the first two or three ends of any new yarn you haven't worked with before, since how securely a weave holds varies more by fiber and ply than most people expect. Once you've confirmed a particular yarn holds a two-direction weave reliably, you can move through the rest of the project's ends with more confidence and less double-checking.
Common mistakes & fixes
Fix: always reverse direction partway through, weaving back through a different set of loops at an angle to the first pass, so the tail is caught rather than free to slide back out.
Fix: leave about a quarter inch (5mm) of tail beyond the fabric. Trimming flush increases the chance the very end works its way through the last stitch it's woven into over time.
Fix: a knot alone often shows through as a small bump on the right side and can still work loose as the surrounding stitches shift. Weaving distributes the tail across several stitches and holds at least as securely, usually more so, with a flatter result.
Fix: always work from the wrong side, catching only the back loops of stitches so the weave stays invisible from the front once the piece is complete.
Fix: weave in ends as you finish each section or color change where practical. It turns one overwhelming task into several small, manageable ones and lets you catch a loose join early.
Frequently asked questions
What is the best way to weave in crochet ends?
Weave the tail through the back loops of several stitches in one direction for about 2 inches, then reverse direction and weave back through a different set of loops for another inch or two. The direction change is what locks the end in place, since a tail woven only one way can still work itself loose over time.
How long should a yarn tail be before weaving it in?
Leave at least 6 inches (15cm) when you fasten off, since a shorter tail is hard to thread onto a needle and gives you little room to change direction while weaving. It's easier to trim excess afterward than to run out of tail partway through.
Should I weave in ends as I go or all at the end?
For projects with many color changes, like a granny square blanket, weaving in ends as you finish each section is far less overwhelming than facing dozens of tails at the very end, and it also lets you check each join is secure while the section is still easy to handle.
Why do my woven-in ends keep working their way back out?
This almost always means the tail was woven in a single straight line rather than changing direction partway through. A straight line of weaving can be tugged back out the way it went in; weaving in two different directions, or through a small knot at the join, prevents that.
How do I weave in ends on amigurumi without them showing?
Weave the tail through the stitches on the inside of the piece before stuffing, running it through several stitches in one direction and back through others, then trim it close to the fabric. Because amigurumi fabric is dense, a well-woven end tucks in almost invisibly once the piece is stuffed.
What tool should I use to weave in ends?
A blunt yarn needle (sometimes called a tapestry needle) is the standard tool, since its rounded tip slides between stitch loops without splitting the yarn. A sharp sewing needle can snag or split fibers and is best avoided for this job.
Can I crochet over ends instead of weaving them in afterward?
Yes, this is called crocheting over your ends, and it works by laying the tail along the top of your stitches and working the next several stitches over it, burying it inside the fabric as you go. It saves time on straight rows but is harder to control around corners or color changes, so many crocheters use it for long straight sections and switch to weaving for anything more complex.
CrochetGuides is a participant in the Amazon Services LLC Associates Program. As an Amazon Associate we earn from qualifying purchases, at no extra cost to you.