How to Join Granny Squares: 5 Methods Step by Step
Five ways to seam your squares together, written in US terms, with the exact steps for each and a simple rule for choosing between them.
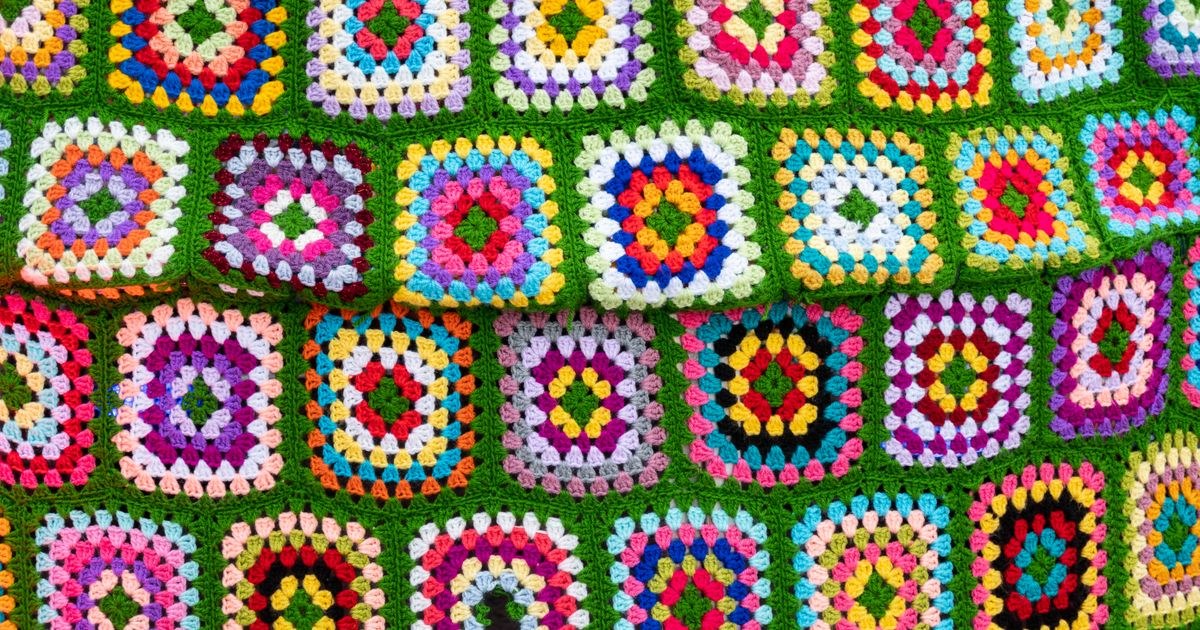
I once had a student who crocheted forty-eight perfect granny squares over a summer and then did nothing with them for a year. The squares were not the problem. The joining was. She had decided in advance that seaming them together would be the hard part, so she kept putting it off, and every time I saw her she would pull a new square out of her bag and change the subject. When she finally let me sit down with her and join the first two squares with a whip stitch, the whole thing took about four minutes. She looked at me as if I had been hiding the trick the entire time.
Joining is not the hard part of a granny square blanket. It is just a seam, and there are only a handful of sensible ways to make one. This guide walks through all five methods I teach, in US terms, with the exact steps for each and a note on when to reach for it. By the end you will be able to choose the right join for your project, prep your squares so the seams line up, and finish a blanket without a single frustrating evening in between.
Which join to choose
If you are new to this, start with whip stitch and do not overthink it. It is forgiving, the seam almost disappears from the front, and it teaches you the hand motion every other join builds on. From there, the choice is mostly about what you want the finished blanket to look and feel like.
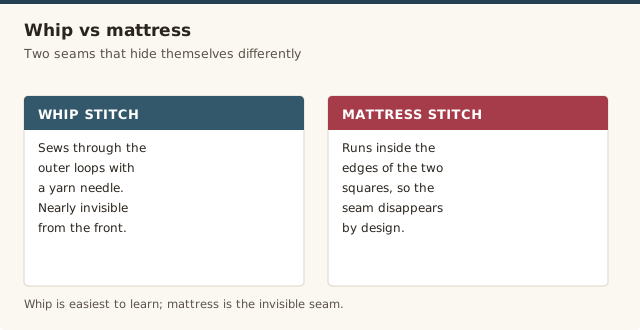
- Whip stitch — nearly invisible, easiest, my default for a first blanket.
- Slip stitch join — flat and flexible with almost no bulk, good when two squares will sit under tension.
- Single crochet join — a raised, decorative ridge you want people to see, and the sturdiest of the five.
- Join-as-you-go — no sewing at all, but you must know your layout before you begin.
- Mattress stitch — the flattest, most invisible seam, saved for heirloom and special blankets.
The one rule I give every student: match the stitch count of your squares before you choose anything. Every join below works cleanest when the two edges have the same number of stitches, and the whole thing falls apart in a hurry when they do not. More on that in the mistakes section, but it drives the next two steps more than any other single factor.
Prepare and block your squares first
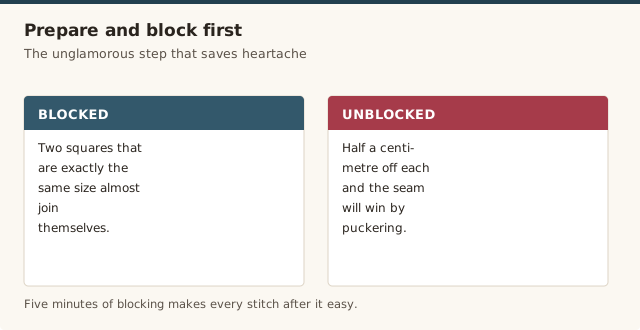
Before you pick up a needle or a hook, do the unglamorous five minutes that make everything after it easy. Block your squares, or at the very least steam the edges flat. Two squares that are each half a centimetre off from one another will fight you on every single stitch of the seam, and the seam will win by puckering. Two squares that are exactly the same size almost join themselves.
Blocking evens out your tension, straightens the edges, and opens the corners so they sit flat, which is exactly what you want before a join. Our how to block a crochet project guide walks through the three methods and how to pick one for your yarn. If your squares still vary a little after blocking, that is normal; you just ease the difference across the seam rather than pulling one square to match the other.
You also want every square to have the same number of rounds. A four-round square will not meet a five-round square stitch for stitch, and you will spend the whole seam compensating. If you are unsure how many rounds to work, the granny square tutorial covers the first three rounds and how to keep adding more.
Lay out the colour order
This is the step people skip, and it is the one that saves the most heartache. Lay your finished squares out on a bed or a floor in the exact arrangement you want, then stand back and actually look at it. A colour arrangement that looks random on a table will often reveal a clump of three identical squares sitting together once you see the whole blanket at once. Rearrange until the colours breathe evenly.
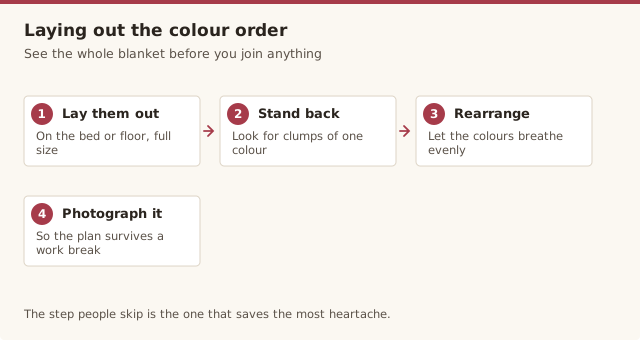
Then photograph the layout. I say this because every student who has ever told me they will remember the order has come back two weeks later with a stack of squares and no idea which went where. A photograph is a record you cannot misremember. After that, stack the squares in rows — row one in one pile, row two in another — and join each row in order. If you want help planning the colours and stitch counts of a full blanket, the free granny square blanket pattern and the basic crochet stitches guide are good places to start.
The 5 methods step by step
All five methods below are written in US terms. Each one includes the exact steps and a note on when to use it. You do not need to learn all five — most crocheters settle on one favourite and use it for everything.
1. Whip stitch
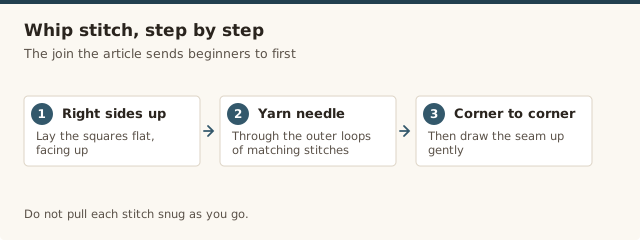
Whip stitch sews the two squares together through their back loops with a yarn needle. It is the first join I teach because it is forgiving and the seam practically vanishes from the front.
- Cut a length of yarn about three times as long as the seam, and thread it onto a yarn needle.
- Lay two squares side by side with their wrong sides together, so the right sides both face out.
- Starting at one corner, insert the needle under the back loop of the first stitch on one square, then under the matching back loop on the other square.
- Pull the yarn through, leaving a short tail to weave in later, and move to the next pair of back loops.
- Continue across the whole edge, one stitch at a time, keeping the tension even but not tight.
- At the far corner, weave the tail into the seam on the wrong side.
When to use it: for a first blanket, or any time you want an invisible, low-effort join and do not mind the rhythm of a needle.
2. Slip stitch join
A slip stitch join uses your hook instead of a needle to make a flat, low-bulk seam. It is worked with the wrong sides out so the seam hides on the back.
- Hold two squares with their right sides together, wrong sides facing out.
- Insert your hook through both layers, under the top loops of the first stitch on both squares at once.
- Yarn over and pull the loop through both squares and through the loop already on your hook — that is a slip stitch.
- Repeat across the edge, slip stitching through the matching stitch of both squares each time.
- Fasten off at the far corner, turn the work right side out, and weave in the end.
When to use it: when you want a flatter, more flexible seam than whip stitch with almost no bulk, such as on a blanket that will be folded or tucked a lot.
3. Single crochet join
The single crochet join builds a visible ridge along the front of the work, which doubles as a design feature. It is the sturdiest of the five joins.
- Hold two squares with their wrong sides together, right sides facing out.
- Insert your hook through both layers, under the top loops of the first stitch on both squares.
- Yarn over and pull up a loop, then yarn over and pull through both loops on the hook — that is a single crochet.
- Work one single crochet through each pair of matching stitches across the edge.
- Fasten off and weave in the end. The single crochet forms a raised ridge that sits on the front of the work.
When to use it: when you want the seam to show. The ridge frames each square, so it looks wonderful in a contrasting colour, and it holds up to heavy washing.
4. Join-as-you-go (JAYG)
Join-as-you-go attaches each new square to its neighbours while you work its final round, so there is nothing to sew at the end. For granny squares, you replace the chains between clusters with a slip stitch into the finished square.
- Finish your first square completely. This is your anchor square.
- Start the final round of the next square as normal, working up to the first side that will touch the anchor square.
- For a corner, work 3 double crochet into the corner space, chain 1, slip stitch into the matching corner chain-2 space of the anchor square, chain 1, then work 3 double crochet back into the same corner space of the square you are making.
- Along a side, work 3 double crochet into the side space, then slip stitch into the matching chain-1 space of the anchor square instead of chaining 1.
- Continue around, joining each side and corner to the anchor square as you reach it.
- Fasten off and weave in the end. The square is already attached.
When to use it: when you dread the finishing pile. It means no needle and no loose squares at the end, but you must decide the layout first, because each square commits to its neighbours as you go.
5. Mattress stitch (invisible seam)
Mattress stitch pulls the two edges together from the front so the stitches interlock and the seam disappears entirely. It is slower than the others but produces the flattest result.
- Lay two squares side by side, right side up, with the edges you are joining touching.
- Thread a yarn needle with matching yarn and leave a long tail.
- Starting at the bottom, insert the needle under the horizontal bar of the first stitch on the left square, from front to back.
- Cross to the right square and insert the needle under the matching bar of the first stitch there.
- Alternate back and forth between the two squares, catching the same bar on each side, moving upward along the seam.
- Every few stitches, pull the yarn gently to draw the edges together until they touch without puckering.
- At the top, the seam should be nearly invisible from the front.
When to use it: for heirloom and special blankets, when you want the squares to read as one continuous piece of fabric rather than squares sewn together.
Seam comparison
Here is the whole decision in one table. If you are unsure, start at the top and work down until one feels right.
| Method | Look | Ease | Best for |
|---|---|---|---|
| Whip stitch | Nearly invisible | Easiest | First blankets, beginners |
| Slip stitch join | Flat, barely visible | Easy | Low-bulk, flexible seams |
| Single crochet join | Raised ridge | Easy | Decorative seams, sturdy blankets |
| Join-as-you-go | Flat | Moderate (needs planning) | Avoiding sewing, big blankets |
| Mattress stitch | Invisible | Advanced | Heirloom blankets, one-piece look |
Common mistakes & fixes
Our pick
Cotton worsted-weight yarn, 3-pack
Keep a skein in the same colour as your squares so whip-stitch and mattress seams disappear completely.
View on Amazon →Frequently asked questions
What is the easiest way to join granny squares?
Whip stitch. You thread a yarn needle and sew the squares together through the back loops, and because it is worked a stitch at a time with matching yarn, it is forgiving and the seam nearly disappears. It is the method I teach beginners first.
Which granny square join is the most invisible?
Mattress stitch, sometimes called the invisible seam, because it pulls the two edges together without any ridge and the stitches interlock so the squares look like one continuous piece of fabric. It needs matching yarn and a little patience, but the result is the flattest seam you can get.
Do I need to block granny squares before joining them?
You do not strictly have to, but it makes the seams line up far more easily. Blocking evens out each square to the same size and straightens the edges, so you spend less time easing mismatched stitches together. It is the difference between a quick join and a fiddly one.
Can I join granny squares with a contrasting colour?
Yes. A contrasting colour is actually a feature when you use single crochet join, because the raised ridge frames each square. For whip stitch, mattress stitch, and slip stitch, a contrasting yarn will show, so keep it matching if you want the seam to disappear.
What does join-as-you-go mean?
Join-as-you-go, or JAYG, means you attach each new square to its neighbours while you crochet its final round, by slip stitching into the finished square instead of chaining. You end up with no sewing at the end, but you need to know your layout ahead of time.
How much yarn do I need for the joining seams?
As a rough rule, cut a length of yarn about three times the length of the seam you are joining, and give yourself a little extra at each corner. It is better to start a fresh length than to run out mid-seam and have to weave in an unplanned join.
Why do my joined squares pucker?
Puckering almost always means the joining tension is too tight. Do not pull each stitch snug as you work; leave a little slack and draw the seam up gently at the end so the fabric lies flat instead of gathering.
CrochetGuides is a participant in the Amazon Services LLC Associates Program. As an Amazon Associate we earn from qualifying purchases, at no extra cost to you.