Easy Crochet Flower Pattern (5-Petal, One Skein)
A five-petal flower motif you can finish in one sitting — great for pinning onto hats, bags, or hair clips.
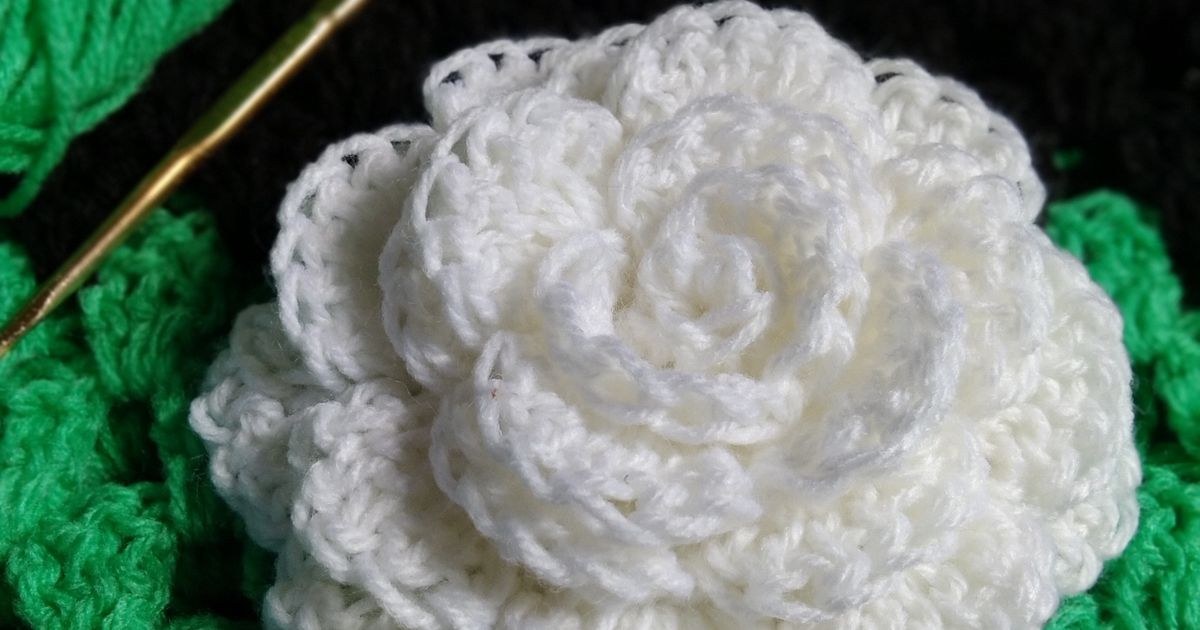
In my classes, a crochet flower is the first thing I teach when someone needs a quick win, because it turns a scrap of yarn into something finished in under twenty minutes. I'll never forget a student who arrived for her first lesson convinced she'd never master the magic ring, then left holding a five-petal flower she'd stitched onto her coat lapel before she even got home. She came back the next week with a whole garland strung across her bag. That's the quiet power of a tiny motif like this easy crochet flower pattern: two rounds, five petals, and suddenly you're not practising anymore — you're making things you actually use.
A flower is also the perfect way to learn to read stitches, because each petal is a tiny sentence — chain, double, treble, double, chain — and you can feel when one is right by how the petal curves. Once you've made five petals, the rhythm is in your hands, and every flower after that is faster. That's why I keep a jar of these going all year, for wrapping gifts, finishing hats, and the occasional emergency brooch.
What you need
- A small amount of worsted weight (#4) yarn in your petal color, plus a contrast color for the center (optional)
- 4.0mm (US G/6) hook
- Yarn needle
- Optional: hair clip, brooch pin, or felt backing to mount the finished flower
Round 1: the center
Steps
- Make a magic ring and work 10 sc into it. Pull the tail to close the ring. (10 sts)
- Slip stitch to join to the first stitch. If using a contrast petal color, fasten off here; otherwise continue directly.
Round 2: the petals
Steps
- Join petal-color yarn in any stitch of round 1, if you changed colors.
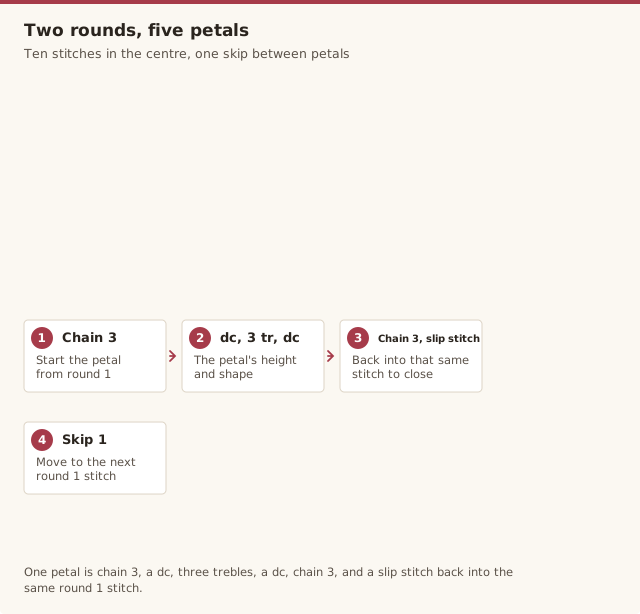
- Chain 3, work 1 dc, 3 tr, 1 dc, chain 3, then slip stitch into that same stitch — this completes one petal.
- Skip the next stitch of round 1, then slip stitch into the following stitch.
- Repeat the petal (chain 3, dc, 3 tr, dc, chain 3, slip stitch) and skip pattern 4 more times, for 5 petals total.
- Fasten off and weave in all ends.
Finishing
Weave in any remaining ends. If the petals curl, block them lightly by pressing under a damp cloth and letting the flower dry flat — our how to block crochet guide covers the method in more detail. Stitch or glue to your finished project.
Ways to use it
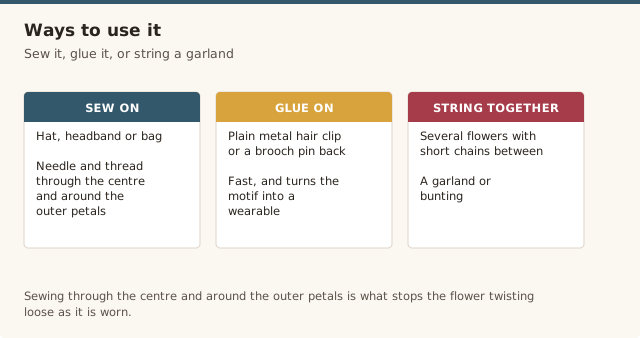
A single flower motif works almost anywhere you'd use a decorative button or brooch. Sew it directly onto a hat, headband, or bag with a needle and thread through the center and around the outer petals for a secure hold that won't twist loose. Glue it to a plain metal hair clip or a brooch pin back for a wearable accessory, or stitch several together with short chain lengths between them for a garland or bunting.
If you want the flower to hold a crisp shape rather than lying soft and flexible — useful for hair accessories and brooches especially — a light coat of spray starch or fabric stiffener brushed onto the petals and left to dry flat firms it up considerably without changing the colour or texture much.
Yarn & colour choice
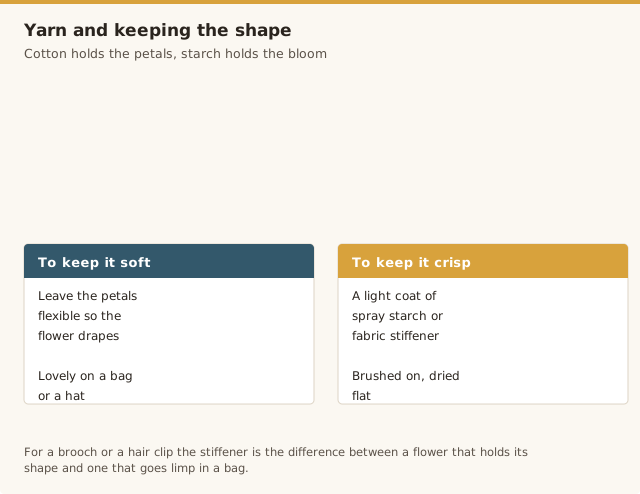
Worsted-weight cotton is my go-to for flowers because it holds the petal shape without flopping, and the treble stitches sit up crisply instead of melting into each other. A smooth acrylic works fine for a soft, drapey flower, but anything with a halo — mohair, eyelash, or heavily fuzzy yarns — blurs the petal edges until the flower looks like a pompom. The same logic applies to variegated yarn: it can look lovely, but strong colour changes inside a single petal will fight the shape. If you're unsure how your yarn will behave, our yarn weight guide will help you predict the drape before you commit.
For colour, a contrast centre makes the whole flower read instantly, even from a distance. Keep the centre a shade darker than the petals, or go the opposite way with a bright centre on a soft petal for a daisy look. When I'm making a bouquet, I hold all the balls together and pull any that clash — three to five colours is the sweet spot before a bunch starts to look busy rather than pretty.
Making the flower bigger or smaller
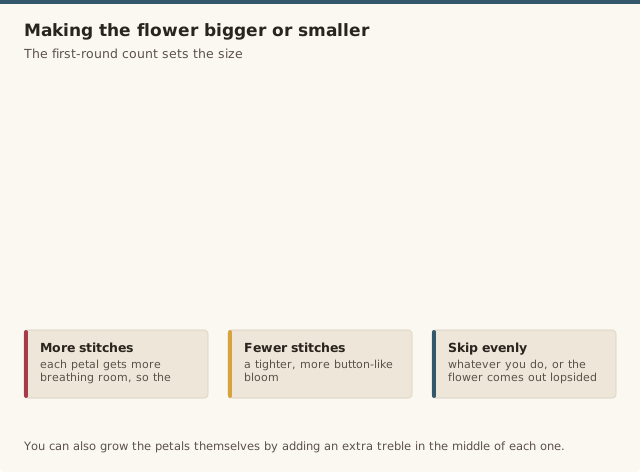
The flower scales by how many stitches you put in the first round. Start with 12 or 14 single crochet in the ring instead of 10 and each petal gets more breathing room, so the flower comes out fuller and wider. For a daintier flower, work only 8 stitches in the first round and you'll get a tighter, more button-like bloom. You can also grow the petals themselves by adding an extra treble or a taller stitch in the middle of each petal. The one thing to watch is spacing — whatever you do, skip evenly between petals so the finished flower stays round rather than lopsided. For more on how stitch counts drive size, our guide to crocheting in the round explains the pattern.
Gift & seasonal ideas
A small stack of crochet flowers is one of the most useful things to have on hand, because they elevate almost any wrapped present. Tie one onto a gift with a length of twine instead of a bow, or sew a handful onto a plain tote, a beanie, or the corner of a blanket to make a store-bought item feel personalised. In spring and summer they become a bouquet that never wilts — a bunch of stems wired into the back of the flowers and wrapped in paper makes a cheerful, zero-maintenance gift for someone who can't keep plants alive. In autumn and winter, swap the palette to rust, mustard, and cream and they read as seasonal without any other changes. If you're giving them away, a matching set in the recipient's favourite colours will always land better than a rainbow made to your own taste.
A step-by-step flower motif, useful for seeing how petals are built up round by round.
Common mistakes & fixes
Fix: count carefully as you skip a stitch between each petal in round 2 — a missed or extra skip is the most common cause, and it's easy to lose count on a small 10-stitch ring without a stitch marker.
Fix: press the flower under a damp cloth and let it dry completely flat, weighted down lightly if needed — this relaxes the yarn's twist and usually flattens curling petals within an hour.
Fix: sew the flower on with a needle and thread instead of relying on glue alone, stitching through the center and around the outer edge, or use both glue and a few anchor stitches for extra hold.
Fix: the magic ring was pulled too tight or round 1 was worked too snug. Ease the tension on the centre ring so the middle lies flat and the petals can radiate outward.
Fix: the yarn is too soft or stretchy. Switch to worsted cotton, work the petals at a slightly firmer tension, or give the finished flower a light coat of spray starch.
Fix: too many petals were squeezed into a small centre. Work fewer petals, or start with 12–14 sc in round 1 so there's room for each one to lie flat.
Frequently asked questions
Can I make the flower bigger?
Yes — start with 12–14 sc in round 1 instead of 10, which leaves more room between stitches for fuller, wider petals.
What if I don't know how to do a magic ring?
See our magic ring tutorial — a small starting chain joined into a ring also works as a substitute.
Can this be turned into a garland?
Yes — make several flowers, then join them with a chain of your desired length between each one.
How do I attach a crochet flower to a hairclip or headband?
Sew the flower's back directly onto a flat metal or plastic base with a needle and thread matching the yarn colour, stitching through the centre and around the outer edge for a secure hold.
How do I make a crochet flower keep its shape?
A light spray starch or a fabric stiffener brushed onto the petals and left to dry flat will hold the shape well, which is especially useful for flowers used as brooches or hair accessories.
Can I use a different number of petals?
Yes — work more or fewer petals by repeating the petal sequence around round 1, spacing them evenly by skipping stitches the same way.
What yarn is best for crochet flowers?
Worsted weight cotton holds its petal shape best, though any smooth yarn works; avoid fuzzy or novelty yarns, which hide the petal definition.
How many flowers do I need for a garland or bouquet?
For a garland, plan about one flower every 4 to 6 inches and count the length you want to span. For a small hand bouquet, five to seven flowers looks full without being crowded, wired together at the stems.
CrochetGuides is a participant in the Amazon Services LLC Associates Program. As an Amazon Associate we earn from qualifying purchases, at no extra cost to you.