Easy Crochet Leg Warmers Pattern for Beginners
A simple, customisable pattern using basic stitches and stretchy ribbing to keep your calves cozy all winter.
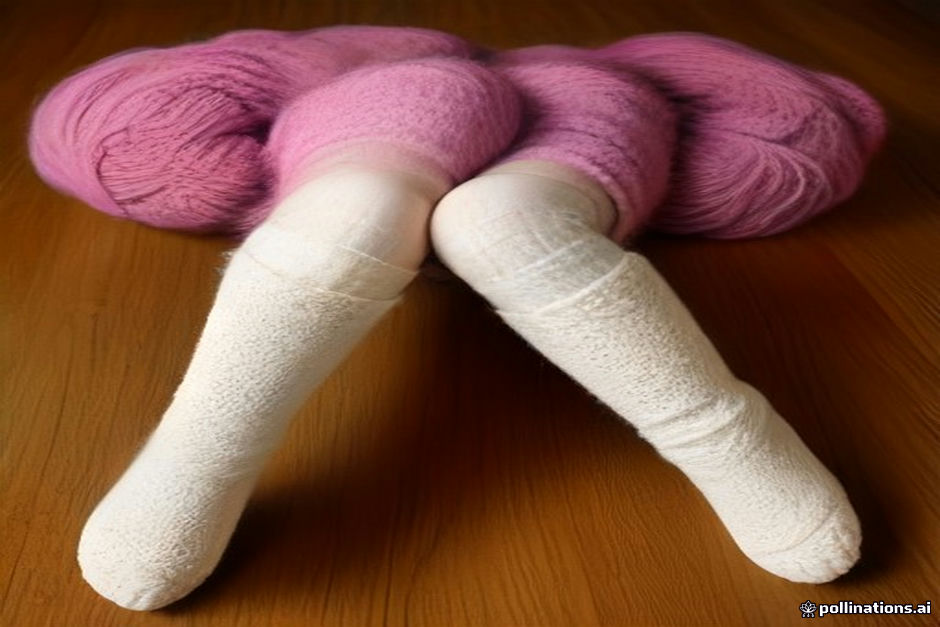
Leg warmers are one of the most practical wearable projects for beginners because they are built from simple rectangles joined into comfortable tubes. You do not need to worry about complex armhole shaping, heel turns, or precise shoe sizing. If you can create a starting chain and work basic stitches, you can finish a durable, cozy pair in a single weekend.
Choosing Yarn and Hook Size
For beginner leg warmers, a soft worsted weight (category 4) yarn works best. Acrylics and wool blends offer flexible stretch and hold up well to frequent wear and washing. we recommend pairing worsted yarn with a 5.0 mm (H-8) crochet hook to keep the fabric supple rather than stiff.
You will also need a tapestry needle for seaming and a flexible measuring tape to check your calf circumference before starting.
- 150–200 grams worsted weight yarn
- 5.0 mm (H-8) crochet hook
- Tapestry needle and scissors
- Flexible tape measure
Measuring for a Custom Fit
Commercial patterns often offer rigid sizing, but making your own leg warmers allows you to fit your exact measurements. Measure around the widest part of your calf with a tape measure. Subtract one inch from this measurement to ensure your finished leg warmer stretches comfortably without slipping down.
Next, measure the distance from just below your knee down to your ankle, or wherever you want the leg warmer to sit. This determines the overall length of your main panel before seaming.
Stitching the Main Pattern
Start by creating the top cuff. Chain 10, then single crochet into the second chain from your hook and across. For row 2 and beyond, work single crochet into the back loops only until your ribbed strip matches your adjusted calf measurement when slightly stretched. Do not fasten off.
Turn your ribbing strip 90 degrees and work half double crochet stitches evenly along the long edge. Continue working half double crochet rows back and forth until the piece reaches your desired leg length minus two inches for the bottom cuff. Repeat the back-loop single crochet ribbing along the bottom, or turn and complete a matching bottom ribbed band.
Seaming and Finishing
Fold your rectangular panel in half lengthwise with the right sides facing together. Using your 5.0 mm hook, slip stitch through the inner loops of both side edges to create a clean, invisible seam from top to bottom.
Fasten off your yarn, leave a tail, and weave in all loose ends thoroughly with your tapestry needle. Turn the leg warmer right side out, make a second identical piece, and your custom warmers are ready to wear over leggings or tights.
Frequently asked questions
How do I keep my crochet leg warmers from falling down?
Make sure your top ribbed cuff is made 1 to 2 inches smaller than your actual calf measurement so it stretches snugly against your leg. You can also weave a thin piece of elastic cord through the top row if needed.
What is the best stitch for crochet leg warmers?
Half double crochet worked in standard loops creates a soft, warm fabric with great drape, while back-loop single crochet provides the elastic stretch needed for top and bottom cuffs.
Can beginners make this project?
Yes. This pattern uses basic chains, single crochet, and half double crochet stitches worked in flat rows, making it ideal for continuous practice.
How much yarn do I need for a pair of leg warmers?
Most adult leg warmers require between 300 and 400 yards (around 150 to 200 grams) of worsted weight yarn.
Should I wash crochet leg warmers before wearing?
Washing and gently blocking your finished leg warmers evens out stitch tension and softens synthetic or wool fibers for a better feel against your skin.