Free Crochet Socks Pattern (Toe-Up)
A pair of toe-up crochet socks with a rounded toe, heel-turn gusset, and stretchy ribbed cuff, in wool-blend yarn.
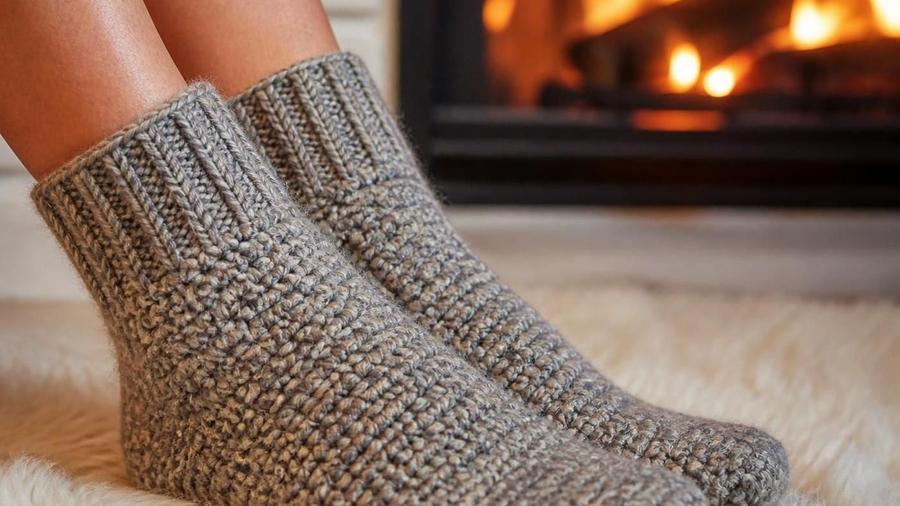
My first pair of crochet socks looked fine sitting flat on the table and were nearly impossible to actually put on, because I'd skipped the gusset increases at the heel turn to keep the pattern simpler. It seemed like a harmless shortcut at the time. It wasn't: that gusset is the specific bit of extra width that lets a sock stretch over the widest part of the foot, right where the heel meets the ankle, and without it the whole sock just doesn't have anywhere to give, no matter how stretchy the yarn itself is.
This pattern covers the full toe-up construction properly, the rounded toe shaping, the heel gusset that actually makes the sock wearable, and a ribbed cuff worked to stay up rather than sliding down the leg by lunchtime.
Crochet socks have a reputation, not entirely undeserved, for feeling stiffer and less comfortable than knit ones, and most of that reputation comes down to two fixable choices: the wrong yarn and the wrong hook size for that yarn. Crochet fabric is naturally denser than knit fabric at a comparable gauge, so a sock pattern that just borrows a knit sock's yarn and needle-to-hook conversion often ends up noticeably stiffer than intended. Sizing up the hook and choosing a yarn with real stretch, both covered below, closes most of that comfort gap and makes the finished pair genuinely wearable all day.
Materials
- About 350–400 yards of worsted or DK-weight wool-blend sock yarn
- 4.0-4.5mm hook
- Stitch marker, yarn needle, scissors
- Optional: elastic thread for the cuff
Abbreviations (US terms)
| Abbr. | Means |
|---|---|
| sc | Single crochet |
| inc | Increase (2 sc in same st) |
| dec | Decrease |
| FPdc/BPdc | Front-post/back-post double crochet |
See our abbreviations glossary for the full list including UK terms.
Notes
- Worked in continuous rounds from the toe upward, in wool-blend yarn for necessary stretch.
- The heel uses a short-row gusset method; instructions given work for either heel-flap-and-gusset or short-row preference.
- Bind off loosely at the cuff so it doesn't restrict circulation.
Pattern
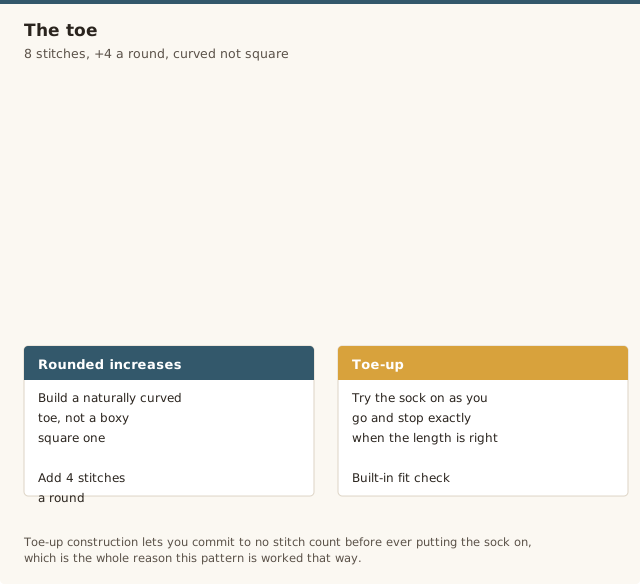
Magic ring, 8 sc into ring (8). Rnd 2: *sc, inc* around (12, this rounded rate builds a naturally curved toe rather than a boxy square one). Rnd 3: *sc 2, inc* around (16). Continue increasing 4 sts every round until you reach roughly 32-36 sts, matching your gauge swatch to the wearer's foot width, checking the growing toe against the actual foot shape as you go.
Work even at your target stitch count until the piece reaches the wearer's actual foot length minus about 1.5-2in. Try the sock on as you go rather than trusting a fixed round count, since foot length and gauge both vary from crocheter to crocheter and even between individual sessions.
Begin gusset increases: work 2 sts, inc, work to 2 sts before the round's end, inc (adding 2 sts per round). Repeat every round for 5-6 rounds, adding the width needed for the foot to pull over the heel. Turn the heel with short rows across roughly half the stitches, working progressively shorter rows and then progressively longer rows back to the full round, following the standard heel-turn shaping. Resume working in the round once the heel is turned, decreasing the gusset stitches back down over the next few rounds to return to your foot's working stitch count and a smooth transition into the leg.
Switch to a ribbed pattern: *FPdc, BPdc* around, repeated every round for 3-4in of cuff height. Fasten off loosely, using a stretchy bind-off or simply not pulling the last round tight, so the cuff doesn't constrict circulation. Weave in all ends securely before wearing.
Getting the heel gusset right
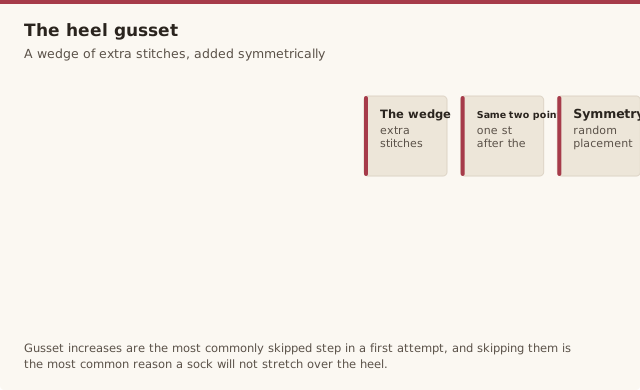
The gusset increases are the single most commonly skipped step in a first attempt at crochet socks, and skipping them is the single most common reason a finished sock won't stretch over the heel. Those extra stitches, added gradually on both sides of the heel section, create the wedge of extra fabric that lets the sock's opening widen enough for a heel to pass through before narrowing back down for the ankle. Without that wedge, the heel opening is only ever as wide as the foot's flat circumference, which isn't enough once you account for the heel bone.
Work the gusset increases at the same two points every round, one stitch after the round's start and one stitch before its end, rather than scattering them randomly, so the extra width builds symmetrically on both sides of the heel rather than pulling the sock off-center.
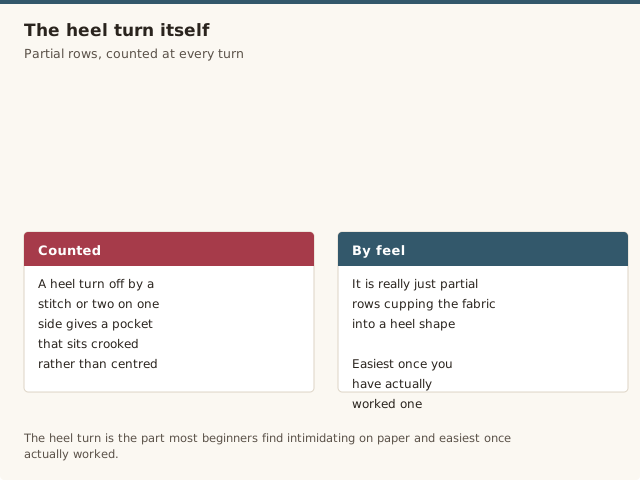
The short-row heel turn itself is the part most beginners find intimidating on paper and easiest once actually worked, since it's really just a sequence of partial rows that gradually cup the fabric into a heel shape. Work slowly through your first heel turn and count stitches at each turning point rather than rushing through by feel, since a heel turn that's off by even a stitch or two on one side tends to produce a heel pocket that sits slightly crooked rather than centered under the foot.
Keeping the cuff up
A plain single crochet cuff has almost no give, which is why a sock cuff worked that way slides down the leg within an hour of putting it on. Front-post/back-post ribbing creates raised and recessed columns of stitches that behave much more like knit ribbing, stretching to grip the leg and springing back rather than staying stretched out. Work at least 3in of ribbed cuff for a noticeable holding effect, since a very short ribbed section doesn't have enough length to grip properly.
If the ribbed cuff still slides on a particularly slim ankle, weaving a single strand of elastic thread through the final round before fastening off adds real, adjustable grip without changing the stitch pattern at all. This is a common trick borrowed from knit sock-making and works just as well on a crocheted ribbed cuff.
Resist the temptation to bind off tightly at the very last round, even though a tight finish feels more "secure" while you're working it. A tightly bound cuff edge actually restricts circulation around the ankle over a full day of wear, which is uncomfortable regardless of how well the rest of the cuff fits. Leave the final round noticeably looser than the rest of the ribbing, and let the ribbed stitches below it do the actual work of holding the sock up, checking the fit by trying the sock on before fastening off completely.
Adjusting for different foot widths
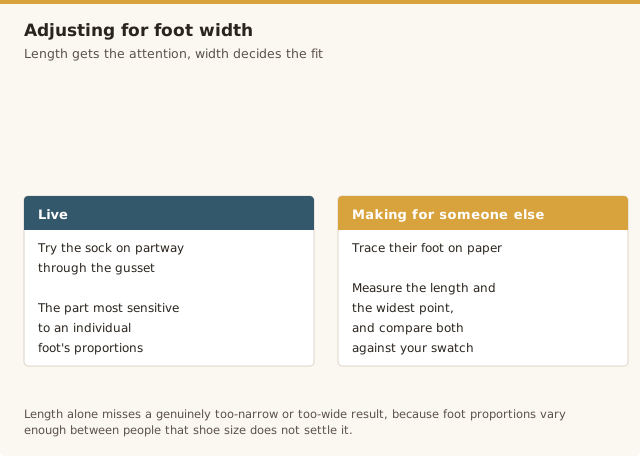
Foot length gets most of the attention in sizing notes, but width matters just as much for a sock that actually fits comfortably. A narrower foot needs fewer total stitches at the toe's final increase count, working the same rounded increase schedule but stopping 2-4 stitches short of the number given here; a wider foot needs the opposite, continuing the increases for 1-2 extra rounds before switching to even rounds. Swatch and measure your actual gauge against the wearer's foot circumference at its widest point rather than assuming the stitch count given here fits every foot the same way.
The gusset increases scale the same way: a wider foot generally needs an extra gusset round or two to create enough width for the heel to pass through comfortably, while a narrower foot can often get away with one fewer round than specified. Try the sock on partway through the gusset section whenever possible, since this is the part of the construction most sensitive to an individual foot's actual proportions.
If you're making a pair for someone else and can't do a live fitting, a traced outline of their foot on paper is a reasonable substitute. Measure both the length and the widest point across the traced outline, and compare those two numbers against your own gauge swatch rather than guessing at a "standard" size, since foot proportions vary enough between people that a length-only measurement often misses a genuinely too-narrow or too-wide result, especially across different shoe sizes or foot shapes.
Fit and finishing troubles
Fix: work the gusset increases specified during the heel turn, skipping them for a "simpler" heel is the most common reason finished socks won't stretch over the foot.
Fix: follow the toe's specific increase schedule rather than a flat straight increase, which produces a square toe.
Fix: work the cuff in a ribbed front-post/back-post stitch rather than plain single crochet, and weave a strand of elastic thread through the final round if it still slides.
Fix: measure foot length before starting and count rounds against that real measurement instead of trusting a single "one size" round count.
Fix: go up one hook size from what's printed on the yarn label, crochet socks need more give than most crochet fabric.
Crochet socks FAQ
What yarn is best for socks that stretch and still breathe?
A wool-blend sock yarn, ideally with a small percentage of nylon for durability, gives the stretch a sock needs along with breathability that pure acrylic can't match. Pure wool alone works too, though it wears faster at the heel and toe without the nylon reinforcement.
Toe-up versus cuff-down construction, and why does this pattern use toe-up?
Toe-up construction lets you try the sock on as you go and stop exactly when the foot length is right, rather than committing to a stitch count before ever putting it on. Cuff-down is equally valid and some crocheters prefer it for cosmetic reasons at the toe closure, but toe-up's built-in fit-check is why this pattern uses it.
How do I size the pattern for different foot lengths?
Measure the actual foot length before starting, and simply keep working even rounds after the toe increases until the piece matches that measurement minus about 1.5-2in (the heel turn adds the remaining length). Try the sock on periodically rather than trusting a fixed round count.
Can non-slip soles be added to wear these as slippers?
Yes, a purchased non-slip sole spray or a set of fabric non-slip grip patches applied to the sole after the sock is finished turns these into house slippers without changing the pattern itself.
How much yarn does one pair take?
About 350-400 yards of worsted or DK-weight sock yarn for an adult pair, depending on foot size and how tall the cuff is worked, with a taller cuff or a larger foot size pushing usage toward the higher end of that range.
Washing and care for a wool-blend sock?
Hand wash in cool water and lay flat to dry, unless the yarn label specifically states it's machine washable (a superwash wool blend often is). Regular machine washing and drying can felt and shrink a non-superwash wool blend significantly.
CrochetGuides is a participant in the Amazon Services LLC Associates Program. As an Amazon Associate we earn from qualifying purchases, at no extra cost to you.