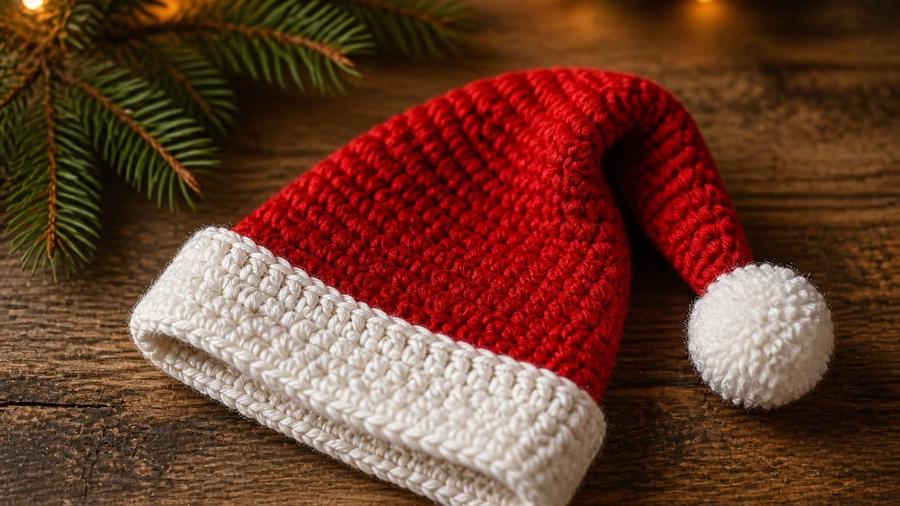
A classic red-and-white Santa hat, worked in the round from the crown down, finished with a soft pom-pom.
Updated 2026 · US terms · 40 min read
I've taught the crochet Santa hat more times than I can count, and the moment that decides whether a beginner finishes is usually the very first one: the magic ring. In one of my workshops a student spent half an hour making the ring, pulling it shut, and watching it slip open again before she got the hang of it. What saved the evening was slowing down and tightening the ring the moment the first stitches went in. After that, the hat is wonderfully forgiving — a circle that grows into a crown, then a straight tube, then a soft point that flops to one side. If the magic ring still makes you hesitate, our magic ring tutorial shows the whole thing slowly, and you'll be past it in minutes.
The shape I fuss over most is the point, because a Santa hat only looks right when that tip flops over with a little life in it, rather than standing straight up like a gnome's hat or lying completely flat. The trick is to take the decreases slowly and unevenly, along just the back, so the hat leans and curls naturally instead of narrowing into a stiff spike. Get that one detail right and the hat reads instantly, even before the pom-pom goes on.
Quick answer: Start with a magic ring, increase to fit the head circumference, work straight rounds until the hat is long enough to fold at the brim, then decrease unevenly at the back to form the flopped point, and finish with a folded white cuff and pom-pom.
What you need
Worsted weight (#4) yarn: red (main) and white (cuff and pom-pom), about 120 yards total for an adult size
5.0mm (US H/8) hook
Stitch marker
Pom-pom maker or a piece of cardboard, or a store-bought faux-fur pom-pom
Yarn needle
Crown
Steps
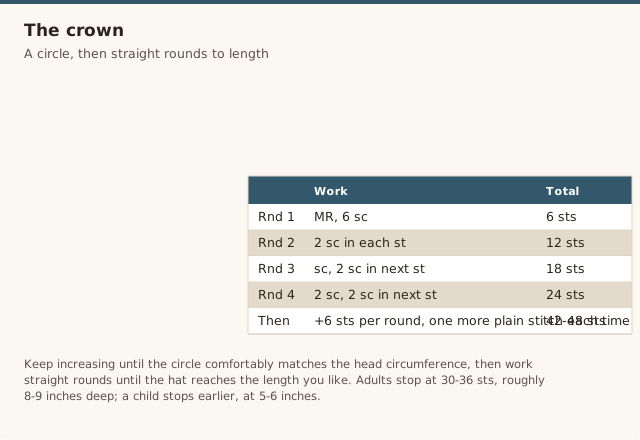
Magic ring, 6 sc into the ring. (6 sts)
Round 2: 2 sc in each st around. (12 sts)
Round 3: *sc, 2 sc in next st* around. (18 sts)
Round 4: *2 sc, 2 sc in next st* around. (24 sts)
Continue increasing by 6 sts each round, working one more plain stitch between increases each time, until the circle measures the head circumference you're making for (roughly rounds 8–9 for an average adult head, using 42–48 sts).
Body of the hat
Once the crown circle is wide enough, stop increasing and work straight rounds of sc (or hdc for a slightly looser, quicker fabric) until the hat measures about 8–9 inches from the top of the crown for an adult, or 5–6 inches for a child.
Shaping the point
Steps
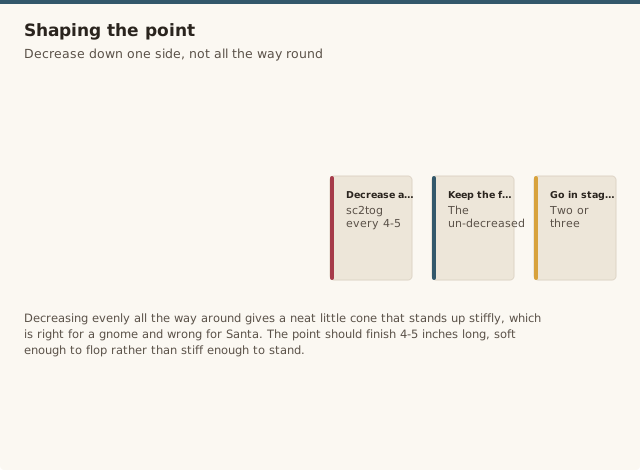
To create the classic Santa-hat flop, decrease only along one side (the back) rather than evenly around: work 2–3 plain rounds, then sc2tog every 4–5 stitches along roughly a third of the round at the back for several rounds in a row.
This pulls that section in faster than the rest, curling the top toward the back. Continue until the point is 4–5 inches long, then fasten off.
Cuff and pom-pom
Steps
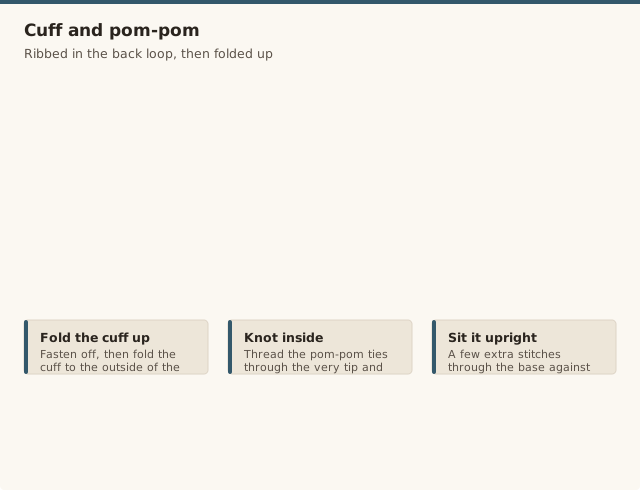
Join white yarn at the bottom edge. Work 4–5 rounds of hdc in the back loop only for a ribbed look, or plain hdc for a smoother cuff.
Fasten off and fold the cuff up to the outside of the hat.
Make a pom-pom about 2.5–3 inches across and attach it firmly to the tip of the point.
Choosing yarn and colours
A soft worsted acrylic or acrylic-wool blend is the right call, because it's warm enough to wear, gentle against the forehead, and easy to wash after a party season of being grabbed and tugged. The red should be a clear, warm red rather than a muddy burgundy, and the white needs to be a true white so the cuff and pom-pom pop against it. If your white is even slightly cream, the whole hat reads off.
For the pom-pom and cuff, a fluffy white yarn or a store-bought faux-fur pom-pom gives the classic look, but a smooth worsted white works perfectly well and is easier to keep neat. The yarn weight guide is worth a skim if you want to try a chunkier yarn for a thicker, quicker hat.
Shaping the point so it flops nicely
The classic Santa-hat silhouette comes from decreasing unevenly, not evenly. If you decrease all the way around, you get a neat little cone that stands up stiffly — fine for a gnome, wrong for Santa. Instead, concentrate the decreases along one side at the back, working a few stitches together every few stitches, and let the un-decreased front keep its width so the tip is pulled sideways and down. That asymmetry is what gives the hat its lazy, familiar drape.
Take the decreases in stages rather than all at once. Work two or three plain rounds between decrease rounds so the hat doesn't pinch, and keep checking it on a head or a ball as you go. The point should finish four to five inches long and soft enough to flop, not stiff enough to stand. If you're new to shaping in the round, our how to crochet in the round guide shows how increases and decreases steer the curve.
Care and washing
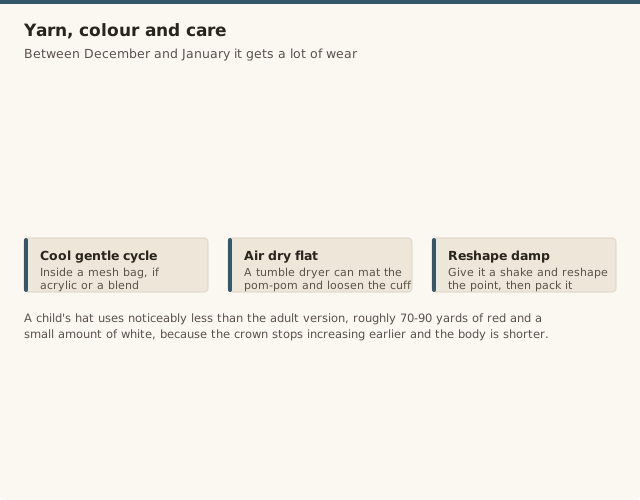
Between December and January a Santa hat takes a surprising amount of wear, so wash it gently to keep it looking bright. If it's acrylic or an acrylic blend, machine-wash it cool on a gentle cycle inside a mesh bag, and air-dry it flat rather than in a tumble dryer, which can mat the pom-pom and loosen the cuff. If you used a faux-fur pom-pom, spot-clean that part by hand so it keeps its fluff.
To store it, give it a light shake and reshape the point while it's still damp from washing, then pack it loosely so the pom-pom isn't crushed. A folded hat with the cuff tucked inside the crown keeps its shape for next year. If the pom-pom ever starts to droop, a few extra stitches through its base against the tip will firm it back up in minutes.
A seasonal project walkthrough, useful for seeing how the brim and pom-pom top come together.
Common mistakes & fixes
Symptom: the magic ring slips open after you've pulled it tight. Fix: tighten the ring the moment the first few stitches are in, and weave the starting tail back through the ring before moving on. Our magic ring tutorial shows the whole pull-and-lock sequence slowly.
Symptom: the crown is too tight to sit comfortably on the head. Fix: you stopped increasing a round or two early. Add one more increase round before switching to straight rounds, which adds roughly six stitches of circumference, and test the crown on the head before you commit.
Symptom: the point stands straight up instead of flopping. Fix: you decreased evenly around, which makes a stiff cone. Concentrate the decreases along one side at the back only and leave the front wider, so the tip is pulled sideways and drops naturally.
Symptom: the cuff is too tight to fold up comfortably. Fix: work the cuff rounds more loosely than the body, and add a stitch or two around the opening if it still pulls. The fold needs to clear the head without pinching, so err loose here.
Symptom: the pom-pom droops or works loose after a few wears. Fix: attach it through the very tip with several firm passes of the yarn tail, knotting on the inside, rather than a single tie. A few extra stitches through the base against the tip keep it sitting upright.
Symptom: the red-to-white transition leaves a messy colour jog around the brim. Fix: join the white at the seam line rather than mid-round, and slip-stitch the join closed at the end of the round to even the step. Working the first white round a little more loosely also hides the colour change.
Frequently asked questions
How do I size this for a child?
Reduce the crown increases to about 30–36 sts total before switching to straight rounds, and shorten the body to 5–6 inches before shaping the point.
Can I skip the pom-pom?
Yes — a simple folded point without a pom-pom still reads clearly as a Santa hat, especially in red and white.
What if my hat is too tight?
Add one more increase round at the crown before switching to straight rounds, which adds roughly 6 stitches of circumference.
What yarn is best for a crochet Santa hat?
A soft worsted weight acrylic or an acrylic-wool blend is ideal, because it is warm, easy to wash, and comfortable against the forehead. For the cuff and pom-pom, use a fluffy white yarn or a faux-fur pom-pom for the classic look.
Can I make this Santa hat bigger for an adult?
Yes. Keep increasing the crown until the circle comfortably matches the head circumference, usually around 48 to 54 stitches for most adults, then work straight rounds until the hat reaches the length you like before shaping the point.
How do I keep the pom-pom attached securely?
Thread the pom-pom's ties through the very tip of the hat with a yarn needle and knot them firmly on the inside, then take a few extra stitches through the base of the pom-pom against the tip so it sits upright. Re-tighten it after the first wash, since wet yarn can slacken the ties.
How much yarn do I need for a kid's size?
A child's hat uses noticeably less than the adult version — roughly 70–90 yards of red and a small amount of white is usually enough, since the crown stops increasing earlier and the body is shorter. If in doubt, buy one extra ball of red rather than risk running short mid-point.
Nora has been teaching crochet for 12 years, from absolute beginners to people coming back to the craft after decades away. She started CrochetGuides to write the clear, honest instructions she wishes she'd had when she was learning — the ones that actually work the first time.
CrochetGuides is a participant in the Amazon Services LLC Associates Program. As an Amazon Associate we earn from qualifying purchases, at no extra cost to you.
Get the free printable PDF
Enter your email and we'll send the ad-free, printable PDF straight to your inbox — plus new patterns a few times a month.
No spam, unsubscribe anytime.
You're in! 🎉
Your download should start automatically. If it doesn't, use the button below.