Crochet Christmas Coasters Pattern
A set of four round coasters in holiday colors, each topped with a simple embroidered snowflake.
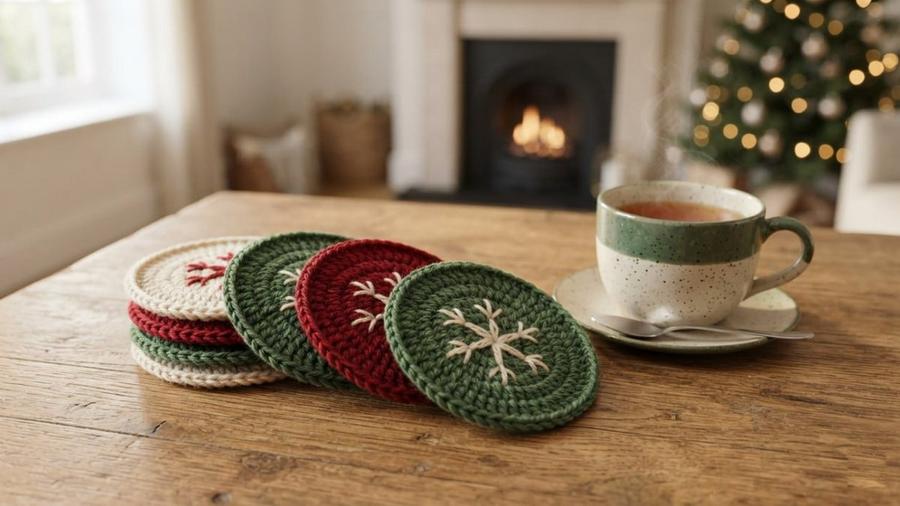
In my classes, the moment a student finishes their first flat circle is the moment crochet finally clicks — and crochet Christmas coasters are the perfect project for it. I still remember a woman who stayed behind after an evening class, quietly ripping out her fifth attempt because the edges kept rippling. She wasn't doing anything wrong; she'd simply miscounted her increases in round three. We started the centre again together with a magic ring, and ten minutes later she was holding a coaster that lay perfectly flat on the table. That's the beauty of these coasters: they're small enough to finish in one sitting, yet they teach the exact increase rhythm every in-the-round project depends on.
A single coaster teaches the one rhythm every round project depends on — six increases a round, each one placed a stitch further apart than the last. Once you can feel that pattern without counting it, granny squares, hats, and amigurumi heads all stop being mysterious. One of my students made the whole set for her mother's Christmas table and hid a slightly different snowflake on each coaster, so the family could tell whose mug was whose. That's the kind of small personal touch these coasters quietly invite.
What you need
- Worsted weight (#4) cotton yarn, small amounts in red, green, and cream
- 4.0mm (US G/6) hook
- Tapestry needle for the embroidered snowflake
- Contrast color thread or yarn for the snowflake detail
Coaster body (make 4)
Steps
- Magic ring, 6 sc into the ring. (6 sts)
- Round 2: 2 sc in each st around. (12 sts)
- Round 3: *sc, 2 sc in next st* around. (18 sts)
- Round 4: *2 sc, 2 sc in next st* around. (24 sts)
- Round 5: *3 sc, 2 sc in next st* around. (30 sts)
- Round 6: *4 sc, 2 sc in next st* around. (36 sts) — this should measure roughly 4 inches across; add another increase round for a larger coaster.
- Slip stitch to close, fasten off, weave in the end.
Snowflake detail
Steps
- Thread contrast yarn or embroidery thread onto a tapestry needle.
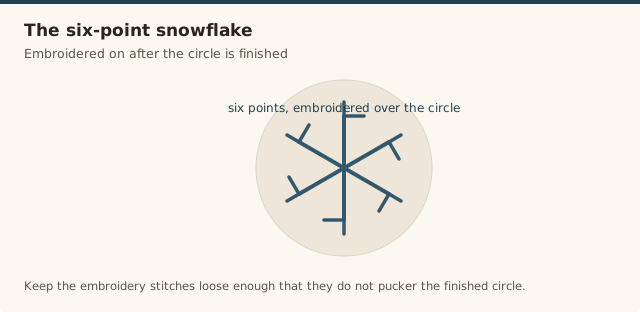
- Working from the center of the coaster, stitch 3 straight lines crossing at the middle (6 points total), each about 1 inch long.
- Add tiny diagonal stitches at the tips of each line for a simple snowflake look.
- Weave in the ends on the back of the coaster.
A quick coaster walkthrough, useful for seeing how the round motif is worked and finished flat.
Yarn and colour choice
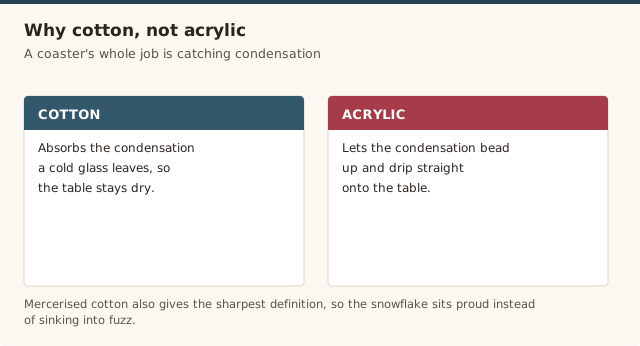
Cotton is the right call here, and not just because it looks crisp. A coaster's whole job is to sit under a hot mug and a cold glass, and cotton absorbs the condensation that acrylic simply lets bead up and drip onto the table. A worsted-weight mercerised cotton gives the sharpest stitch definition, so your snowflake sits proud of the surface instead of sinking into fuzz. For colour, red, green, and cream read instantly as Christmas, but I often steer students toward a single deep red with a white snowflake on every coaster — it looks more considered on a table than three clashing shades. If you only have acrylic to hand, it still works; just block it a touch longer and expect it to repel rather than absorb moisture. The yarn weight explained guide covers the cotton-versus-acrylic differences if you want the full picture. Whichever fibre you pick, keep all four coasters in the same yarn and hook so the set matches; mixing a cotton coaster with an acrylic one shows up as a subtle size and sheen difference you'll notice every time you stack them.
Snowflake variations and personalisation
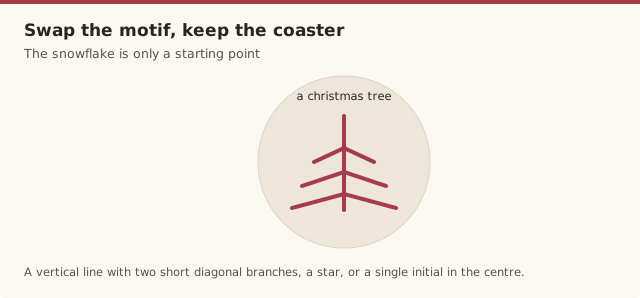
The six-point snowflake is just a starting point. Because it's embroidered over the finished circle rather than worked in, you can change it on every coaster without touching the crochet at all — try a simple Christmas tree (a vertical line with two short diagonal branches), a star, or a single initial in the centre. The one rule is to keep your embroidery stitches loose enough that they don't pinch the fabric: pulling the thread tight draws the coaster into a cup and undoes all your flat-circle work. Use a tapestry needle and a single strand of contrast yarn or a couple of strands of embroidery thread, and finish every end on the back where a glass will hide it. If you've never embroidered over crochet before, our basic stitches guide covers the foundation you're stitching onto.
A matching set for gifting
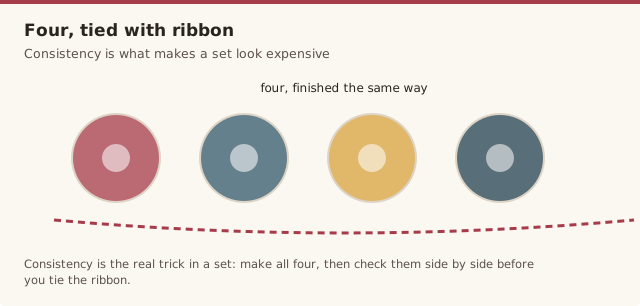
Four coasters tied with a ribbon make a gift that looks far more expensive than it was, and because they don't depend on anyone's size, they're safe to make without knowing much about the recipient. I like to pair the set with a small box of loose-leaf tea or a nice mug so the gift has a centrepiece, and tuck in a note saying they're hand-washable. The real trick to a set is consistency: make all four before you embroider, count your rounds the same way each time, and lay them side by side as you go so a slightly loose one never sneaks through unnoticed. A set that's uniform reads as handmade and thoughtful; a set where one coaster is half an inch bigger reads as rushed. For a house-warming or a neighbour, I'll often make just two and pair them with a small jar of hot chocolate mix, which turns the coasters from a set into a complete little gift that took one evening.
Common mistakes & fixes
Fix: there are too many increases, or an increase landed in the wrong spot. Rip back to the round that still sat flat and recount — you should be adding exactly six stitches per round, each spaced one stitch further apart.
Fix: there are too few increases for the round count. Add the missing increase round, or check your tension hasn't tightened midway — a hook size that drifts smaller will pull the circle into a cup.
Fix: your tension or hook changed between coasters. Use the same hook throughout, count the rounds identically, and make all four before embroidering so you can spot and redo an outlier early.
Fix: the embroidery thread was pulled too tight. Loosen each stitch so it sits on the surface without pinching, and re-block the coaster flat after embroidering if it still cups.
Fix: the ends were woven on the wrong side. Finish every tail on the back, threading it through several stitches in the same colour, and snip flush so nothing shows on the embroidered face.
Fix: the red wasn't colour-fast. Hand-wash each coaster separately in cool water the first time, and test a scrap first if you're mixing a bright red with white before gifting.
Frequently asked questions
Can I make these without embroidery?
Yes — plain circles in holiday colors still work well on their own, or swap the snowflake for a contrast-color edging round instead.
What yarn gives the best coasters?
A cotton or cotton-blend yarn holds its shape and absorbs condensation better than acrylic, which is worth it for anything that will sit under a mug or glass.
How do I make them lie flatter?
Steam-block the finished circles under a damp cloth and let them dry flat under light weight, which helps flatten any natural cupping from the increases.
How do I wash these coasters?
Hand-wash in cool water and lay flat to dry; if you used cotton yarn, a gentle machine wash on a delicate cycle also works, but skip the dryer so they don't shrink out of shape.
Can I make them bigger to use as mug rugs?
Yes — simply add one or two more increase rounds before fastening off, continuing the same 6-stitch-per-round pattern until the circle reaches your desired size.
Should I block the coasters before or after embroidering?
Block the circles flat first, before you embroider, so the snowflake lands on an even surface and the embroidery doesn't have to fight a rippled base. Give them a light touch-up block afterward if the stitching tightened anything.
CrochetGuides is a participant in the Amazon Services LLC Associates Program. As an Amazon Associate we earn from qualifying purchases, at no extra cost to you.