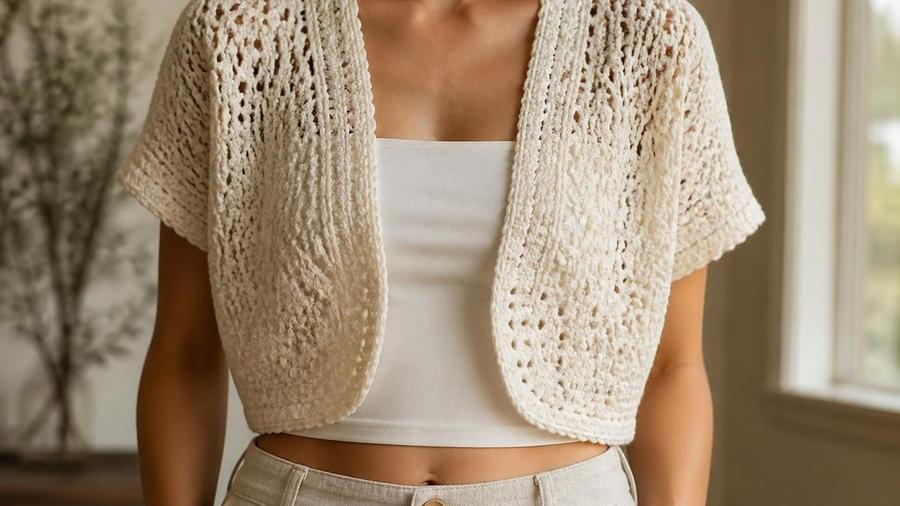
An open-front shrug worked as one flat rectangle from cuff to cuff, seamed only under the arms, with no buttons or closure.
Updated 2026 · US terms · Sizing notes for arm span and coverage
The easiest way to ruin a shrug is to use the wrong yarn, and I learned this by using a sturdy worsted-weight cotton I already had on hand rather than buying something new. The finished piece held its shape perfectly, in the sense that it stood away from the body like a stiff cardboard cutout rather than draping over the shoulders the way a shrug is supposed to. Structure is exactly the wrong property here. A shrug lives or dies on drape, and drape comes almost entirely from yarn choice and gauge, not from the stitch pattern chosen.
This pattern covers the simple cuff-to-cuff rectangle construction, folded and seamed only under the arms with the front left entirely open, plus the yarn and hook-size decisions that determine whether the finished piece actually drapes the way a shrug should.
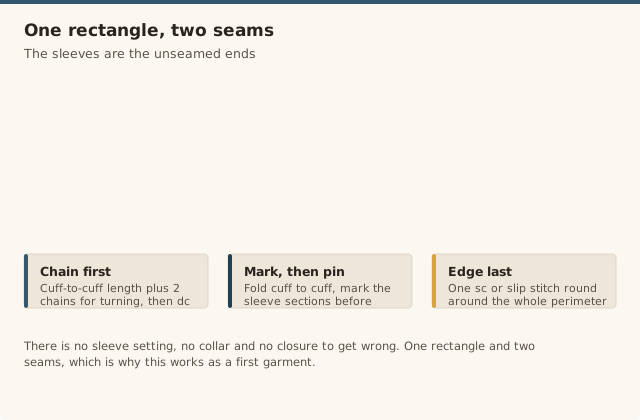
Part of what makes a shrug a genuinely useful garment to have on hand is exactly what makes it different from a cardigan: there's no closure to fuss with, no buttons to line up, and it goes on and off in seconds. That simplicity is also what makes the construction forgiving for a first garment project, since there's no sleeve-setting, no collar shaping, and no buttonhole placement to get wrong, just one rectangle and two seams, start to finish.
Worked flat as a single rectangle from cuff to cuff, in rows.
Seamed only under the arms; the front is left completely open with no closure.
See our seaming guide for the underarm seaming technique.
Pattern
Main rectangle
Chain to your target cuff-to-cuff length plus 2 for turning (measure an existing well-fitting shrug or a similar top for reference). Work even in dc across for rows, continuing until the rectangle reaches your target body-coverage width. Fasten off and weave in the working end.
Marking the underarm sections
Fold the rectangle in half lengthwise (cuff meeting cuff) with right sides together. Measure and mark a section on each side, starting from the folded cuff edge, equal to the desired sleeve length plus underarm depth (roughly 8-10in for an average adult), using pins or scrap yarn markers.
Seaming
Seam only the marked underarm sections on each side, using a flat seam like mattress stitch (see our seaming guide). Leave everything beyond the marked sections, from the underarm seam's end down to the hem, completely unseamed and open, this is the shrug's front opening and defining feature.
Edging
With the piece turned right side out, work 1 round of sc or slip stitch evenly along both open front edges (the unseamed sides), continuing around the entire outer perimeter of the piece for a consistent finished edge. Fasten off and weave in all remaining ends before wearing.
Getting real drape from yarn choice
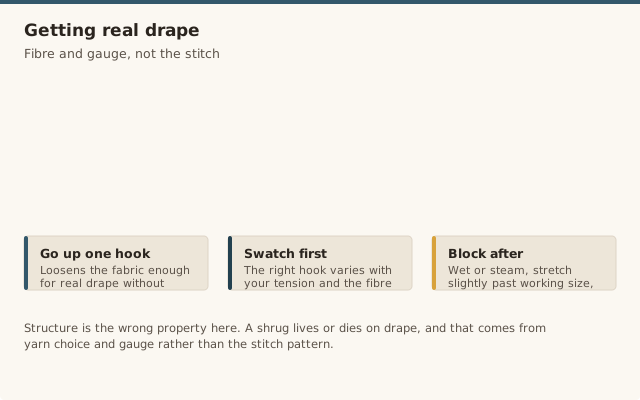
Drape is the single quality that separates a good shrug from a stiff, boxy one, and it comes from a combination of fiber, weight, and gauge rather than anything about the stitch pattern itself. A DK or light worsted yarn with some natural fluidity, bamboo, a lighter wool, a cotton-acrylic blend, moves and folds the way a shrug needs to. A structured worsted cotton or a stiff acrylic, even worked in the identical stitch pattern, will hold its shape too rigidly and stand away from the body instead of settling over the shoulders.
Going up one hook size from what the yarn label suggests loosens the fabric just enough to add real drape without making the stitches look sloppy or full of visible gaps. This is worth testing on a swatch before committing to the full rectangle, since the right hook size varies somewhat by individual tension and the specific yarn's fiber content.
Blocking after the piece is finished adds a final layer of drape improvement on top of yarn and hook choice. Wet the finished rectangle (or steam it if the fiber allows), then lay it flat and gently stretch it to slightly larger than its working dimensions before letting it dry completely. This relaxes the stitches further than they'd settle on their own, and the effect is particularly noticeable in fibers like bamboo, cotton, and many wool blends, which tend to soften and drape more after a first wash or block than they do straight off the hook.
Checking shoulder and arm fit before seaming
Because this pattern is built from one flat rectangle rather than shaped sleeve panels, fit issues show up specifically at the underarm seam and the un-seamed shoulder width, both of which are easy to check before committing to permanent stitches. Pin the underarm sections in place first (rather than seaming immediately) and try the piece on, checking that the sleeve opening is comfortable to move an arm through and that the unseamed shoulder width sits naturally rather than being noticeably too narrow or wide compared to a well-fitting top.
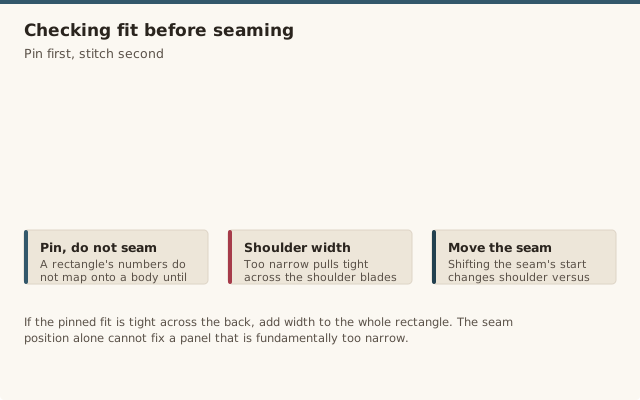
If the shoulder width looks off at the pin stage, it's straightforward to adjust the underarm seam's starting point slightly rather than unpicking a permanent seam later. Moving the seam's start a couple inches further from or closer to the fold changes how much of the rectangle becomes "shoulder" versus "sleeve," directly affecting fit at this stage of construction.
This pinning step is worth doing even if you're fairly confident the rectangle's measurements are correct, since a flat rectangle's dimensions don't map perfectly onto a curved, three-dimensional body until it's actually tried on. A few minutes of pinning and adjusting before seaming is a small time investment compared to unpicking a finished seam and re-measuring from scratch.
Pay attention to how the fabric sits across the upper back as well, not just the arm openings. A rectangle that's too narrow overall will pull tight across the shoulder blades even if the sleeve openings themselves feel fine, since that width comes from the same measurement. If the pinned fit feels tight anywhere across the back, it's worth adding width to the whole rectangle rather than just adjusting where the underarm seam starts, since the seam placement alone can't fix a panel that's fundamentally too narrow relative to the wearer's frame.
Two-panel variation
The single-rectangle construction above is the simplest version, but a two-panel variation, worked as two separate rectangular sleeve panels joined at a center back seam, is worth considering if you'd like a less bulky seam across the back or want to work each sleeve as a separate, more portable project. Work two identical rectangles, each half the width of the single-panel version, then seam them together along one long edge to form the center back seam before proceeding with the same underarm-only seaming described above.
The two-panel version also makes it easier to add a subtle design detail, like a contrast-color center back seam or a decorative stitch worked along that seam line, since the seam itself becomes a visible design element rather than something to hide. This is a purely aesthetic choice; the finished fit and drape are otherwise identical between the one-panel and two-panel approaches.
Either construction also takes well to a simple stitch-pattern substitution if plain double crochet feels too dense for the drape you're after. A basic mesh pattern, alternating double crochet and chain-1 spaces, opens the fabric up considerably and can be worked at the exact same gauge and finished dimensions as the solid version, simply substitute the mesh repeat for the plain double crochet rows throughout the main rectangle. This mesh version is particularly well suited to a lightweight summer shrug, where extra breathability matters as much as drape, since the open spaces let air move through the fabric far more than a solid stitch pattern would.
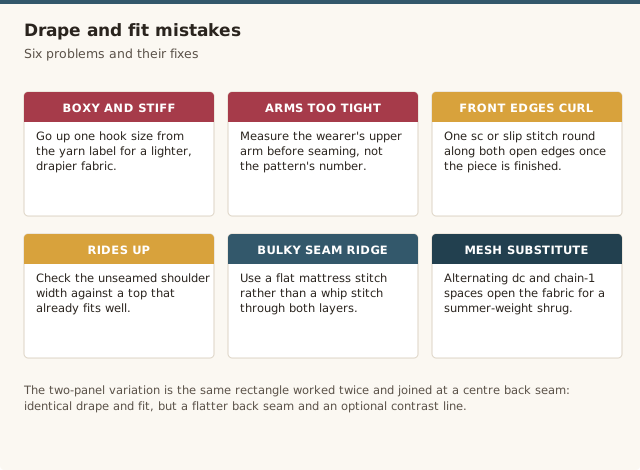
Drape and fit mistakes
Mistake: the shrug comes out too boxy and stiff instead of draping.
Fix: go up one hook size from the yarn label for a lighter, drapier fabric, drape is what makes or breaks a shrug.
Mistake: the sleeve/arm openings are too tight to pull on comfortably.
Fix: measure the wearer's upper arm before seaming the underarm section rather than relying on the pattern's stated measurement alone.
Mistake: the fabric curls at the open front edges.
Fix: work a stabilizing round of single crochet or slip stitch along both front edges once the main piece is finished, which stops the curling.
Mistake: the shrug rides up and won't stay settled on the shoulders.
Fix: check the un-seamed shoulder width against an actual well-fitting top before finishing, and adjust if it's noticeably narrower or wider.
Mistake: seaming under the arm leaves a bulky, visible ridge.
Fix: use a flat seam like mattress stitch rather than a bulkier whip stitch through both layers.
Our pick for drape
Yarn
Lion Brand Yarn Truboo
A rayon-from-bamboo DK-weight yarn genuinely chosen for its fluid, silky drape rather than structure, which makes it a strong first choice specifically for a shrug rather than a more structured garment like a fitted cardigan.
What yarn drapes best for a shrug versus a structured cardigan?
A DK or light worsted yarn with natural drape, like a bamboo blend, a lighter wool, or a cotton-acrylic blend, suits a shrug much better than a stiffer, structured worsted yarn. Going up a hook size from the yarn label's suggestion adds even more drape.
How do I size the pattern up or down?
Adjust the rectangle's overall length (the cuff-to-cuff measurement) to match the wearer's arm span at the shoulders, and adjust the width to the desired body coverage. Measure an existing well-fitting shrug or a similar top if one is available, rather than guessing at proportions.
Can the sleeves be made a different length?
Yes, since the sleeves are simply the un-seamed portions of the rectangle beyond the underarm seam, shortening or lengthening the overall panel changes sleeve length directly. A 3/4-length version just needs a shorter total panel than a full long-sleeve version, with everything else unchanged.
How do I stop the front edges from curling?
Work a stabilizing round of single crochet or slip stitch along both open front edges once the main rectangle is finished and seamed. This single detail is what keeps single-crochet fabric's natural curling tendency from showing on the visible open edges of the finished shrug.
Styling and occasion ideas?
A shrug works well layered over a sleeveless summer dress for cooler evenings, over a tank top for an office-casual look, or as an extra layer for a wedding or event outfit where a full cardigan would feel too heavy or too casual for the setting.
How much yarn does the project need?
About 500-600 yards of DK-weight yarn for an average adult size, since the shrug is a single continuous rectangle rather than multiple shaped panels, with a larger size or a longer overall rectangle needing correspondingly more.
Nora has been teaching crochet for 12 years, from absolute beginners to people coming back to the craft after decades away. She started CrochetGuides to write the clear, honest instructions she wishes she'd had when she was learning — the ones that actually work the first time.
CrochetGuides is a participant in the Amazon Services LLC Associates Program. As an Amazon Associate we earn from qualifying purchases, at no extra cost to you.