Free Granny Square Blanket Pattern for Beginners
How many squares to make, how to join them, and a clean border — the full blanket built from squares you already know how to make.
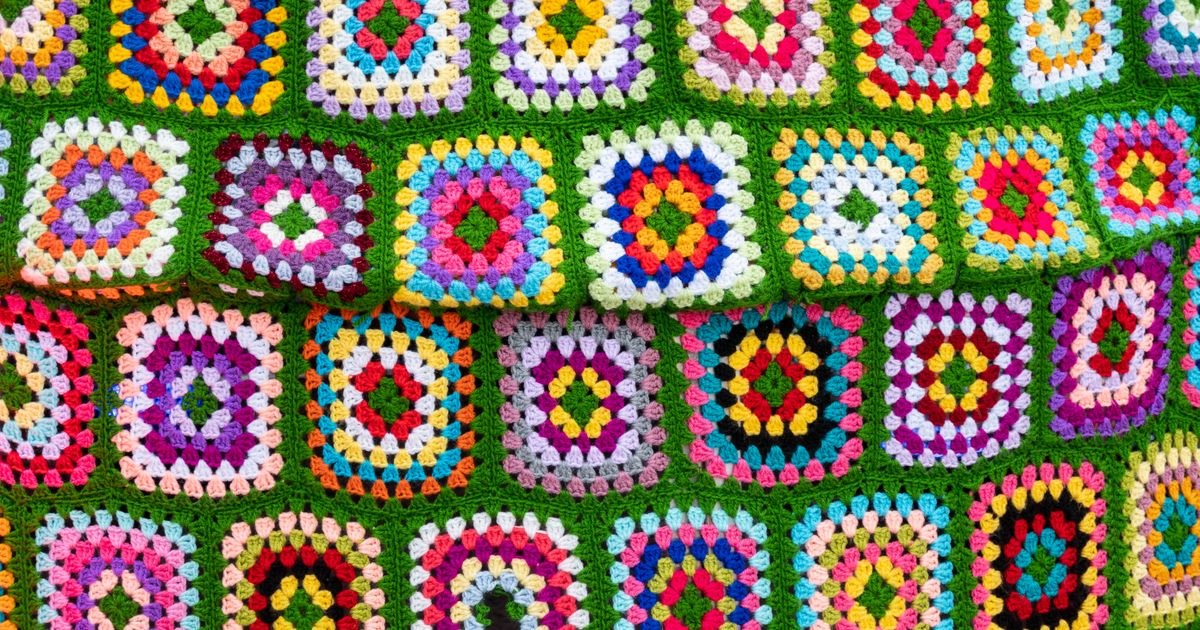
I put off making a full granny square blanket for years because forty-eight squares sounded like a project that would take a decade, and I quietly assumed I'd lose interest somewhere around square twelve. What actually happened was the opposite. Each square only takes a few minutes once the pattern is in your hands, and keeping a small stack going during evenings in front of the TV meant I had all forty-eight finished in about three weeks without ever feeling like I was grinding through it. In my classes, the granny square blanket is the project I point people to the moment they ask for something bigger — it's really just one square, repeated, then joined, then edged.
Materials
- Worsted-weight yarn, roughly 1,400–1,600 yards total (one colour or several for a multicolour blanket)
- 5.0mm (US size H) crochet hook
- Yarn needle, for joining and weaving in ends
- Scissors
- Optional: blocking mat and pins
Abbreviations (US terms)
| Abbr. | Means |
|---|---|
| ch | Chain |
| dc | Double crochet |
| sc | Single crochet |
| sl st | Slip stitch |
| sp | Space |
| rnd(s) | Round(s) |
See our abbreviations glossary for the full list including UK terms.
Gauge
Each finished square should measure about 6 x 6in / 15 x 15cm after 4 rounds, using a 5.0mm hook and worsted yarn. If your squares run smaller or larger, adjust your hook size before making all 48 — consistency between squares matters more than hitting this exact number.
Notes
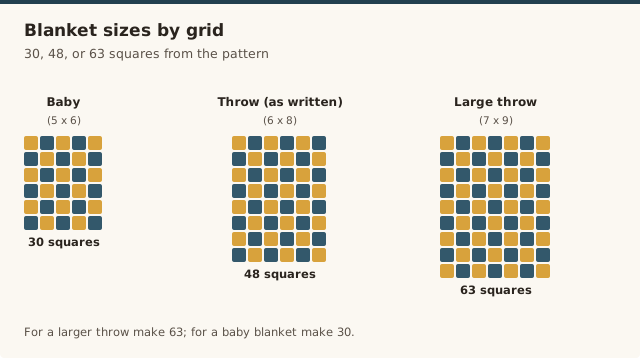
- This pattern makes a lap-size throw from 48 squares in a 6 by 8 grid. For a larger throw, make more squares and adjust the grid — see the FAQ below for sizing guidance.
- Written in US terms, continuing from the 3-round square in our granny square tutorial.
- Block each square before joining if your tension varies between sessions — see our blocking guide for methods.
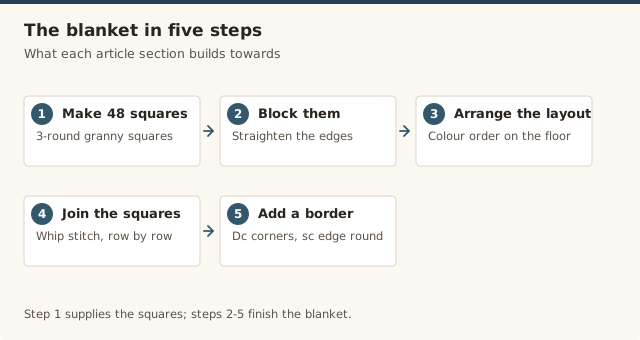
Step 1: Make 48 squares
Using the 3-round pattern from our granny square tutorial, make 48 squares total. Work them in one colour throughout, or change colours each round for a classic multicolour granny look — both are structurally identical.
Step 2: Block your squares (optional but recommended)
Lay each square flat, dampen slightly, and pin to a consistent 6 x 6in / 15 x 15cm before letting it dry. This step evens out small tension differences between squares made on different days, and makes joining much easier. Full instructions are in our blocking guide.
Step 3: Arrange your layout
Lay all 48 squares out on the floor in a 6-square by 8-square grid before joining anything. This is the easiest point to fix a colour arrangement you don't like — much harder once squares are sewn together.
Step 4: Join the squares
With right sides facing up, thread a yarn needle with a long length of yarn. Working one row at a time, whip stitch through the outer loops of matching stitches along the edge of two squares, from corner to corner. Repeat to join all squares in each row, then join the rows to each other the same way.
Whip stitching is the simplest join for a first blanket. If you want a more finished, textured seam, single crocheting the squares together as you join them is the alternative — both are equally valid, whip stitch is just faster to learn.
Step 5: Border
Join yarn in any corner space of the joined blanket. Ch 3, work [2 dc, ch 2, 3 dc] in the corner space. Work dc evenly along each edge, working [3 dc, ch 2, 3 dc] in each corner, until you reach the starting point. Sl st to join.
Sc evenly around the entire border, working 3 sc in each corner ch-2 space to keep the corners flat. Sl st to join.
Fasten off and weave in all remaining ends with a yarn needle.
Colour layout ideas
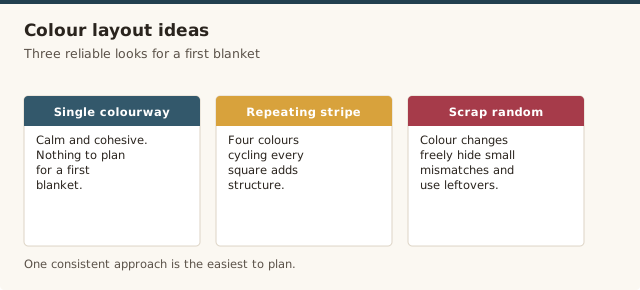
Three approaches work reliably for a first blanket of this size. A single consistent colourway throughout gives a calm, cohesive look and is the easiest to plan since there's nothing to plan. A repeating stripe pattern by row (say, four colours cycling every square) adds structure without much decision-making per square. A scrap-yarn random mix, changing colour freely as skeins run low, tends to hide small colour mismatches better than a planned layout does — randomness reads as intentional in a way a "close but not quite" planned repeat doesn't.
Whichever you choose, lay all 48 squares out on the floor before joining (Step 3) and live with the arrangement for a day if you can — colour placement that looks fine square by square sometimes reads differently once the full grid is visible at once.
Common mistakes & fixes
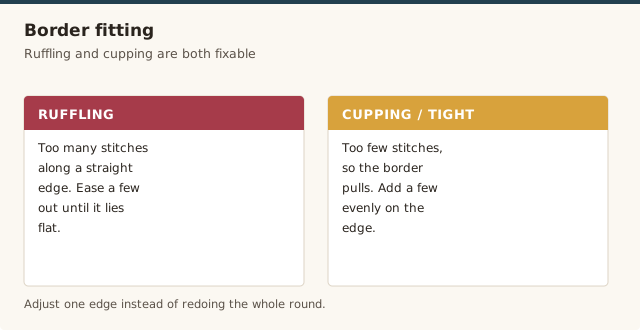
Fix: a ruffling border means too many stitches were worked along a straight edge; a cupping or too-tight border means too few. Add or remove a few sc evenly along the affected edge until it lies flat, rather than redoing the whole round.
Fix: this is normal tension drift across weeks of crocheting, not a sign anything was done wrong. Block the smaller squares slightly larger and the larger ones back down to your target size before joining — see our blocking guide for the method.
Fix: this usually comes from inconsistent whip-stitch tension — too tight puckers the seam, too loose leaves gaps. Keep tension even by whip stitching through the same loop position on every stitch, and check every few squares that the seam still lies flat before continuing.
Our picks
Cotton worsted-weight yarn, 3-pack
Order several packs in coordinating colours for a multicolour blanket, or stick to one colourway throughout for a solid design.
View on Amazon →Stitch marker & tapestry needle kit
The yarn needle in this kit is essential for whip stitching all 48 squares together and weaving in the many ends this project produces.
View on Amazon →A look at joining multiple squares together, useful for seeing how the seams line up into a flat blanket.
Frequently asked questions
How many granny squares do I need for a throw blanket?
A lap-sized throw made from 6-inch squares typically needs a 6 by 8 grid, or 48 squares. A larger throw blanket uses closer to 63 squares in a 7 by 9 grid.
What is the best way to join granny squares for a beginner?
Whip stitching the squares together with a yarn needle is the simplest method for a first blanket, since it doesn't require an extra crochet step and is forgiving of small tension differences between squares.
Do all my granny squares need to be exactly the same size?
They should be close, within about a quarter inch of each other. Blocking each square flat before joining helps even out small size differences caused by natural tension variation between crocheting sessions.
What's a good colour layout for a granny square blanket?
Three reliable options for a first blanket: a single consistent colourway throughout for a calm, cohesive look; a repeating stripe pattern by row for structure without much planning; or a scrap-yarn random mix, which hides small colour mismatches better than a planned layout does since randomness reads as intentional.
How do I stop the ends from a 48-square blanket coming undone over time?
Weave each end through at least 4-5 stitches in more than one direction rather than a single straight line, and trim the tail after weaving rather than before, so any slight pull doesn't immediately pop it back out.
How long does a granny square blanket take to make?
Each square takes only a few minutes once you know the pattern, so a 48-square throw typically comes together in a few weeks of evening crocheting. Joining and the border add a few more hours on top of the squares themselves.
Can I use different yarn weights for the squares in one blanket?
It's best not to. Squares made from different weights of yarn will come out different sizes, which makes joining uneven. Stick to one weight throughout, and save the mismatched scraps for a project where a little variety is part of the charm.
CrochetGuides is a participant in the Amazon Services LLC Associates Program. As an Amazon Associate we earn from qualifying purchases, at no extra cost to you.