Best Blocking Mats and Pins for Crochet
A practical guide to selecting interlocking foam mats, rustproof pins, and essential blocking tools for shaping your finished crochet pieces.
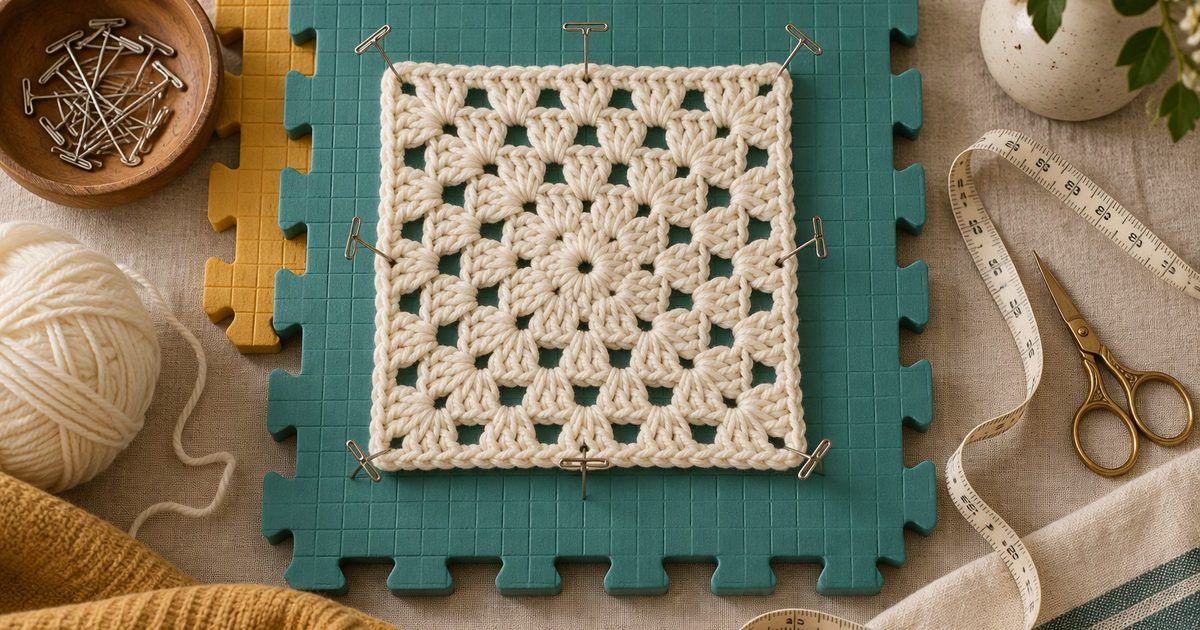
AI-generated illustration, not a photograph of the finished item. About our images
Blocking is the simple secret behind professional-looking crochet. Whether you are working on a delicate lace shawl or sewing together granny squares for a cardigan, taking the time to wet or steam block your work opens up the stitches and evens out edge tension. Without blocking, edges curl, dimensions skew, and beautiful stitch patterns remain squished and hidden inside the yarn.
Investing in a reliable set of blocking mats and the correct pins makes this essential finishing step manageable and predictable. Thick foam play mats, towels on carpeted floors, or purpose-made blocking boards: having the right tools genuinely transforms your results. Here is everything you need to know to select the right equipment and pin your work accurately every single time.
Choosing High-Density Interlocking Foam Mats
When shopping for blocking mats, density and thickness are your top priorities. Look for extra-thick, high-density EVA foam mats that are at least 0.5 inches (1.3 cm) thick. Thinner exercise mats or child play mats often give way under pin tension or allow T-pins to poke through into your table beneath. Interlocking puzzle edges let you assemble custom shapes, from long narrow rectangles for scarves to large squares for blankets.
Printed grid lines with inch measurements are immensely helpful for checking gauge and squaring off corners. Ensure the grid ink is waterproof and solvent-free so it does not transfer onto damp light-colored yarn during wet blocking sessions.
- Thick 0.5-inch foam prevents pins poking through
- Interlocking edges allow customizable grid shapes
- Waterproof printed grid lines help keep edges straight
Selecting Stainless Steel T-Pins and Comb Blockers
Never use regular dressmaking pins for blocking damp yarn. Traditional sewing pins rust quickly when exposed to moisture, leaving permanent brown spots across your hard work. You must use stainless steel T-pins, which are completely rustproof and feature a wide top bar that holds yarn strands securely without slipping off.
For long straight edges like garment seams or blanket borders, comb-style knit blockers are a huge time saver. These hard plastic blocks contain eight to twelve built-in stainless steel pins, allowing you to tension an eight-inch section in a single motion while maintaining uniform straight lines along edges.
- Stainless steel is required to prevent rust stains
- T-bar heads anchor tensioned yarn securely
- Comb blockers pull long edges straight instantly
Matching Blocking Tools to Yarn Fiber
Different fibers demand specific blocking techniques and tool setups. Natural fibers like wool, alpaca, and cotton thrive on wet blocking, where pieces are soaked in lukewarm water, gently squeezed in a towel, and pinned down to dry thoroughly on dense foam mats. The foam holds the heavy, damp fiber firmly until dry.
Synthetic yarns like acrylic require heat to reset their plastic memory, making steam blocking essential. Hover a garment steamer or steam iron an inch above your pinned acrylic work on your mats. Ensure your blocking mats are heat-resistant so they do not melt or off-gas when exposed to warm steam bursts.
Step-by-Step Pinning Technique for Garments
Pinning a sweater panel or cardigan front requires a deliberate, step-by-step approach. Start by measuring your schematics against your pattern specs. Lay your damp piece on the mats, gently nudging the center outwards into shape rather than tugging aggressively at the corners. Pin key points first: the neck corners, shoulder seams, underarms, and bottom hem.
Next, fill in the gaps along the straight edges every inch using T-pins angled slightly outward at a 45-degree angle. Angling your pins creates counter-tension against the yarn's pullback, holding your garment to precise measurements until completely dry. Allow at least 24 hours of drying time in a well-ventilated room.
Frequently asked questions
Can I use cheap foam play mats for blocking crochet?
Yes, child play mats work well for basic shapes, provided they are thick enough (at least 0.5 inches). However, they lack grid lines for accurate measuring and may warp under heat if you plan to steam block acrylic yarns.
Why are my pins leaving rust marks on my yarn?
Regular sewing pins contain iron that oxidizes instantly when exposed to moisture during wet blocking. Always ensure your T-pins are labeled specifically as 100% stainless steel or nickel-plated rustproof pins.
How long should I leave crochet pinned to blocking mats?
Leave your project pinned until it is entirely dry to the touch, which usually takes 24 to 48 hours depending on humidity, yarn thickness, and room airflow. Unpinning too early allows fibers to spring back.
Do blocking mats work for steam blocking acrylic yarn?
Yes, high-density EVA foam mats handle light steam well. Just keep your steamer moving and hold it at least one inch above the yarn to avoid melting the mats or flattening the acrylic fibers completely.
What are blocking wires and do I need them?
Blocking wires are flexible stainless steel rods threaded through the outer edges of lace shawls or long blankets. They allow you to pull an entire side taut with just a few T-pins, preventing scalloped edge bulges.