Free Crochet Easter Basket Pattern for Beginners
A pastel single-crochet circle that climbs into cheerful Easter sides, finished with a firm built-in handle — no seaming, no loose parts.
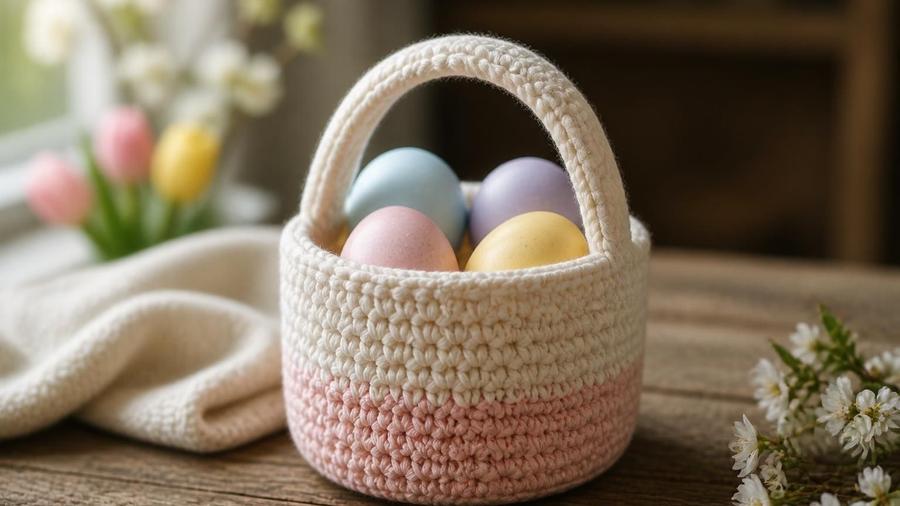
The first Easter basket I ever made was for my niece, and I still remember standing in the shop holding a ball of mint-green yarn, convinced I had picked the wrong thing because it felt a little stiff against my cheek. It turned out to be exactly right, and that lesson has stayed with me for twelve years of teaching: an Easter basket is a basket first and a decoration second, so it has to be able to hold its own shape while a small person carries it around the garden hunting for eggs. This pattern is built on the same idea as my classic crochet basket — a flat circle that turns a corner and climbs — but it is sized for little hands, finished with a firm handle that cannot pull loose, and made deliberately safe for the youngest children, with no beads or buttons that could come off.
What you need
- Worsted/#4 or aran cotton (or a cotton-blend) in one or two pastel shades, around 100–120g for a small basket
- 5mm hook (drop to 4.5mm if your tension runs loose)
- Stitch marker
- Yarn needle
You do not need any special stitches for this pattern. If you can make a chain and a single crochet, you can make this basket. The only slightly clever bit is working in the round, and there is a whole guide to that if you want a refresher before you begin. I reach for cotton or a cotton-blend here because it is soft against a child's skin, it washes easily, and it has just enough body to hold a wall — softer than the t-shirt yarn I use for a grown-up storage basket, but stiffer than the floppy acrylic that ruins a first attempt.
Choosing pastel colours
Half the charm of an Easter basket is the colour, and this is the fun part to get right. I like to work the base and walls in one soft shade and the handle in a second, so the basket looks considered even though it is only two colours. Duck-egg blue, butter yellow, baby pink, lavender, and pale mint all read as instantly Easter, and they play nicely together, so you can mix any two without them fighting. If you are making a set for siblings, keep the same shade but swap the handle colour on each basket, and they will look like a family rather than a coincidence.
There is a lovely trick for getting a deeper, softer colour without buying more yarn: hold two strands of a light yarn together. Two strands of white cotton with one strand of pale pink make a blush that feels almost hand-dyed, and it doubles the stiffness of the fabric at the same time, which helps a small basket keep its shape. Our yarn weight guide explains how holding strands together changes the hook size you need. What I would avoid is anything too dark or saturated — a bright primary red can look a little like a shopping basket, and the whole point of Easter colours is that they feel gentle and spring-like.
Whatever you choose, crochet a small swatch and stand it on its edge. If it folds over on itself, tighten up or hold a second strand before you start the real thing, because a basket that cannot stand is a basket that flops over the moment a toddler picks it up.
Crocheting the base
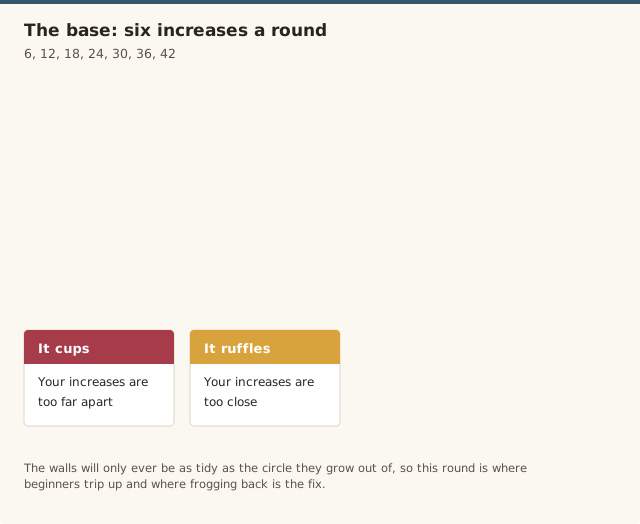
The base is a flat circle, and every flat single-crochet circle grows by six stitches per round. Those six increases are spaced further and further apart as the circle widens, which is what keeps it lying perfectly flat instead of cupping or ruffling. You will work in a continuous spiral, so put your stitch marker in the first stitch of each round and move it up as you go.
Start with a magic ring — it gives you a tightly closed centre with no little hole for an egg to poke through. Work six single crochet into the ring, then pull the tail to close it.
Base increases
- Round 1: 6 sc in magic ring (6)
- Round 2: 2 sc in each st around (12)
- Round 3: *sc in next st, 2 sc in next st* around (18)
- Round 4: *sc in next 2 st, 2 sc in next st* around (24)
- Round 5: *sc in next 3 st, 2 sc in next st* around (30)
- Round 6: *sc in next 4 st, 2 sc in next st* around (36)
- Round 7: *sc in next 5 st, 2 sc in next st* around (42)
Check your counts as you finish each round: 6, 12, 18, 24, 30, 36, 42. If a round comes out one stitch off, find the mistake now rather than three rounds later. This is where most beginners trip up, and the fix is always to frog back to the round that was correct and work it again — there is a full walkthrough of how to crochet in the round if your circle starts to wobble.
Your base should now be a flat disc around 11–12cm across. If it cups, your increases are too far apart; if it ruffles, they are too close. A flat base is worth the effort, because the walls will only ever be as tidy as the circle they grow out of.
Working up the sides
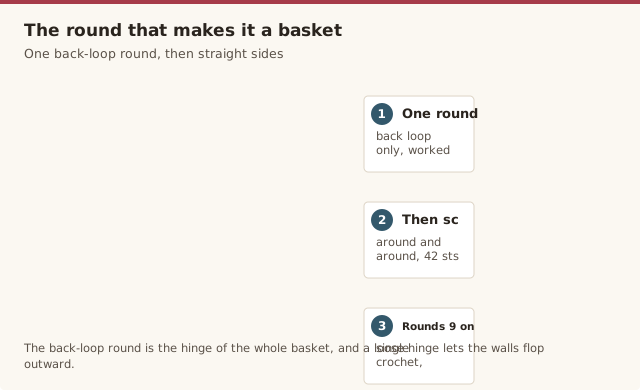
Now comes the trick that turns a doily into a basket. Instead of increasing, you will work one round through the back loop only, which pushes that round up and creates a crisp fold where the base meets the wall.
Turning the corner
- Round 8: sc in the back loop only of each st around (42)
- Rounds 9–14: sc in both loops of each st around, with no increases (42 per round)
Work the back-loop round tightly — it is the hinge of your whole basket, and a loose hinge lets the walls flop outward. From round 9 on, it is just single crochet, around and around, keeping the count at 42 every single round. No increases, no decreases, no cleverness. The sides will start to climb on their own within two or three rounds.
Six side rounds gives you a shallow basket about 8cm tall, which is just right for a handful of chocolate eggs. For a taller basket that holds a soft toy or a book, keep going for another four or five rounds — the count never changes, so you can stop at whatever height looks right. When you reach the height you want, do not fasten off yet, because the handle is worked straight onto the rim.
The handle
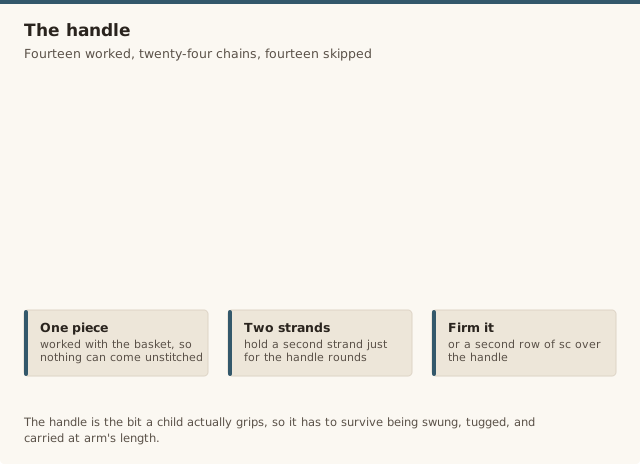
The handle is where an Easter basket lives or dies, because it is the bit a child actually grips, and it has to survive being swung, tugged, and carried at arm's length. I work it in one piece with the basket rather than sewing a separate strip on, which means there is nothing to come unstitched. For the firmest possible handle, hold a second strand of yarn just for the handle rounds.
The handle
- Handle round: sc in next 14 st, ch 24, skip the next 14 st, sc in next 14 st (52 counting the chains)
- Firming round: sc in each of the next 14 st, sc in each of the 24 ch, sc in the last 14 st (52)
- Sl st to the next st to even the edge, fasten off, and weave in the ends
Let me walk through what is happening there, because it looks fiddlier than it is. The 42 stitches around your rim split neatly into three groups of 14: fourteen worked, fourteen skipped, fourteen worked. The chain of 24 arches over the skipped fourteen to form the handle, and because a chain of 24 is longer than a gap of 14, it lifts into a gentle loop. The firming round then crochets one stitch into every chain, which turns that thin strand into a proper wide handle and locks it into the basket on both sides.
If you want a shorter, chunkier handle, chain 18 instead and work it over the same 14 skipped stitches. If the basket is for an older child and you want a longer handle for carrying over a shoulder, chain 30. Whatever length you choose, always work the firming round, because it is what makes the difference between a handle that stands up and a strap that stretches into a droopy string after one outing. This same in-the-round discipline is the backbone of amigurumi, so if you enjoy the handle, you already have the skill for a little crochet bunny to sit inside the basket.
Sizing your basket
Because the pattern is just a formula, resizing it is simple once you see how it works. The base keeps growing by six stitches per round for as long as you want it to, and the walls then keep that final count the whole way up. So if you want a wider basket, keep increasing for another round or two before the back-loop round — round 8 would take you to 48 stitches, round 9 to 54. For a smaller basket, stop at round 6 instead of round 7.
The same logic works for height. A tiny two-inch basket is just the same base with a couple of side rounds; a basket big enough to hide a dozen eggs is the same base with fifteen side rounds. The only thing to remember is that your handle round needs the final stitch count to divide by three, so the two 14-stitch sections and the skipped section stay equal. If you resize the base to a different count, just split that number into three equal groups and chain accordingly. The side rounds never change once you start them, which is what makes this such a forgiving first project — you can put it down mid-wall and pick it up a week later without losing your place, as long as the stitch marker is still in.
Filling & gifting
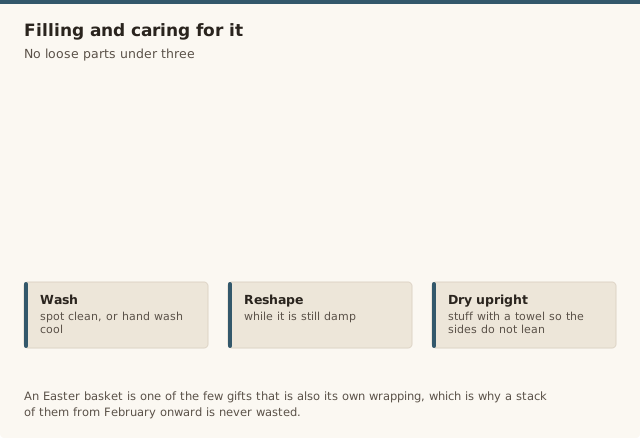
An Easter basket is one of the few gifts that is also its own wrapping, which is why I keep a stack of these in the cupboard from February onward. Line the inside with paper grass or shredded tissue, tuck in a few wrapped chocolate eggs and a small book, and you have a present that is already dressed. For a baby, I fill it with a soft fabric ball, a crinkly book, and a little crochet chick or bunny — nothing small enough to be a choking risk.
That safety point matters more than anything else I have written here, so let me be clear. For a child under three, avoid anything that could come loose: no beads, buttons, sequins, pompoms, or googly eyes, because a determined toddler will worry every one of them off and straight into a mouth. If you want a face on a bunny or a chick, embroider it with yarn instead of gluing or sewing on parts. The handle is worked in one piece precisely so it cannot detach, and it is worth checking the whole basket after every wash to make sure nothing has worked its way free.
If the basket is a decoration rather than a toy, you have more freedom. Tuck in fresh flowers or a trailing plant in a small pot, or use it as a centrepiece filled with painted eggs. I have also made these in white and given them as a new-baby gift filled with muslin cloths, which the parents then reuse as a nursery tidy long after Easter has passed. A pastel basket outlives the holiday far more often than you would expect.
Common mistakes & fixes
Fix: this is yarn, not technique. Remake it in cotton or a cotton-blend, hold two strands together, or crochet with a smaller hook so the fabric is dense enough to hold its own weight.
Fix: you are gaining stitches somewhere. Count every round — the walls must stay at 42 — and watch for two single crochets squeezed into one stitch where the round joins.
Fix: your increase spacing has drifted. Rip back to the last flat round and check the counts are 6, 12, 18, 24, 30, 36, 42 — an increase one stitch too early or late throws the whole circle off.
Fix: you skipped the firming round or worked it too loosely. Re-crochet the handle holding two strands together and work one firm single crochet into every chain so the strap cannot pull thin.
Fix: keep a stitch marker in the first stitch of every round and move it up as you complete each one. In a continuous spiral there is no obvious seam, so the marker is the only clue you have.
Fix: finish with a slip stitch into the next stitch before fastening off, which feathers the join into a smooth edge, and thread the tail through a few stitches to hide it.
A demonstration of working a flat base and turning it up into basket sides, helpful for seeing the back-loop round in action.
Frequently asked questions
What yarn works best for an Easter basket?
A soft cotton or a cotton-blend in worsted or aran weight works well. Use pastel cotton, or hold two strands of a lighter yarn together for a stiffer wall. T-shirt yarn gives the firmest basket but can feel heavy in a child's hands.
How do I keep the handle from stretching out?
Work the handle tightly and firm it with a full round of single crochet into each chain. For extra strength, hold two strands for the handle, or work a second row of single crochet over it. A firm handle is also safer for small children, since it won't pull loose or flop.
Can I make the basket bigger or smaller?
Yes. Add more base rounds with six increases per round for a wider basket, or stop earlier for a smaller one. The side rounds always keep the same stitch count. For a taller basket, just work more side rounds before the handle.
What can I safely fill a child's Easter basket with?
For children under three, avoid anything that could come loose: no beads, buttons, sequins, or googly eyes. Use paper grass, wrapped chocolate eggs, small books, felt shapes, and larger toys that are too big to swallow. Embroider any faces instead of gluing on parts.
Do I have to start with a magic ring?
No. If a magic ring feels fiddly, chain 2 and work the first 6 single crochet into the second chain from the hook, then pull the tail to close the small centre hole.
How do I wash an Easter basket?
Spot clean small marks, or hand wash in cool water and lay flat to dry. Reshape it while it is still damp, and stuff it with a towel while drying so the sides dry upright rather than leaning.
How do I keep the sides from leaning outward?
Work the back-loop-only round tightly, keep your tension even all the way up, and use a yarn with enough body. If a finished basket still leans, sew a length of cord inside the top edge to firm it up.
CrochetGuides is a participant in the Amazon Services LLC Associates Program. As an Amazon Associate we earn from qualifying purchases, at no extra cost to you.